This guide walks through installing XenApp 7.6 in a test environment. No additional configuration is performed.
My setup is as follows:
- Storefront – StoreFront Server
- DDC – Delivery Controller
- Studio – Studio and License Server on the same machine
- Director – Citrix Director
Order of installation:
- Delivery Controller
- Citrix Studio and License Server
- StoreFront
- Director
It is assumed that you have already configured and installed SQL. The supported collation is Latin1_General_CI_AS_KS. I have installed SQL on a dedicated server named SQL.
All my servers above are Virtual Machines running on Citrix XenServer 6.5.
1. Delivery Controller
I start by installing the Delivery Controller component. In a Citrix XenApp and XenDesktop environment, the Delivery Controller provides users coming through StoreFront with a list of assigned applications and desktops. The Delivery Controllers also deal with power management of Citrix machines if configured, session brokering and registration with VDAs.
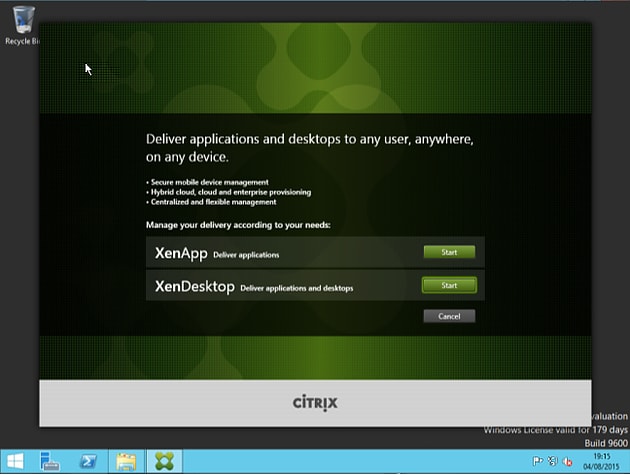
Firstly launch the XenApp 7.6 media and click Start beside XenApp.
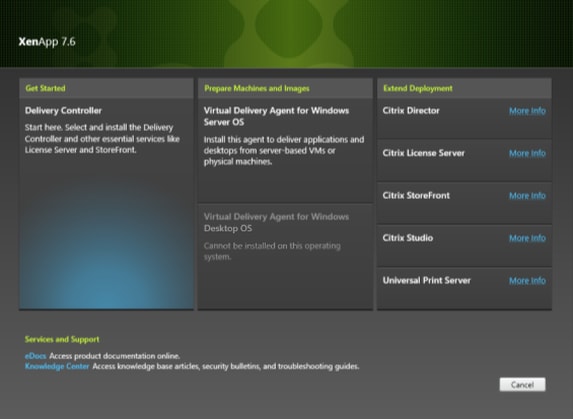
Click Delivery Controller to get started.
Since we only want to install the Delivery Controller component, unselect all other components and click Next.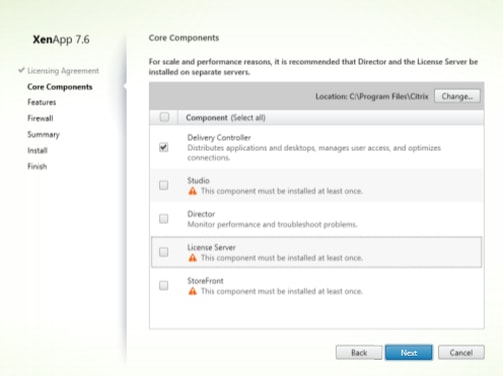
Since we are using a dedicated SQL installation, do not select to Install Microsoft SQL Server 2012 SP1 Express, click Next.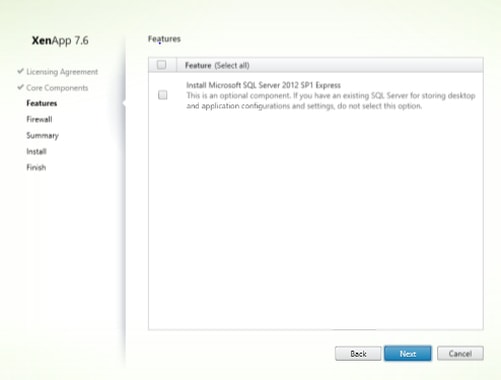
Port 80 and 443 need to be open within the Windows Firewall. Choose to automatically create these rules and click Next.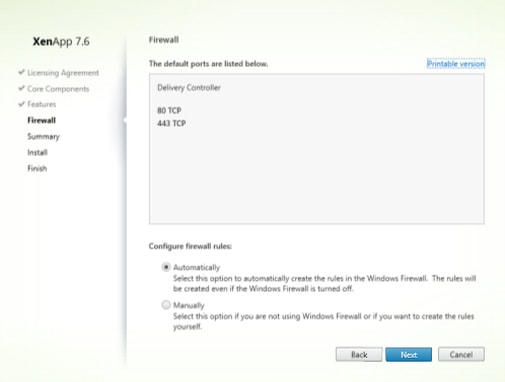
Review the Summary and click Install to begin the installation.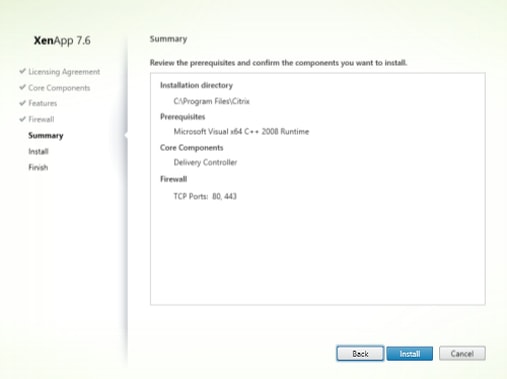
The install is now complete. Notice that Microsoft Visual x64 C++ 2008 Runtime was installed as a prerequisite. 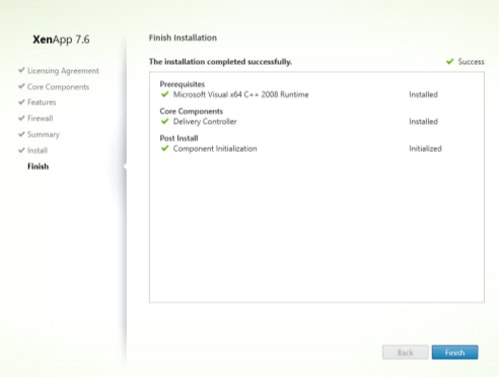
Citrix Scout is also installed on all Delivery Controller servers. This application collects data about your XenApp/XenDesktop environment for analysis and diagnostic purposes.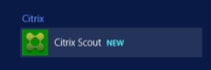
At this stage we will now move on to installing Citrix Studio and the Licensing component.
2. Citrix Studio and License Server
I’m doubling up and installing these two components on the same Virtual Machine. In production you would have these components on seperate machines. The License Server is pretty self-explanatory whilst Citrix Studio is used to manage your XenApp/XenDesktop environment.
Firstly, again launch the XenApp 7.6 splash screen and select Start beside XenApp.

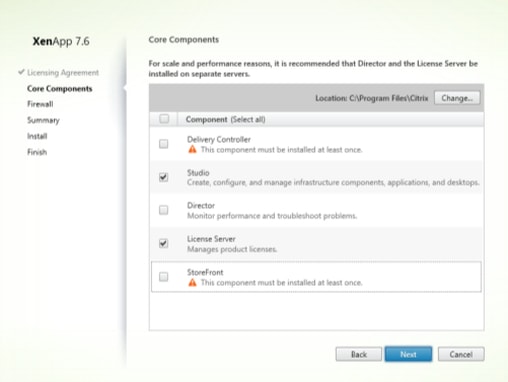
Since we want to install Studio and the License Server, click Delivery Controller as doing so will allow us to select two components to install in one go.
Select Studio and License Server and click Next.
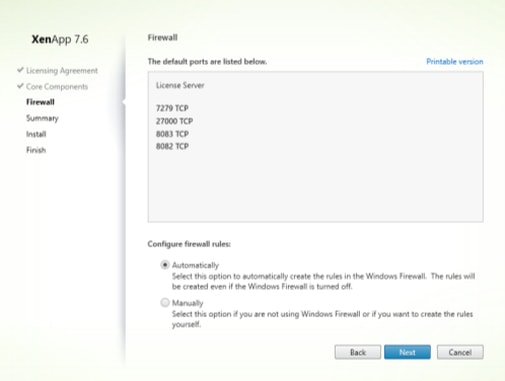
The ports requires for the License Server are:
- TCP 7279 – Check-in/check-out of Citrix Licenses
- TCP 2700 – Handles initial point of contact for licensing requests
- TCP 8083 – Simple License Server Port
- TCP 8082 – For connecting to the administration web console
Choose to create Automatically and click Next.
Review the Summary and click Install.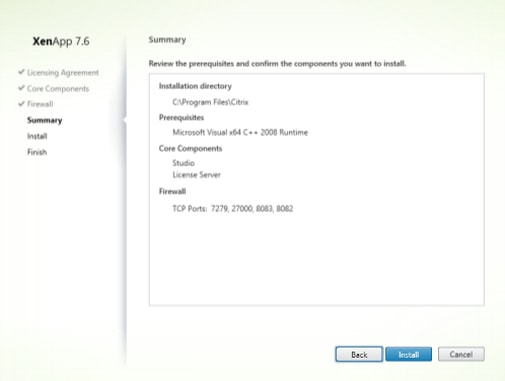
The install is now complete. Notice Microsoft Visual x64 C++ 2008 Runtime was also installed as a prerequisite. Choose to Launch Studio and click Finish.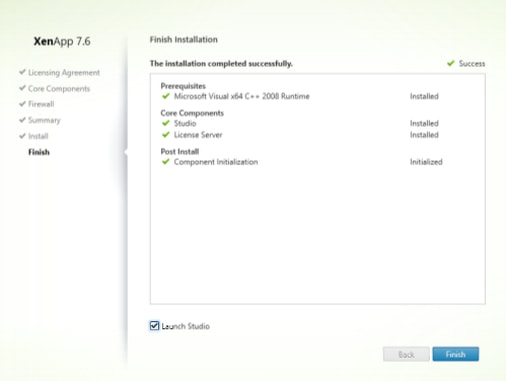
When Studio launches, you will be asked for the Delivery Controller address to get started.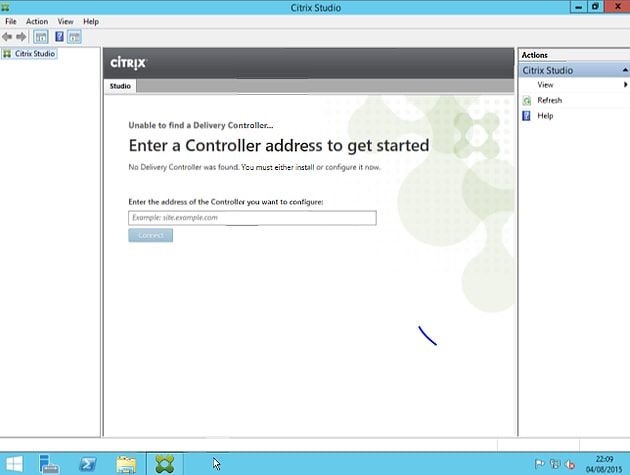
Enter your Delivery Controller address and click on Connect.
Once the connection from Studio to Delivery Controller is successful, you will have three options as shown below. Since we have no existing Citrix Site and want to deliver applications and desktops to our users, we will choose option Deliver applications and desktops to your users.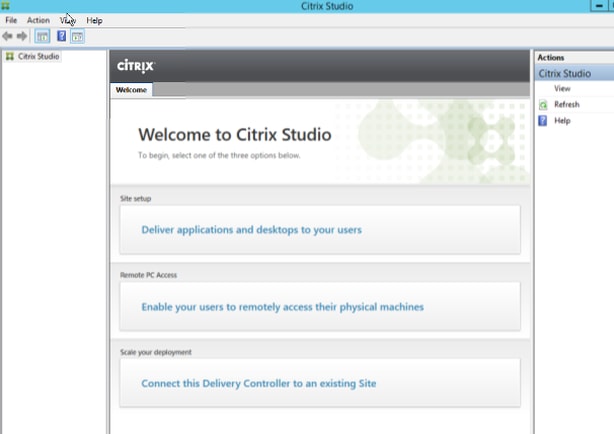
Give your site a name. I have chosen CitrixPro. You have the option to run through the wizard based configuration, or create an empty, unconfigured site which is the manual approach. I will choose to configure a fully configured, production ready site. Click Next.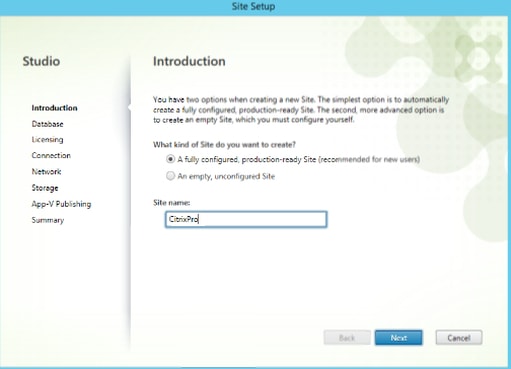
At this stage. It is time to create the Database. After entering your SQL server name and clicking Next you will be presented with the below box explaining that no database was found and to click OK to create the database automatically. You have an alternative option to generate a script which can be run directly on the database server to create the database. For now I will click OK to create a database automatically.
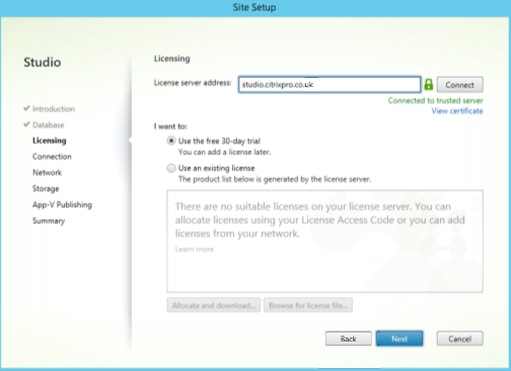
Now enter your Citrix License server address and click Connect.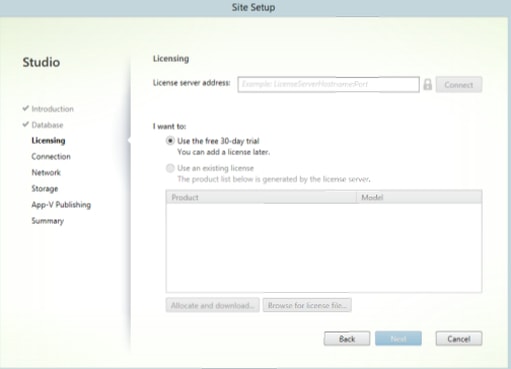
The License Server will be queried for licenses. In my case, I am going to use the free 30-day trial. Click Next once ready.
Since I have XenServer present, I am going to create a connection to my XenServer to enable management of VDA’s residing on XenServer. You can also create connections to products such as SCVMM (Virtual Machine Manager) and VMware vSphere. Once you have configured your connection specify whether you will be creating Virtual Machines using MCS or other tools. I have selected Other Tools as I will be using Provisioning Services to create machines. Click Next when ready.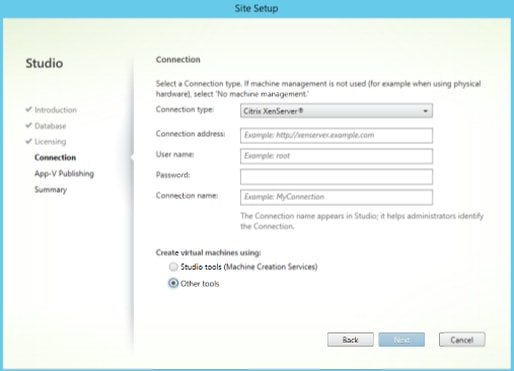

I have no requirements for App-V.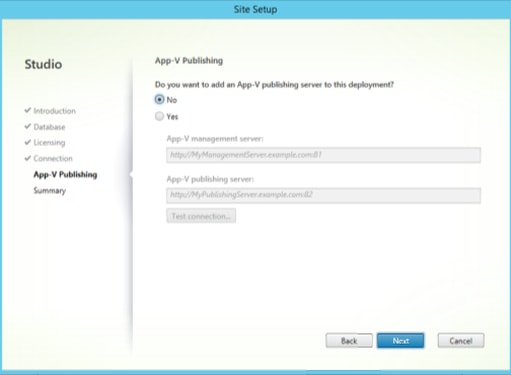
We now reach the Summary. Click Finish once you are ready to begin with the site creation.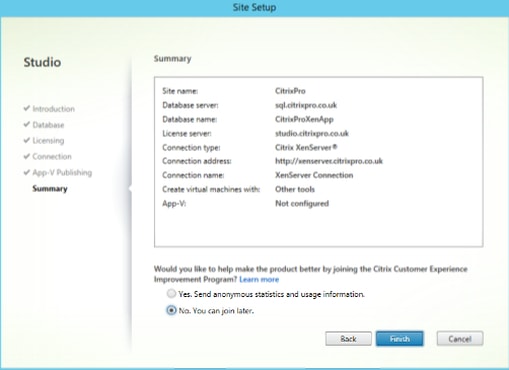
Once done you will see many more new options within Studio. The Citrix Site setup is complete. You can now perform tasks such as creating Delivery Groups and Machine Catalogs and begin publishing applications and desktops out to your users. As a best practice, run the Test Site Configuration utility to test the newly deployed site. 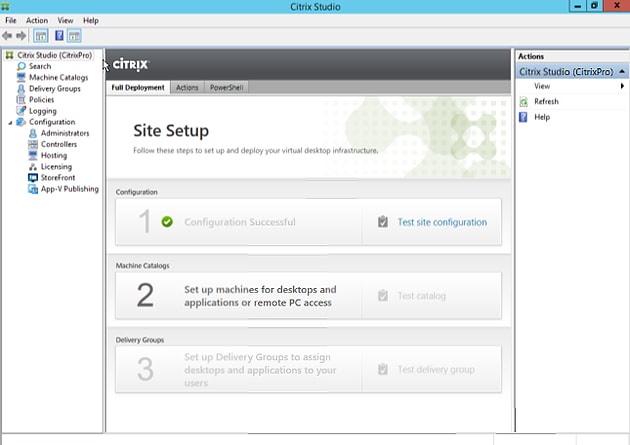
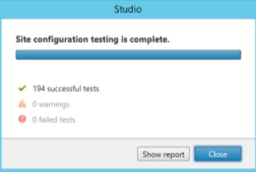
The results show 194 successful tests and we can view the report for a closer look by clicking Show Report.
The report contains each test carried our and the success result.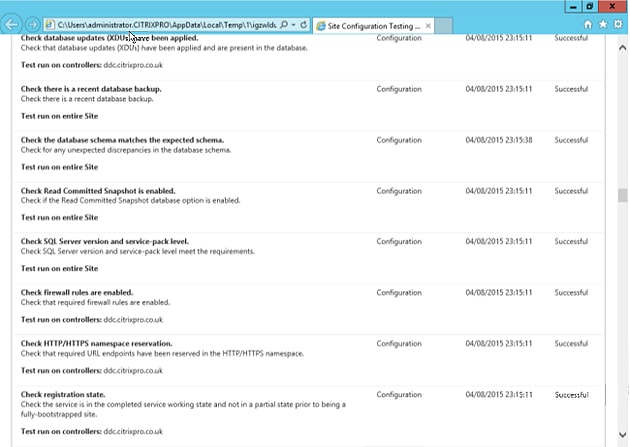
3. StoreFront
StoreFront provides authentication and resource delivery. It is the successor of Citrix Web Interface and is the place your users will go to access their desktops and applications. Think of it as the Citrix or business app store. Just like we have app stores for Android and iOS devices.
Within the Citrix XenApp 7.6 splash screen, select Citrix StoreFront.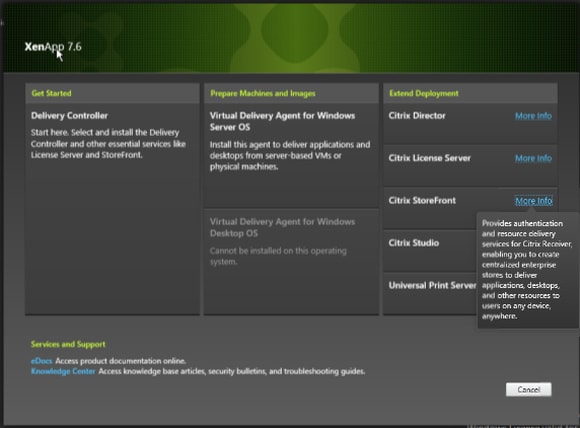
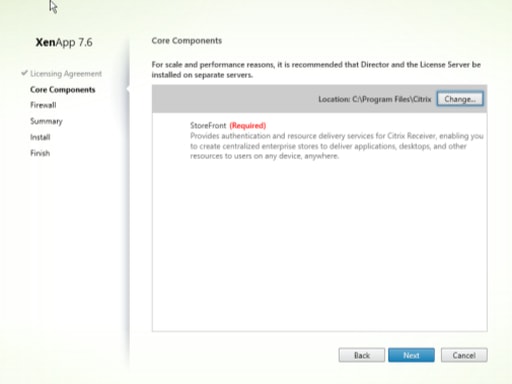
Click Next.
Ports 80 and 443 require to be open. Select Automatically and click Next.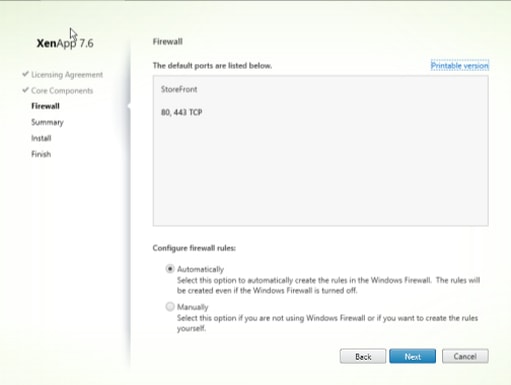
Review the Summary and click Install.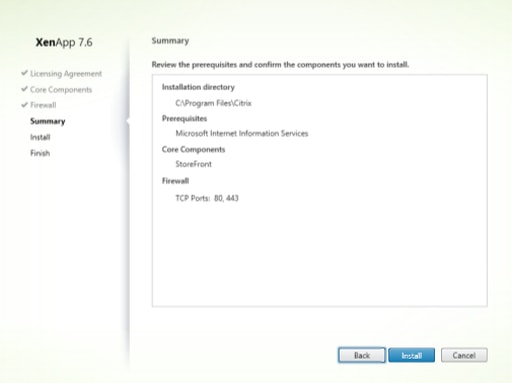
IIS will be installed as a prerequisite. 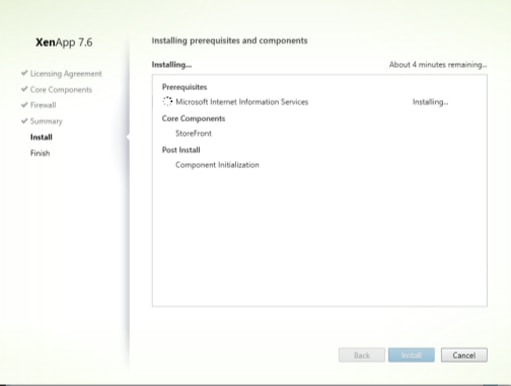
Once installed, click Finish and open the StoreFront Management Console to behin configuration.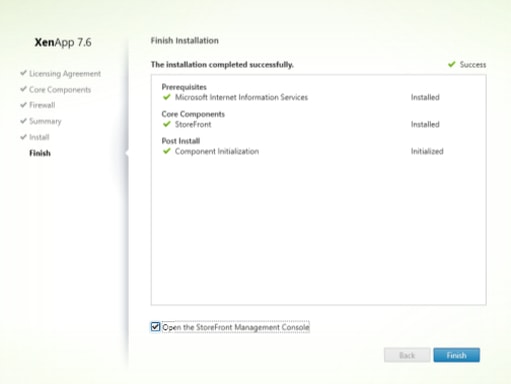
Click Create a new deployment.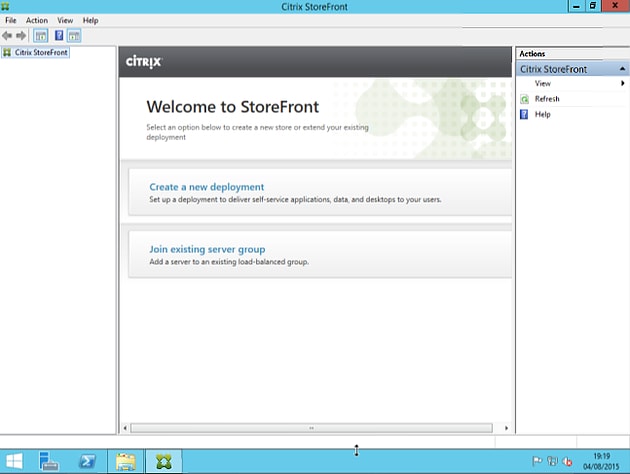
Enter your base URL for StoreFront. This will make up part of the overall URL for Citrix Receiver for Web and the self-service Store URL. Click Next.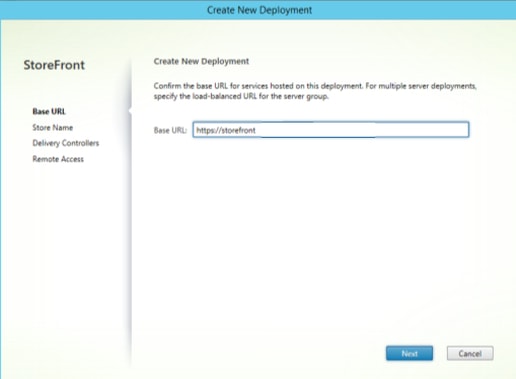
Give your Store a name. This will be displayed in Citrix Receiver. Choose something relevant to your environment. Click Next.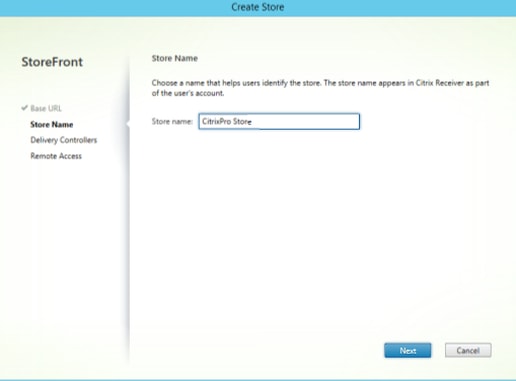
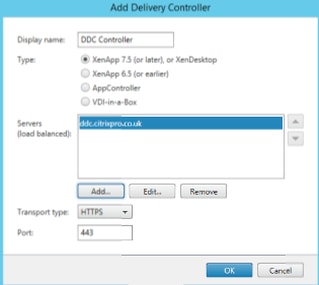
Now we get to add the Delivery Controller created earlier to this StoreFront deployment. You can add multiple Delivery Controllers here for load balancing, and specify port numbers/protocols use for communication between your Delivery Controllers and StoreFront. I only have the one Delivery Controller at this stage, to be used with XenApp 7.5 and to communicate over HTTPS/443. Click OK when done.
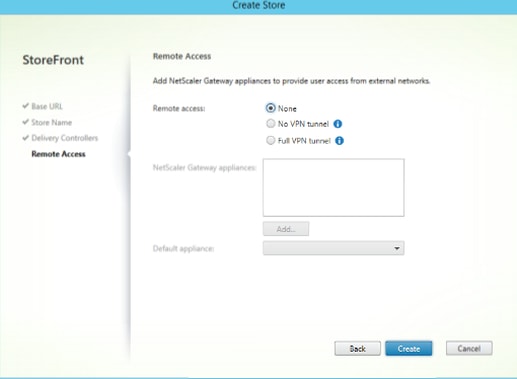
If you have a NetScaler Gateway you can add it here. Since I do not I will keep the setting as None and click Create.
- No VPN tunnel – Does not require the Secure Access Plug-in for Citrix Receiver. Can access limited resources delivered by the Stores. Known as Clientless Access.
- Full VPN tunnel – Requires the Secure Access Plug-in to establish VPN connections. Provides full VPN experience to the internal network.
Pass-through authentication is required as an authentication method in StoreFront if NetScaler if part of your deployment (Pass-through from NetScaler Gateway).
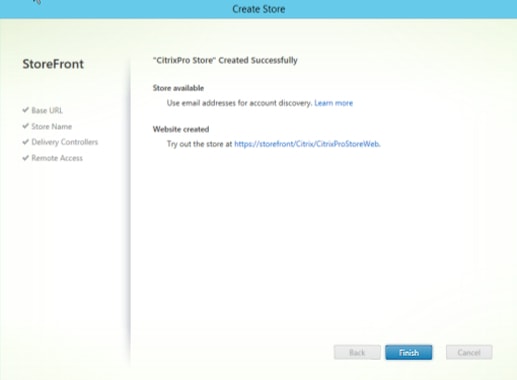
Once you click Create above your StoreFront installation will begin and complete. As shown below, note the Receiver for Web URL. Click Finish.
4. Director
Citrix Director is a great tool. Infact it is a really great tool for the Helpdesk staff and Citrix Administrator alike. With Director you can view failed VDA Virtual Machines, failed user connections including the reason, statistics such as number of users logged on and much, much more.
Click Citrix Director from the splash screen to begin the install.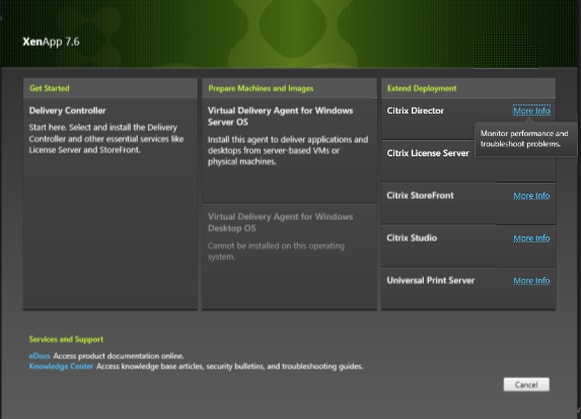
Click Next to install Director.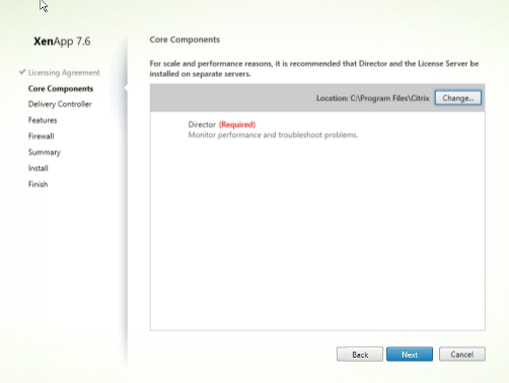
Enter each Delivery Controller server name you have and click Next.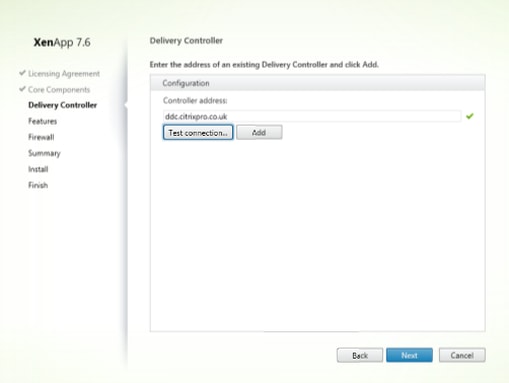
Choose either to install Windows Remote Assistance or not. This allows you to shadow active user sessions from within Director to provide support. A very useful feature. Click Next.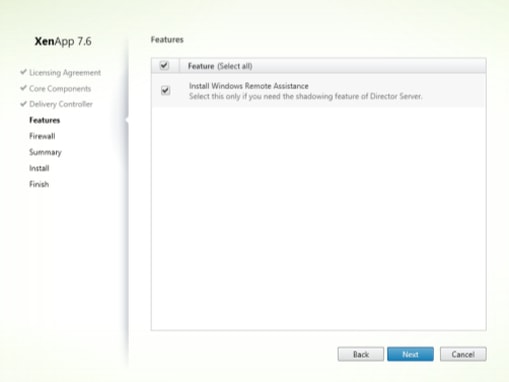
Configure ports 80 and 443 automatically. Click Next.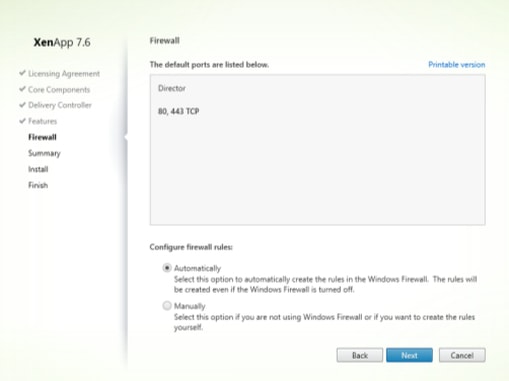
Review the Summary and click Install.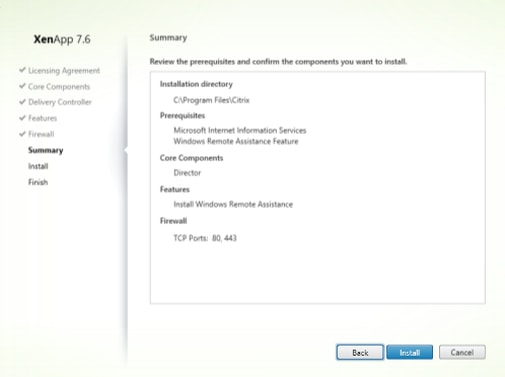
Director is now installed. You can click Finish and launch the Director web portal.
This is the easy part done. The foundation is now in place. A lot of extra configuration lies ahead but at this stage you are well underway to deploying your Citrix XenApp solution.
Thanks for reading.