You can create persistent, non-persistent and Session Host desktops using Unidesk 3.4 for Hyper-V. These desktops can in turn be used within your Citrix XenApp or XenDesktop farms. In this post I will show you how to create a persistent desktop using Unidesk.
Note: Unidesk was bought over by Citrix in January 2017.
Desktops in Unidesk come with a personlization layer. The personlization layer captures all changes that happens to the machine such as Windows Search, device drivers if printers etc. are installed, computer name, domain membership information, application installs, program or desktop setting changes, file caching from anti-virus etc. giving the persistent feel. If a user deletes a file from within C:\ for example it is recorded within the personlization layer. Whilst persistent desktops keep changes, on the other hand non-persistent Desktops are stateless and delete any changes during a reboot.
Session Hosts (shared desktops running server OS) come with a machine level personlization layer.
By now you should already have your gold image created and imported in to the Unidesk Management Console as an OS Layer. My image is Windows 7. To read up on how to create an OS Layer see https://jgspiers.com/unidesk-os-layer-creation-process/
Firstly before creating a desktop you need to create a desktop collection. You can also create collections for Session Host servers. Collections dictate that desktops share certain characteristics such as the same OS Layer, whether they are persistent or non-persistent, what broker is used etc.
If you haven’t already integrated Unidesk with XenApp/XenDesktop controllers then navigate to System -> Settings and Configuration -> Broker Settings. Unidesk communicates with the Broker Agent by default over port 8015. You don’t have to use brokers with collections but I would recommend it as Delivery Groups and Machine Catalogs are created for you as part of the Collection and Desktop creation, keeping everything nicely in line.
Within the UMC navigate to Desktops -> Collection -> Create Collection.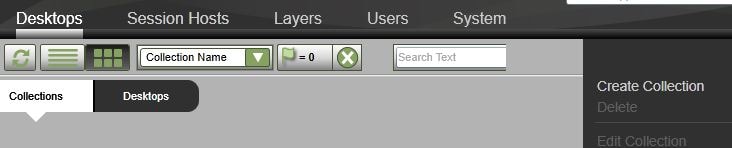 Specify a name. A Delivery Group within Citrix Studio will be created with the same name. Enter a description and choose an icon. Click the down arrow.
 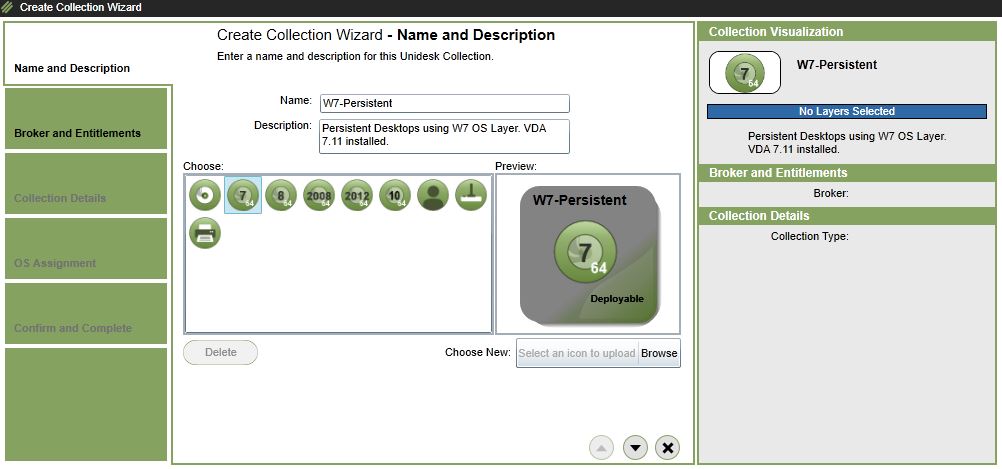 Select the XenDesktop broker you have integrated with since we are creating persistent desktops.
 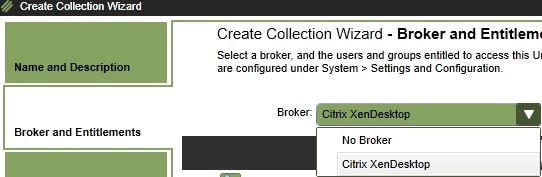 Select a user group that are entitled to access this collection. The same user group are added to the persistent desktop Delivery Group that Unidesk creates, allowing them to access the persistent desktop.
 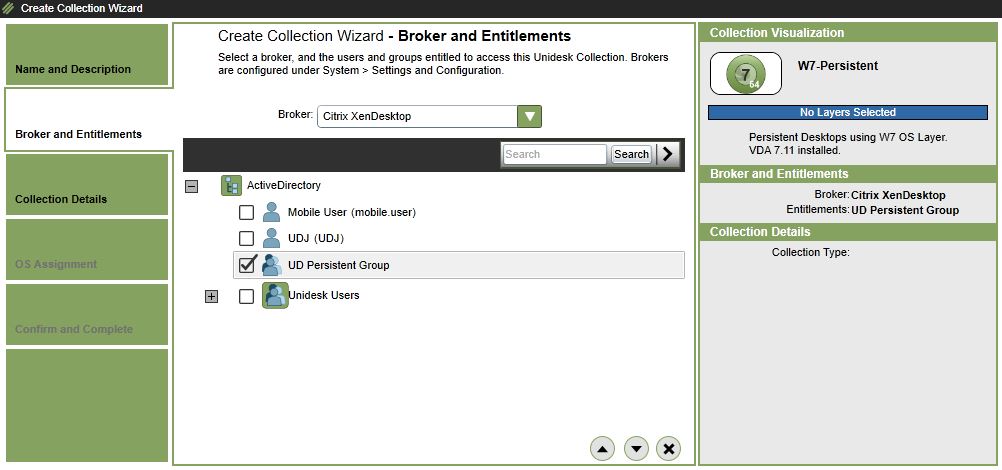 Select Persistent.
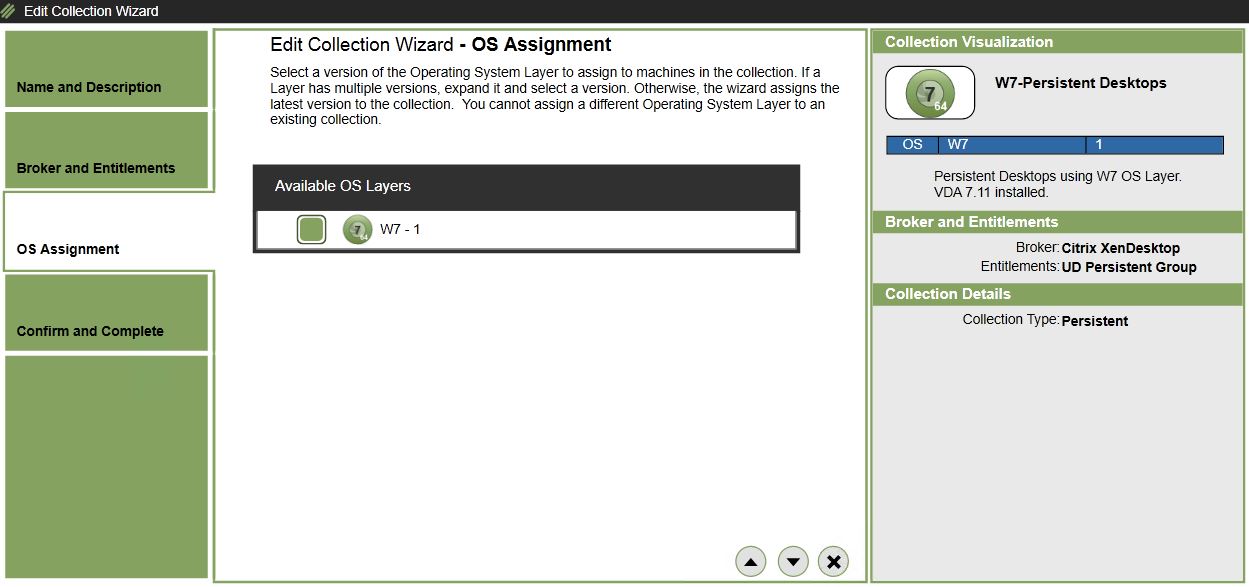
 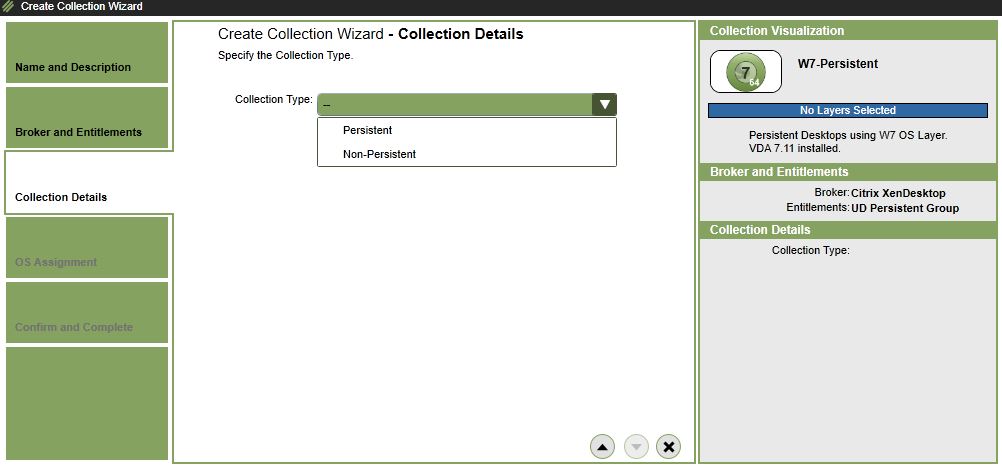 Choose the available W7 OS Layer.
 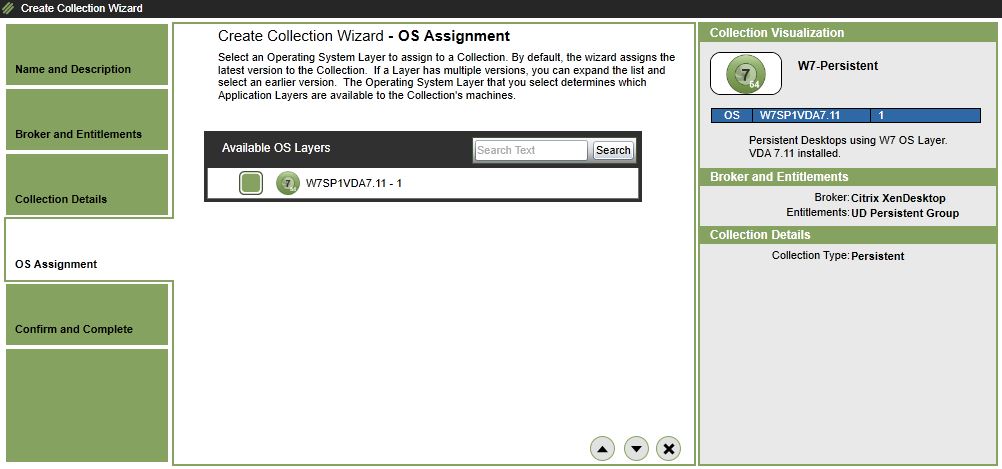 Click Create Collection.
 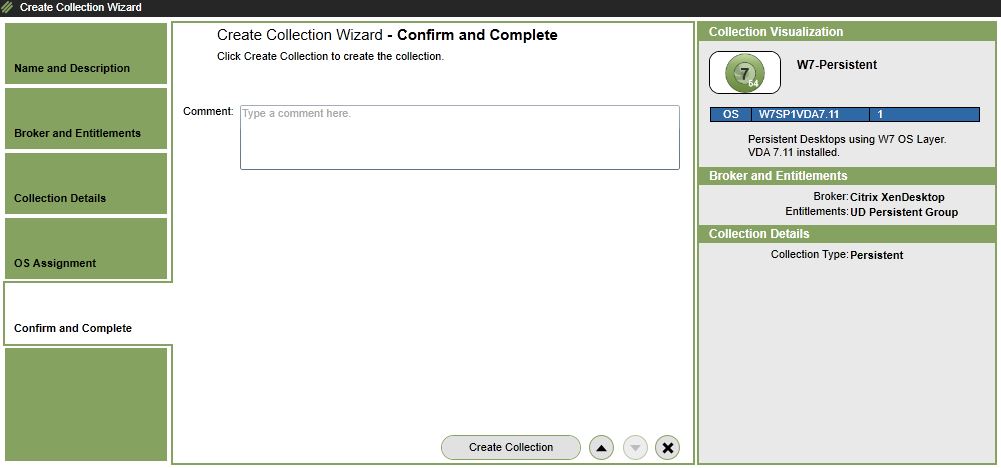 The new collection is created as below.
 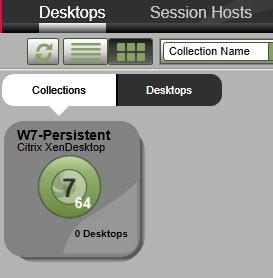 To create desktops click navigate to Desktops -> Desktops -> Create Desktops.
 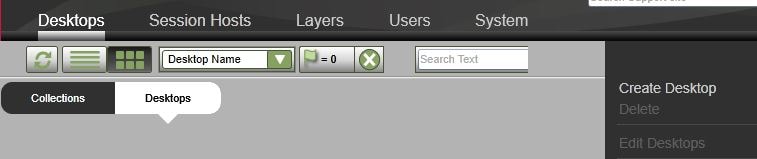 Choose the W7 collection and select each user you want to create a persistent desktop for.
 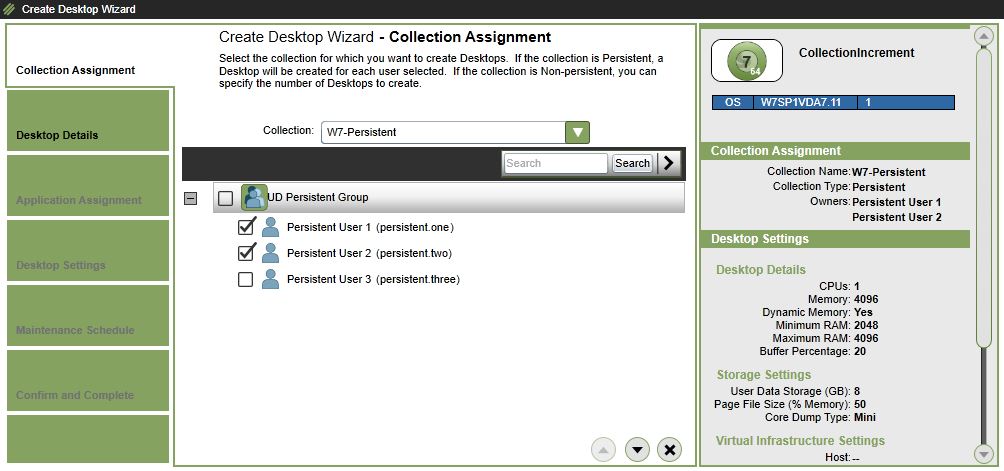 Choose the cluster you want to place the desktops on.
 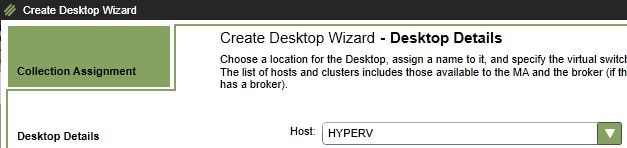 Now we need to define some sort of naming scheme for the new desktops. There are a number of built-in naming conventions that can be used or you can create your own. For example, CollectionIncrement would create desktops named W7-Persistent1 and W7-Persistent2. Instead we will define our own convention. Click Custom.
 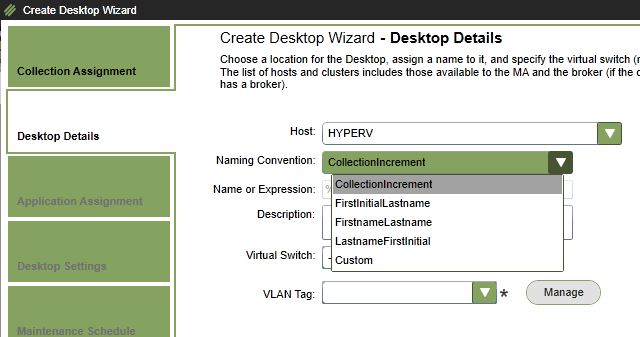 I have entered a expression of PersistentDR%I. This means the desktops will be named PersistentDT1 and PersistentDT2. Select a Virtual Swtich and VLAN. Click the down arrow.
 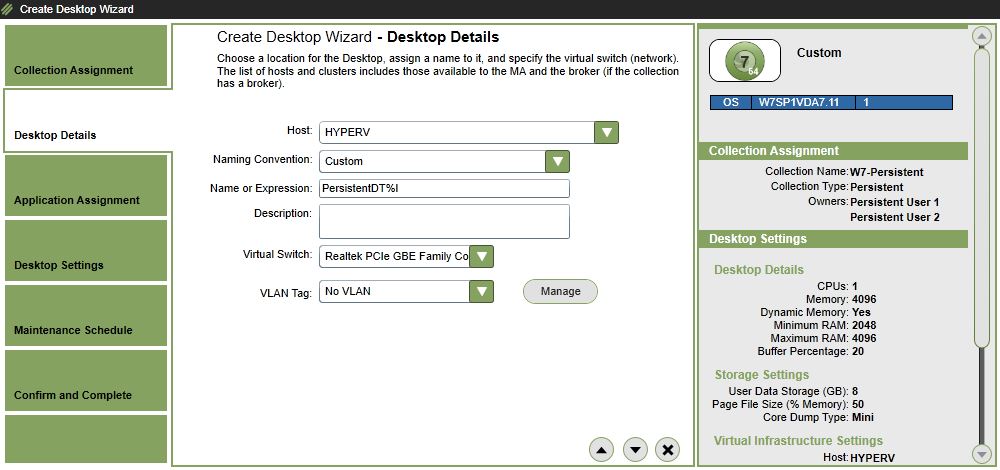 We have no application layers yet but if you had some you could choose to layer them on to the new desktops. Layers can be Adobe Reader, Microsoft Office and so on.
 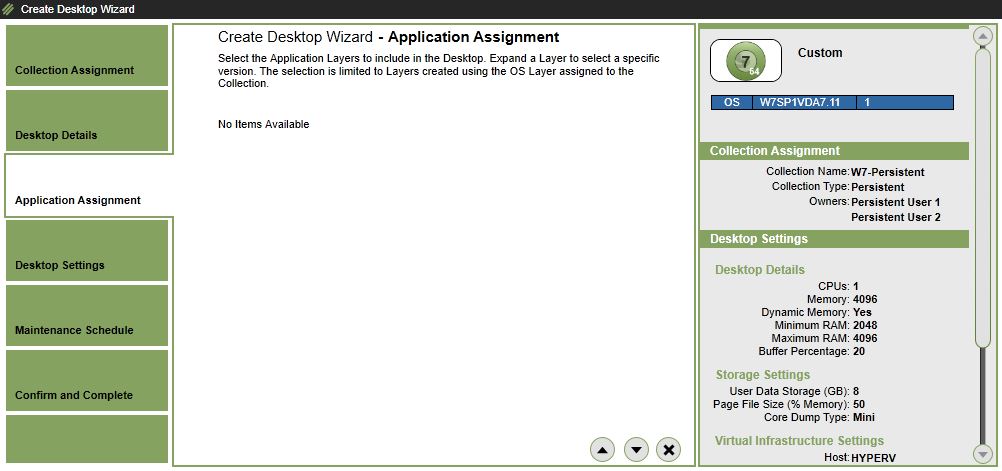 Specify hardware settings for the new desktops. These are the default values.
 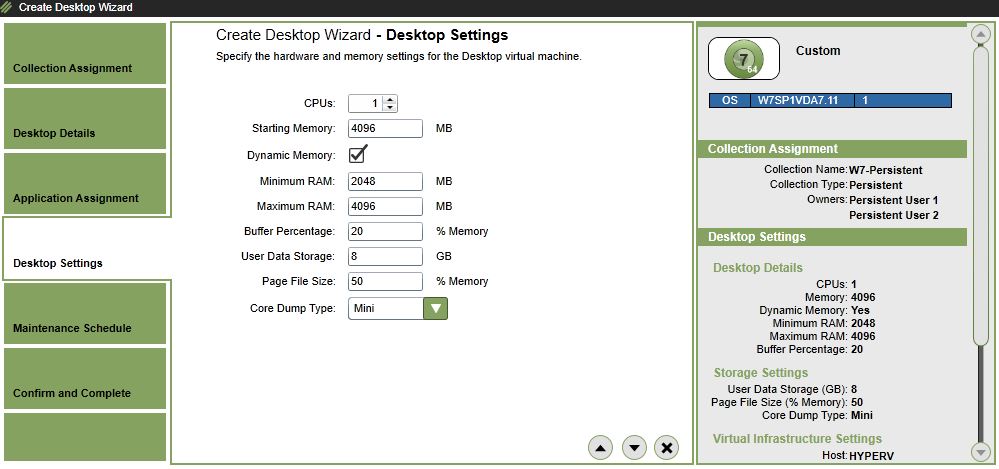 Instead I am reducing the RAM and disabling the use of dynamic memory. I am also changing the Core Dump Type to Full. This allows a full dump to be created in the event the desktop crashes. The Page File Size must be at 100% of the memory to use full dumps.
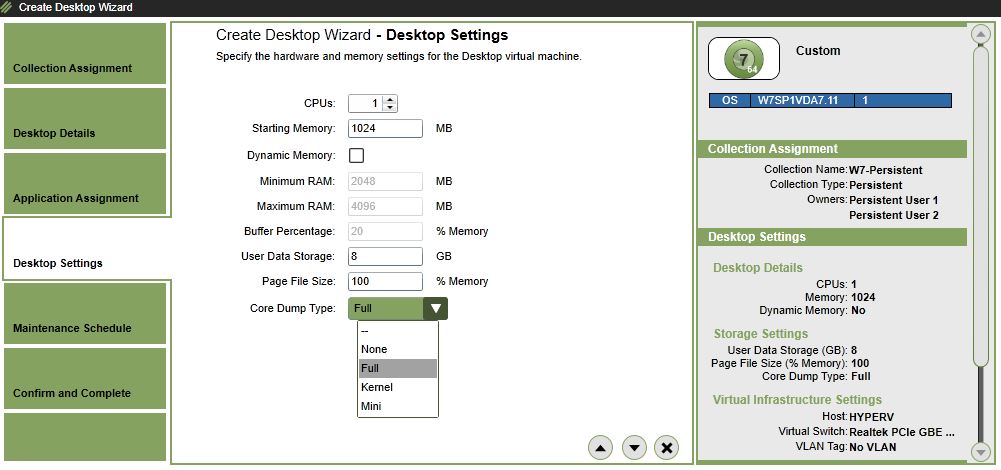 Select a Maintenance Schedule desktops will receive. I will use the default for now but this can be changed at a later time and you can create your own maintenance schedules. Maintenance Schedules dictate when a machine receives maintenance such as new layer assignments or rebuilds normally outside of core business hours.
 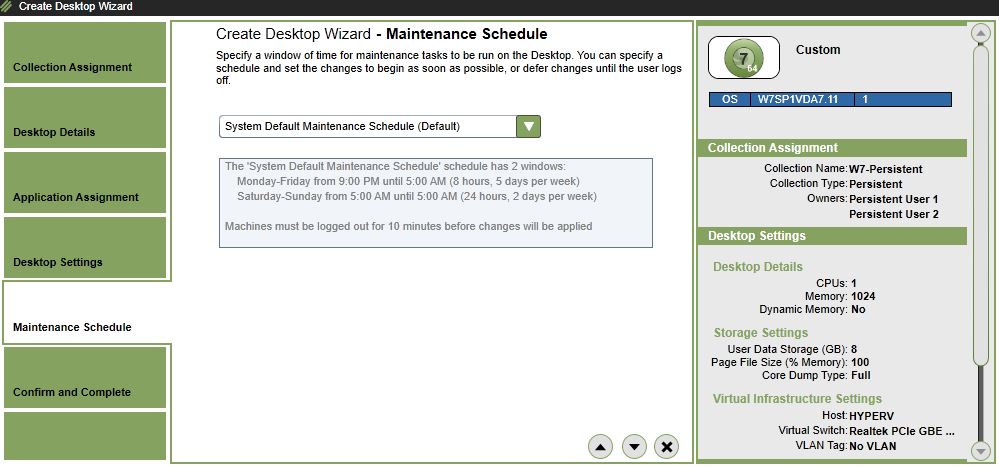 Click Create 2 Desktops.
 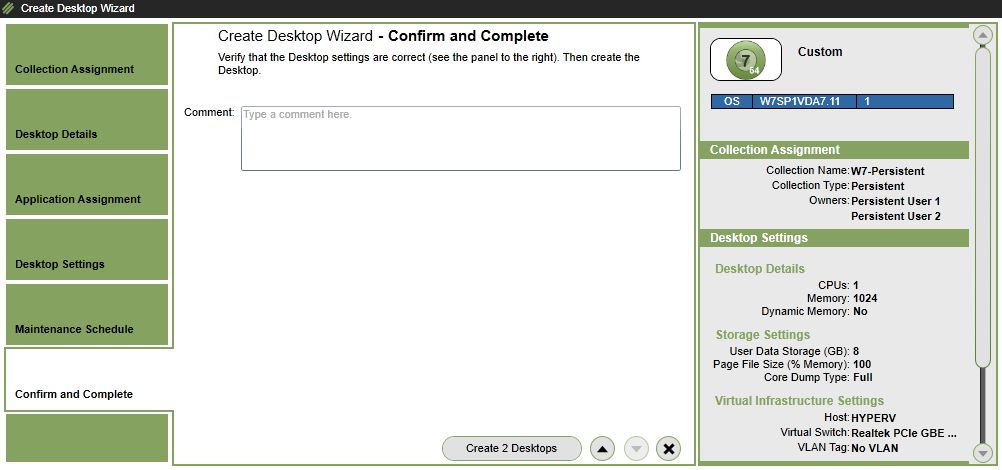 A new task is created for the desktp build. Click on the i icon for more information.
 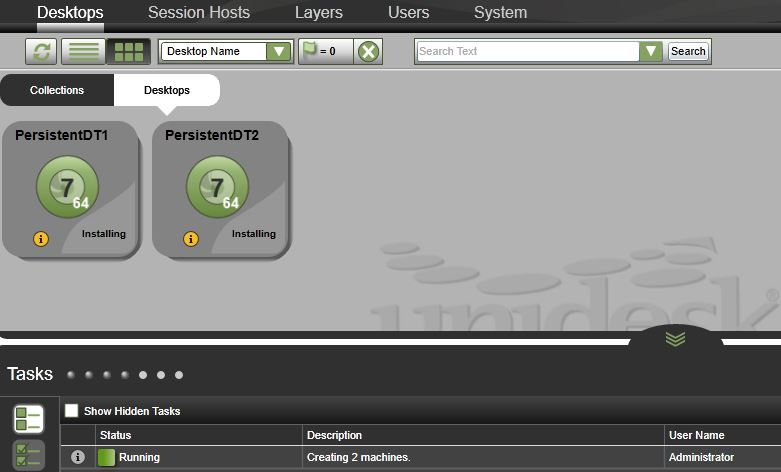 You can see here that the W7 OS Layer is copying from the Master CachePoint to the Secondary CachePoint (UnideskSCP).
  If you have a look at your storage within the Secondary CachePoint directory you will see the OS Layer in the name of *.vhdx.temp.
  After the copy is complete the .temp extension is removed.
  Back over to the Unidesk Management Console and we can see the UnideskSCP has received all required layers. Now the desktop creation can proceed.
 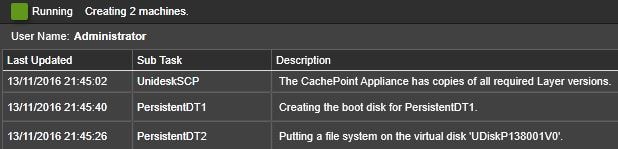 The desktops will sit in the Waiting for the machine to complete Windows Setup state for some time whilst the unattend file runs through applying domain join actions and auto-logon actions etc. if you have selected for the unattend file to do so. There will be a number of machine reboots during the process so just sit back and wait.
 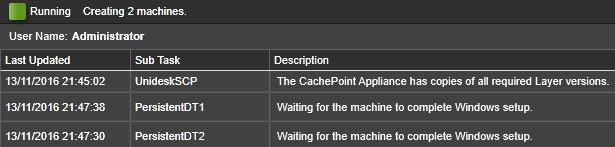 Eventually the desktops will return a The machine has been created successfully status.
  The machines show under storage within the UnideskSCP Secondary CachePoint that is managing them.
 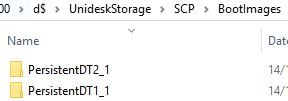 A machine catalog for the desktops was creating during the desktop creation.
  During the Desktop Collection creaton a Delivery Group was created matching the name of the Desktop Collection. The two new desktops have been added to this Delivery Group.
 ![]() Both desktops are registered and ready to go.
Both desktops are registered and ready to go. After desktops are created you can edit them to change the user assignment (owner) or hardware settings etc. Navigate to Desktops -> Desktop. Select a desktop and click Edit Desktops.
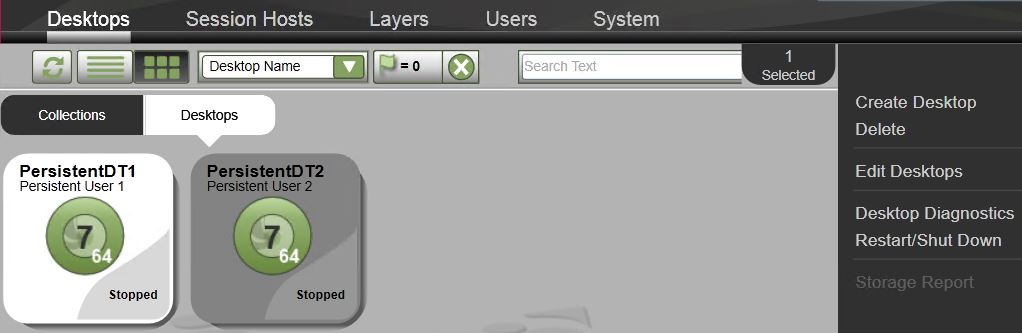
You can also highlight multiple desktops to edit them. Notice the drop-down box to the right, you can select each of the desktops and change their settings accordingly. You can not change the size of the user layer, OS Layer or broker assignment.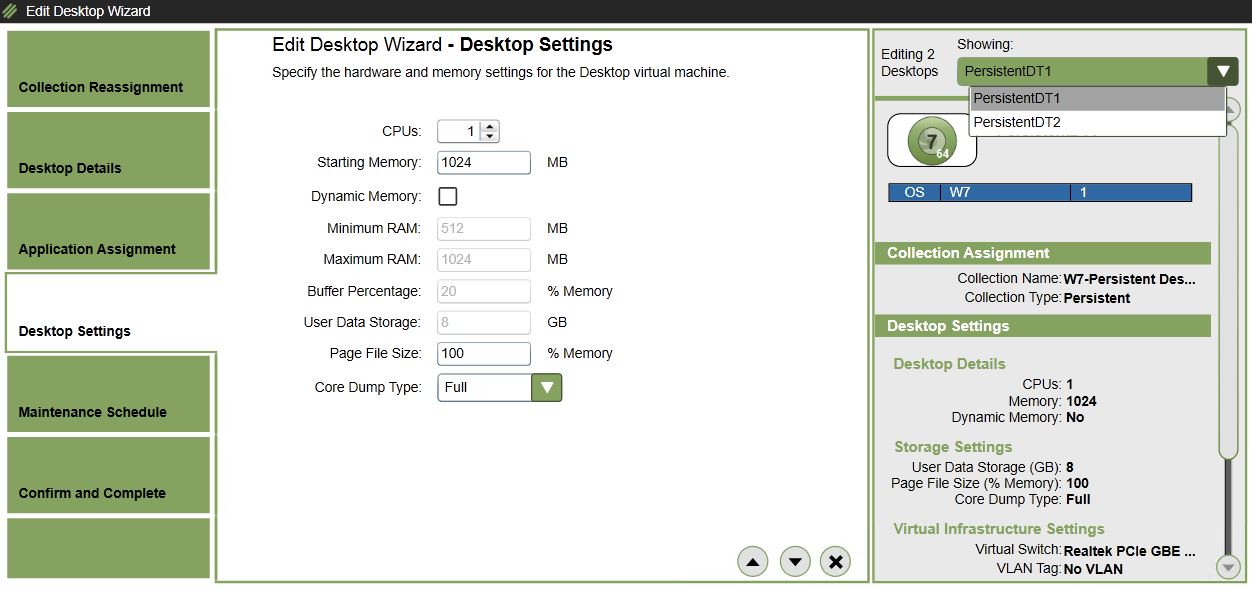
If you try to uncheck the OS Layer when editing a Desktop Collection and use another one you can’t. You must either recreate the desktop/create new ones or if upgrading the OS you could potentially do that within a new OS Layer version.