An increasing number of organisations are turning to Azure MFA to protect public and private cloud resources from intrusion by challenging users with multi-factor authentication. Azure MFA is a powerful, flexible authentication module that is either hosted in Azure Cloud itself or as an on-premises installation.
Multi-Factor Authentication in Azure when deployed offers you with the ability to authenticate using:
- One-time password.
- SMS.
- Phone call.
- Push notification.
The most common method is likely to be push notifications. Using this method, you simply hit APPROVE on your mobile phone when the prompt appears, and you have completed that authentication factor.
In this article, I’ll be showing you how you can authenticate to NetScaler Unified Gateway by using your corporate LDAP credentials, followed by a challenge from Azure MFA. In theory, for a password-less solution, you could go with plain Azure MFA as your primary authentication method. Authentication is exchanged between Active Directory Federation Services (ADFS) and NetScaler by SAML (Security Assertion Markup Language).
I’ve already covered how you can integrate an Azure MFA on-premises installation with NetScaler. Eventually, Microsoft will phase out the on-premises option in favour of Azure cloud MFA.
As you are using SAML with ADFS and Azure MFA, you will need to also deploy the Citrix Federated Authentication Service to be able to authenticate with VDAs using a virtual smart card. To keep this article size reduced, you can refer to this link on how to deploy Citrix FAS: http://www.jgspiers.com/adfs-authentication-storefront-netscaler-saml-citrix-federated-authentication-service/
AD FS running on Windows Server 2016 has the Azure MFA adapter built-in. This means that we have the option of performing MFA authentication direct from the ADFS login portal. You can also display a custom error message for any user who has not yet registered for Azure MFA. Note that this only works when initiating sign-on from the Identity Provider. In other words, ADFS can not present a custom error message to any user performing Service Provider initiated logons.
Contents:
- Configure ADFS – post deployment
- Configure ADFS with Azure MFA
- Configure NetScaler
- Post-configuration, using the solution
Configure ADFS – post-deployment:
Once you have installed the ADFS role and before configuring it, launch PowerShell and run command Add-KdsRootKey -EffectiveTime ((get-date).addhours(-10)). This command immediately creates a Key Distribution Service Root Key, stored in Active Directory, and allows you to create a group Managed Service Account (gMSA) as the ADFS service account you create later. Run this command from a Domain Admin or Enterprise Admin account.
Now you can begin your ADFS post-deployment configuration from Server Manager.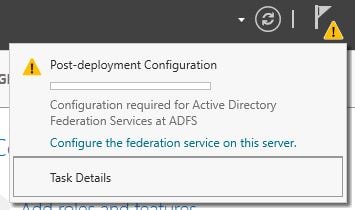
With Create the first federation server in a federation server farm selected, click Next.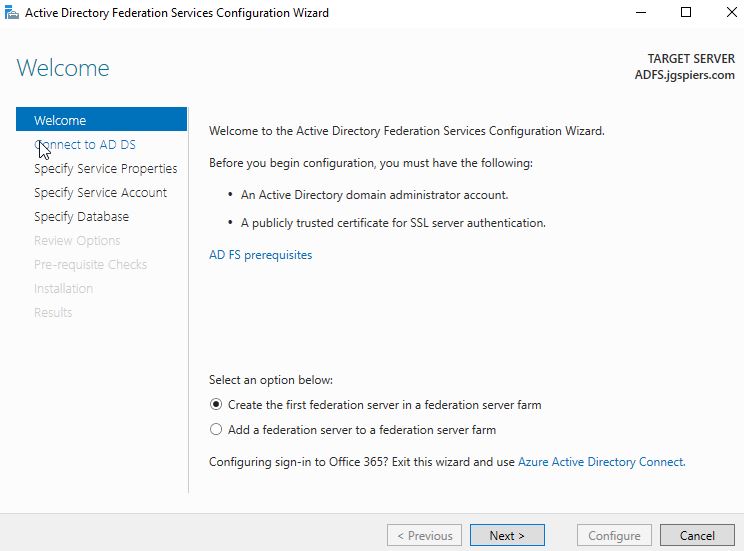
Specify a Domain Admin account to perform the ADFS configuration. Click Next.
For this step you will need to install a 3rd-party public certificate which matches the FQDN of your ADFS implementation. In my case, the public ADFS URL will be fs.jgspiers.com. Lastly provide a display name. The Federation Service Display Name will show to all users at log on. Click Next.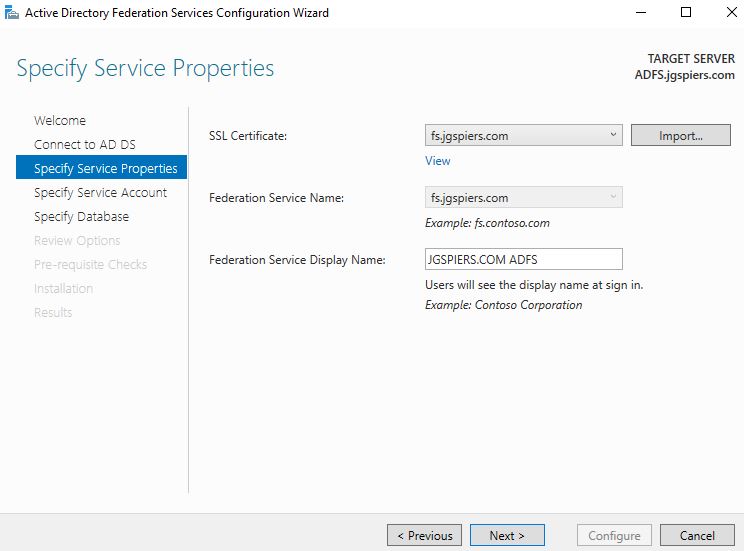
Select Create a Group Managed Service Account and enter a unique name for this account. Managed Service Accounts are supported in Windows Server 2012 onwards and come with strict, complex passwords which are changed automatically every 30 days. Click Next.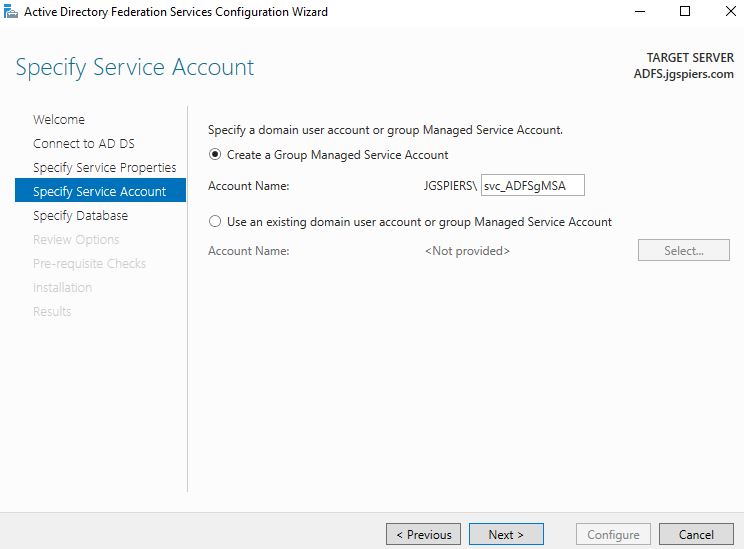
Check Specify the location of a SQL Server database and enter your SQL server details. Click Next.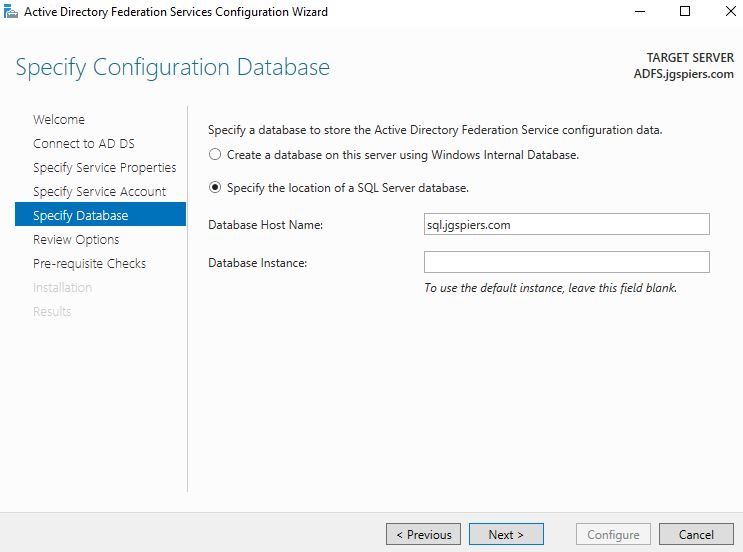
Click Next after reviewing your selections.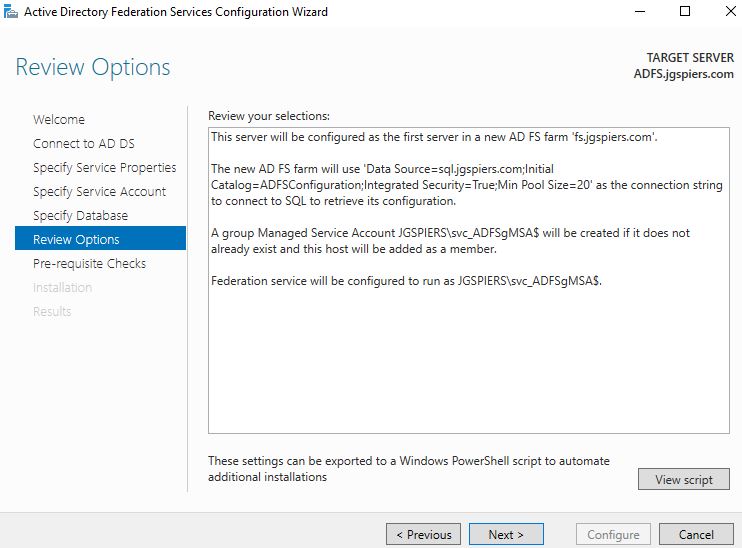
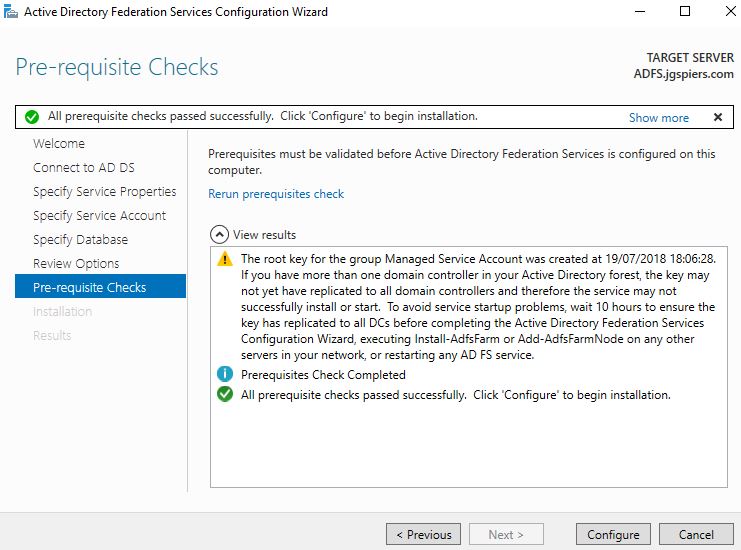
Click Configure.
Create an internal A Record for your ADFS URL. You also need to create an external A Record on your public DNS servers pointing to the ADFS FQDN.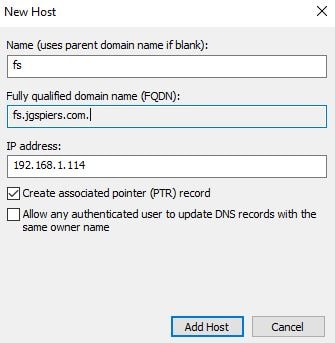
Next on your ADFS server, launch PowerShell and run command Set-ADFSProperties -AutoCertificateRollover $false. I am doing this because I do not want to use the ADFS generated Token-decrypting and Token-Signing certificates. Instead we use our own generated through ADCS (Active Directory Certificate Services). In my case I have two certificates with subjects of:
- signing.jgspiers.com
- decrypting.jgspiers.com

Enrol for the above two certificates, install them on your ADFS server and then launch the ADFS Management console. Browse to AD FS -> Service -> Certificates -> Add Token-Signing Certificate.
Select your Token Signing certificate from the list of available certificates to select. Click OK.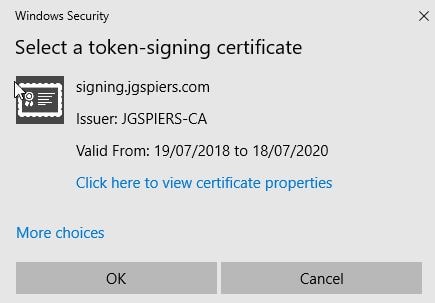
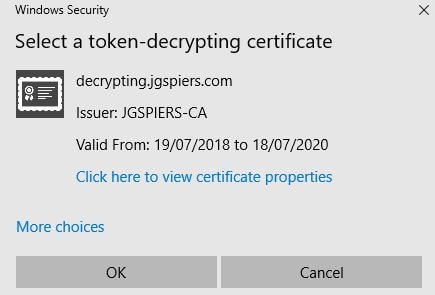
Click Add Token-Decrypting Certificate.
Select your Token Decrypting certificate from the list of available certificates to select. Click OK.
Now highlight your Token Decrypting certificate from the ADFS console and select Set as Primary.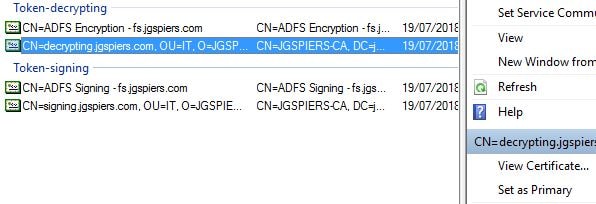
Perform the same step for your Token Signing certificate.
Select the pre-installed/built-in Token Signing certificate that ADFS provides and click Delete -> Yes.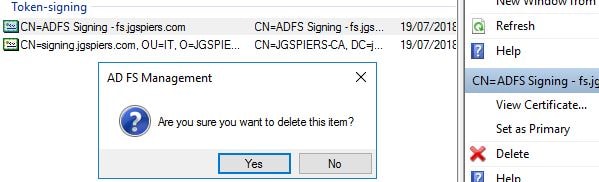
Perform the same step for your Token Decrypting certificate.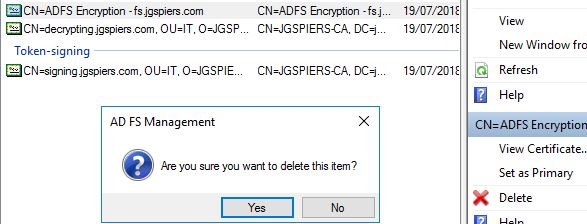
Your Certificates pane will look as below.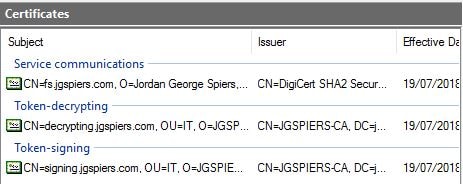
On your ADFS server, launch an MMC console and add the Computer Certificates Snap-in. Navigate to the Personal store, right-click on the Decrypting certificate and click All Tasks -> Manage Private Keys.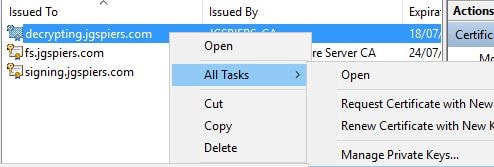
Click Add.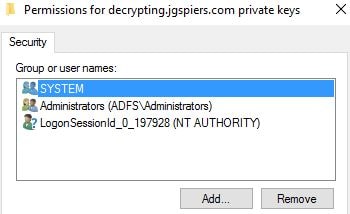
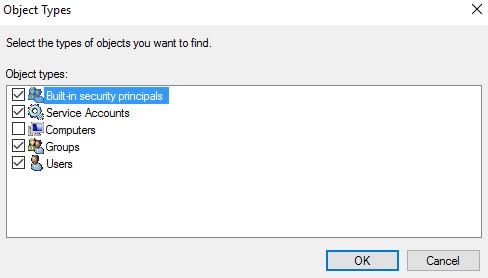
Click Object Types and check Service Accounts -> OK. Enter the name of the Managed Service Account you used during ADFS configuration.
Specify Read permissions for the service account and click OK. Perform the same action on the Decrypting certificate. Afterwards, restart the Active Directory Federation Services service.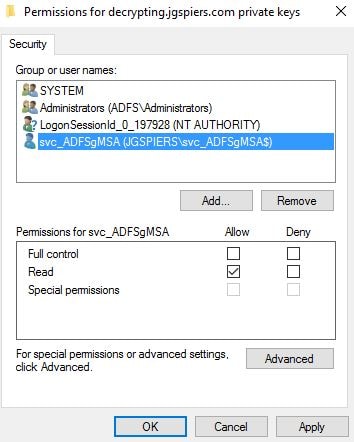
Configure ADFS with Azure MFA:
On each of your ADFS servers launch PowerShell and run command $mfacert = New-AdfsAzureMfaTenantCertificate -TenantId yourtenantid![]()
Run command Connect-MsolService to log on to your Azure Active Directory environment. For more instructions please visit: http://www.jgspiers.com/how-to-connect-to-azure-powershell-arm-azuread/
Run command New-MsolServicePrincipalCredential -AppPrincipalId 981f26a1-7f43-403b-a875-f8b09b8cd720 -Type asymmetric -Usage verify -Value $mfacert
- Note: The AppPrincipalId is the Azure MFA client GUID.

On your primary AD FS server only, run command Set-AdfsAzureMfaTenant -TenantId yourtenantid -ClientId 981f26a1-7f43-403b-a875-f8b09b8cd720
- Note: The ClientId is the Azure MFA client GUID.

Restart the AD FS service on each of your servers. You may also need to reboot your WAP servers if they are deployed.
Configure ADFS with NetScaler:
Navigate back to the ADFS Management Console and browse to AD FS -> Relying Party Trusts -> Add Relying Party Trust. Using this wizard we create a trust relationship between ADFS and NetScaler.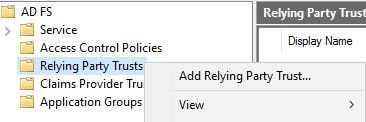
Click Start.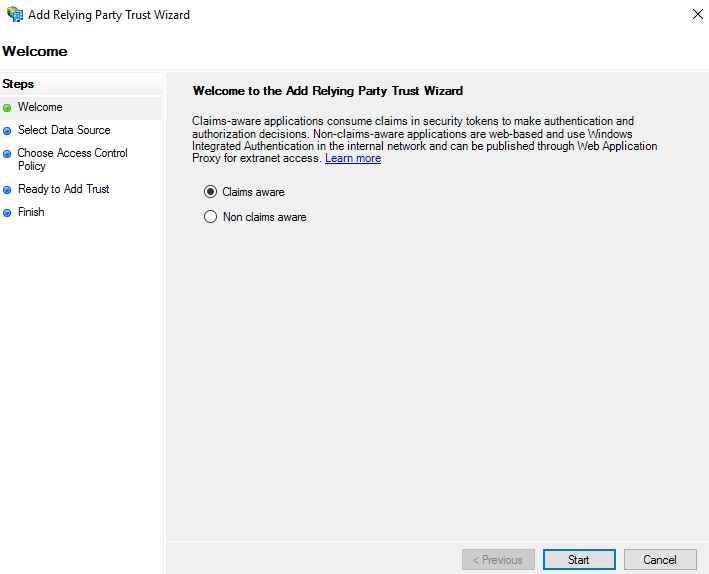
Check Enter data about the relying party manually and click Next.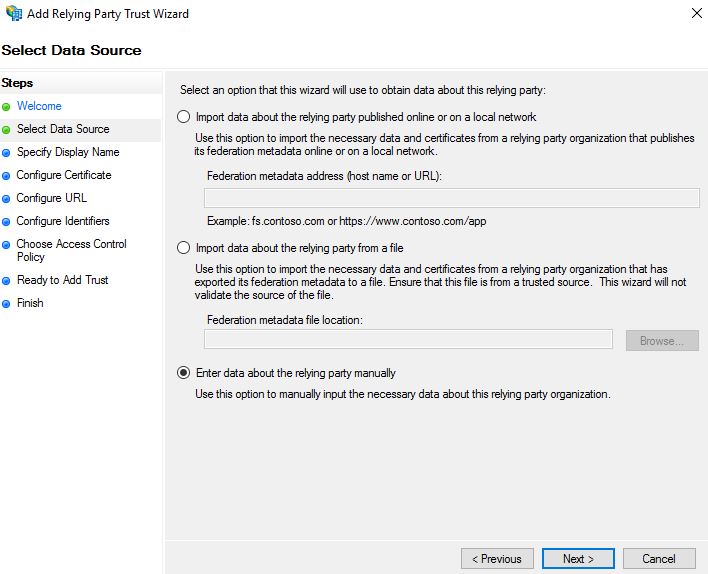
Enter a descriptive display name and optional notes. Click Next.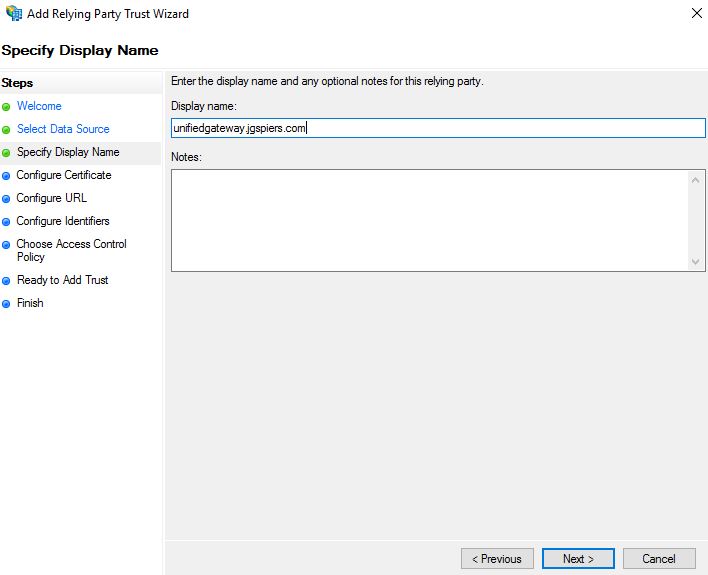
Click Next.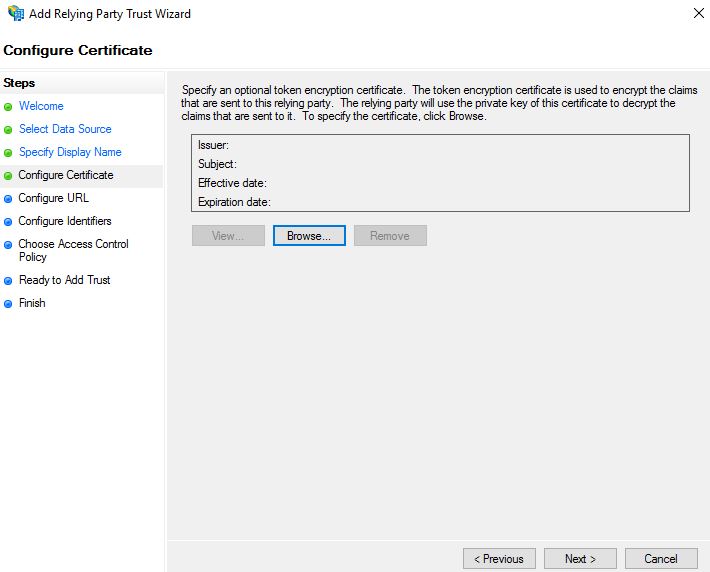
Check Enable support for the SAML 2.0 WebSSO protocol and enter your NetScaler external URL with /cgi/samlauth appended to the URL. Click Next.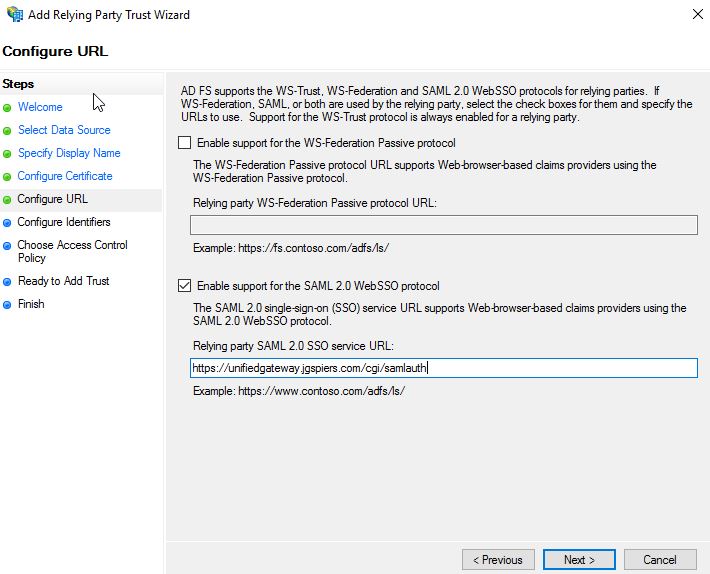
Enter a unique identifier string for the Relying Party Trust. In this example, I’m simply using the NetScaler URL. This same identifier string will later be referenced in the NetScaler SAML policy so take note of it. Click Next.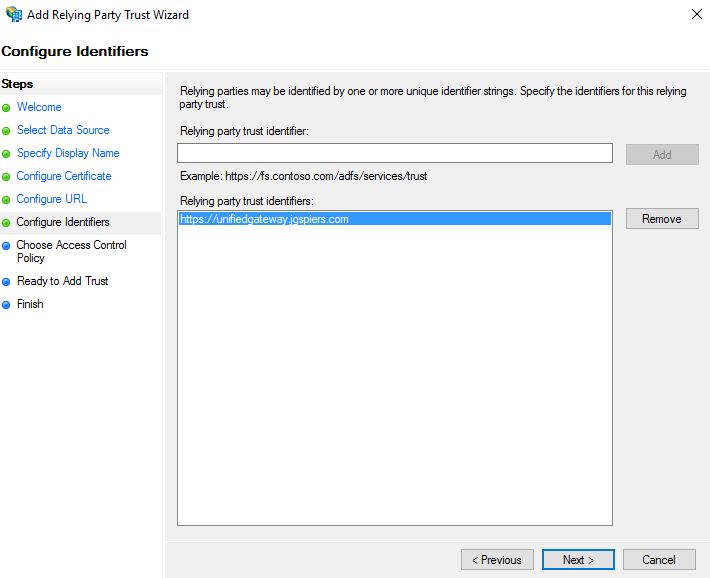
A Relying Party Trust must have an Access Control Policy set against it to govern who can log on. A number of built-in policies come with ADFS. Alternatively you can create your own. For now I am choosing Permit everyone and require MFA. Click Next.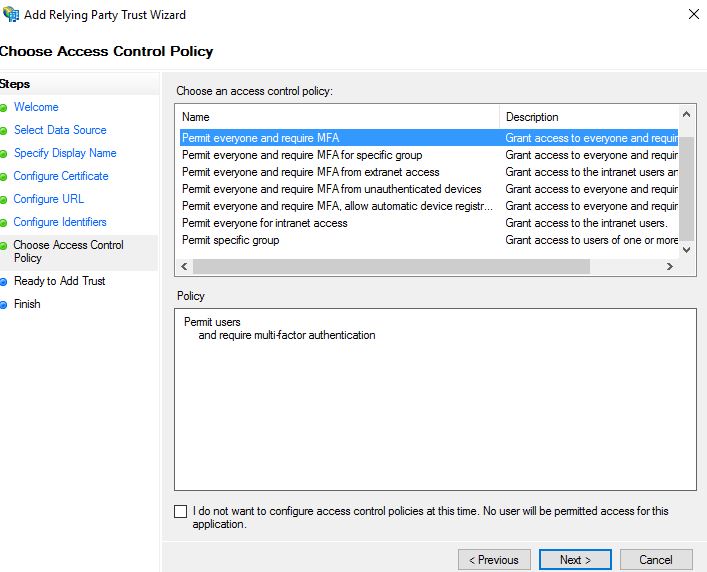
Click Next.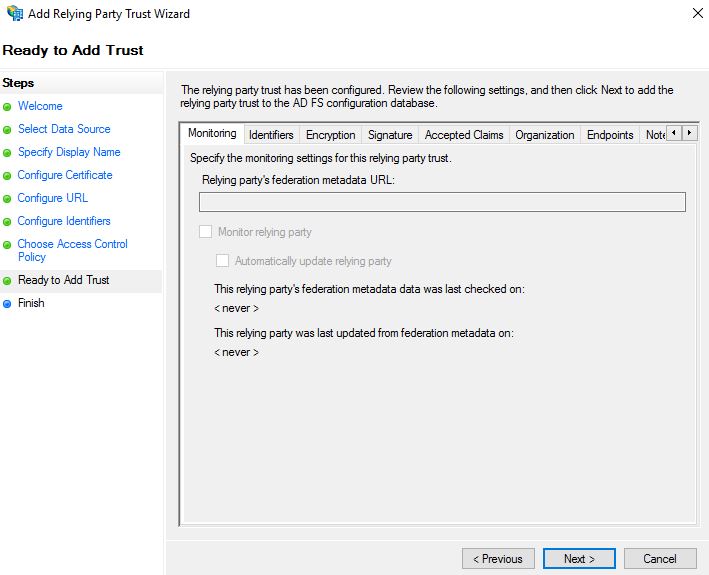
Check Configure claims issuance policy for this application. Click Close.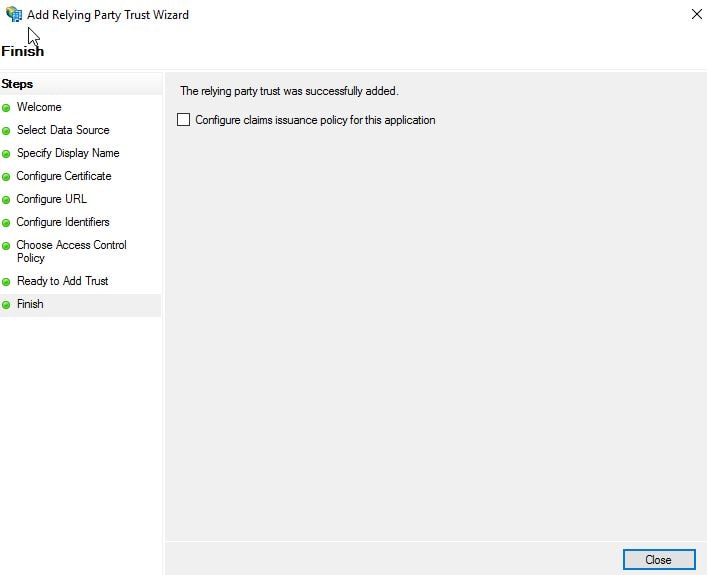
Click Add Rule.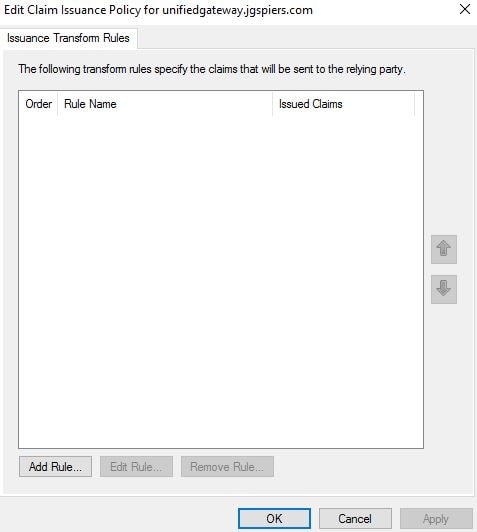
Using the drop-down select Send LDAP Attributes as Claims. We want to send the users UPN as a claim in the signed token sent to NetScaler from ADFS. Click Next.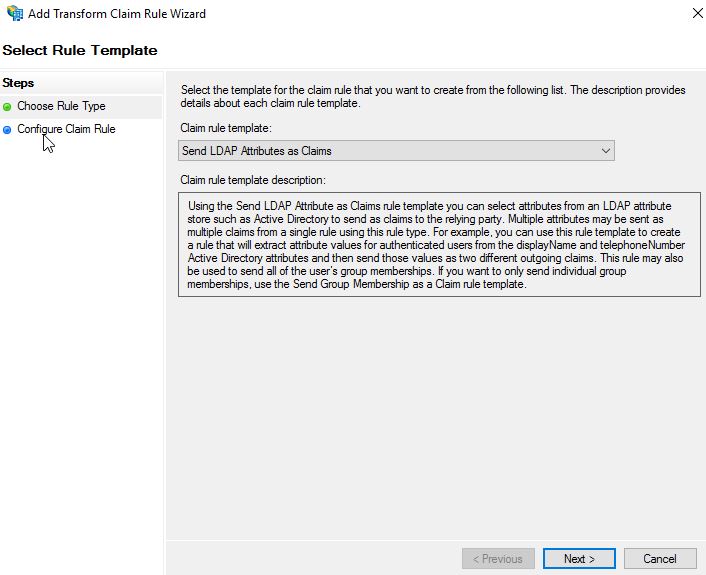
Enter an appropriate Claim rule name. Under Attribute store select Active Directory. Under LDAP Attribute select User-Principal-Name. Under Outgoing Claim Type select Name ID. Click Finish.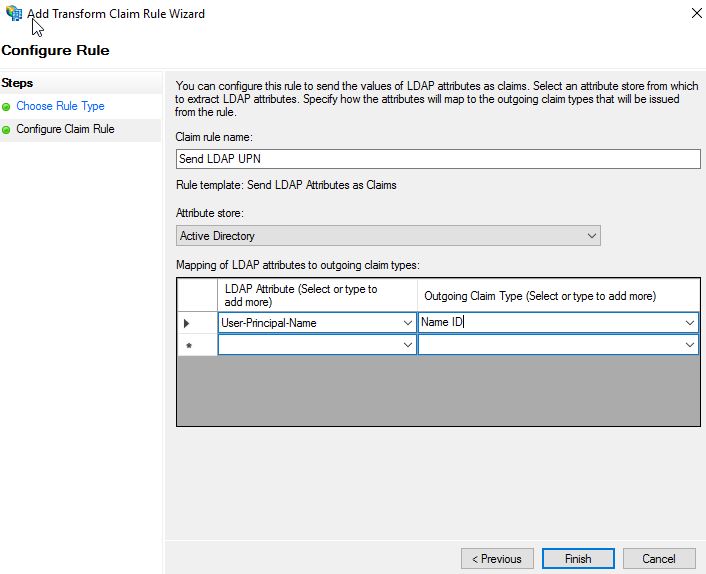
Click OK.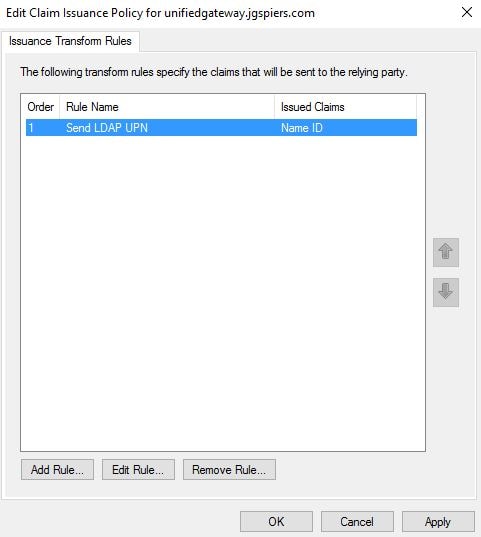
Right-click your Relying Party Trust and click Properties.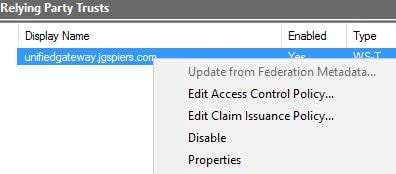
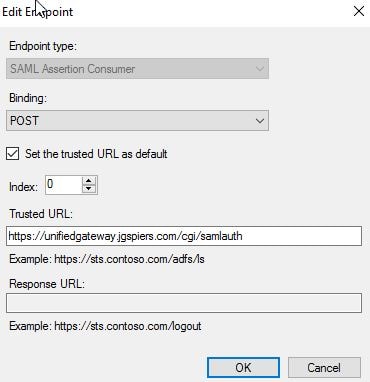
Click on the Endpoints tab. There should be a single entry under SAML Assertion Consumer Endpoints. Click Edit.
Double check that the details are as below. Click OK.
Click Add SAML.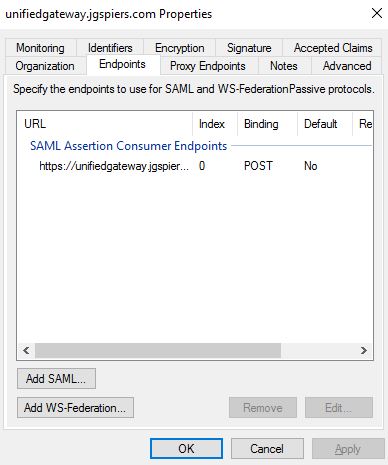
Using the Endpoint type drop-down select SAML Logout. Under Binding select POST. Under Trusted URL enter https://adfsurl/adfs/ls/?wa=wsignout1.0. This will act as your logout URL when logging out of NetScaler. Click OK.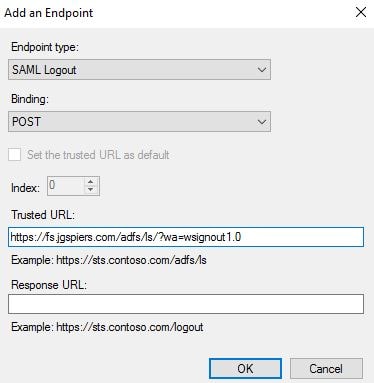
Click OK.
To test ADFS, you can enable the ADFS Initiated Sign-on Page (disabled by default). You will also be using the Identity Provider initiated sign-on anyway, as mentioned previously that is the only way you can have ADFS present a custom error page to unregistered MFA users. To enable the ADFS Initiated Sign-on Page run command Set-AdfsProperties -EnableIdPInitiatedSignonPage $true![]()
Now using your web browser browse to https://youradfsurl/adfs/ls/idpinitiatedsignon. You should receive an HTML page as below.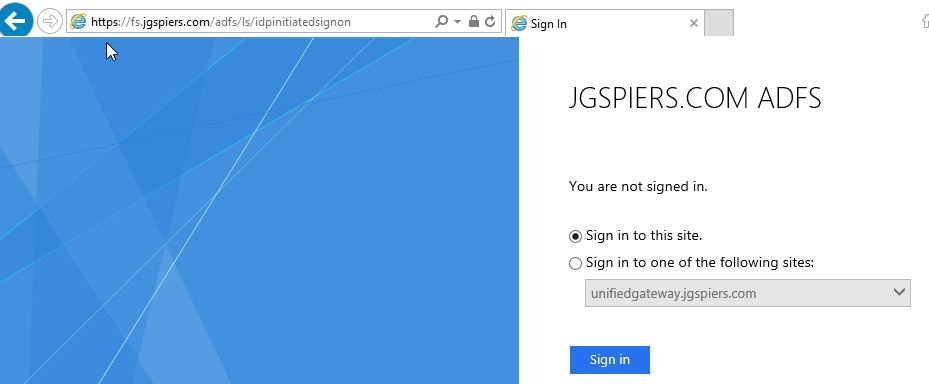
Next navigate to https://youradfsurl/adfs/fs/federationserverservice.asmx and confirm you receive an XML response as below. If both tests are successful, you are ready to configure NetScaler with SAML authentication.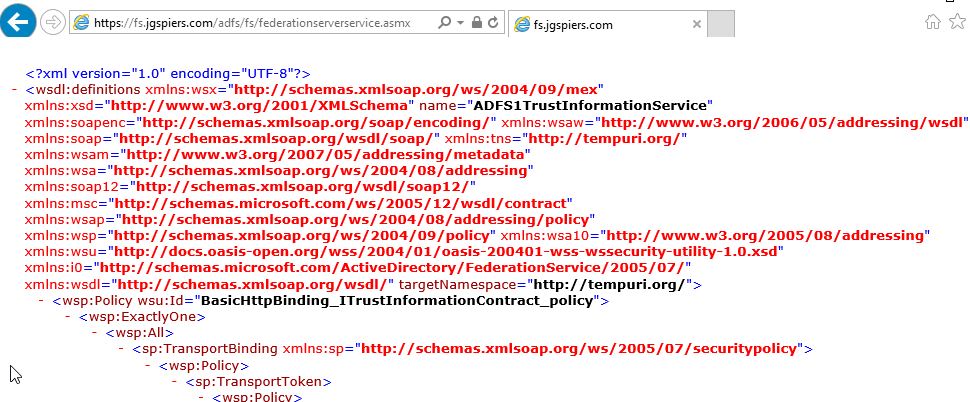
Configure NetScaler:
I’m using NetScaler Unified Gateway, so my SAML policies will be attached to an AAA vServer.
First you need to create a SAML Server. Navigate to Security -> AAA – Application Traffic -> Policies -> Authentication -> Basic Policies -> SAML -> Servers -> Add.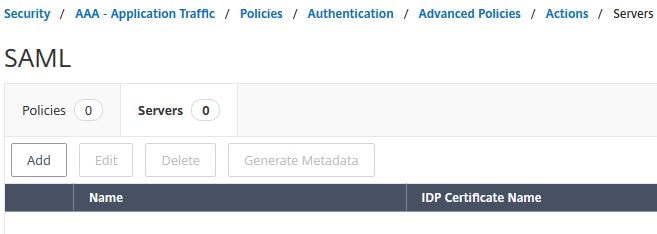
Multiple actions are required:
- Specify an appropriate name for your SAML Server.
- Under IDP Certificate Name, import the Token-signing certificate found on your ADFS server.
- Under Redirect URL enter https://youradfsurl/adfs/ls/
- Under Single Logout URL enter https://youradfsurl/adfs/ls/?wa=wsignout1.0
- Under User Field enter Name ID.
- The Issuer Name must be the same unique identifier name you specified during the creation of the NetScaler Relying Party Trust.
Click on More.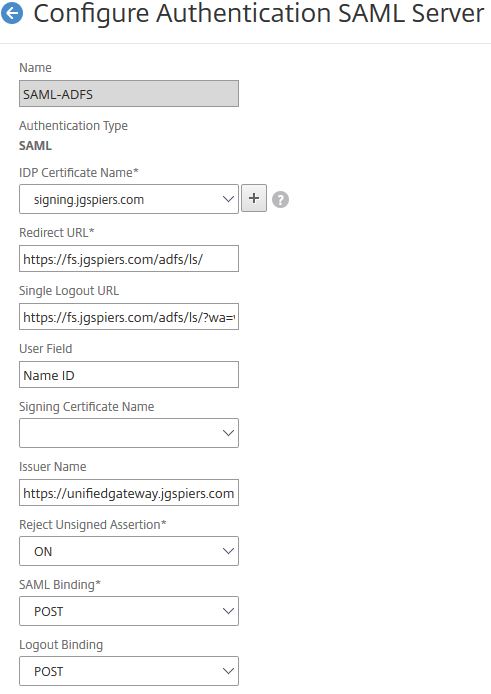
Check the radio boxes for RSA-SHA256 and SHA256. Finish the creation of the SAML server.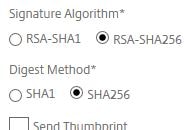
Navigate to Security -> AAA – Application Traffic -> Policies -> Authentication -> Advanced Policies -> Authentication Policies -> Add.
Enter a name. Under Action Type select SAML. Under Action choose the SAML server you just created. Under Expression type true. Click Create.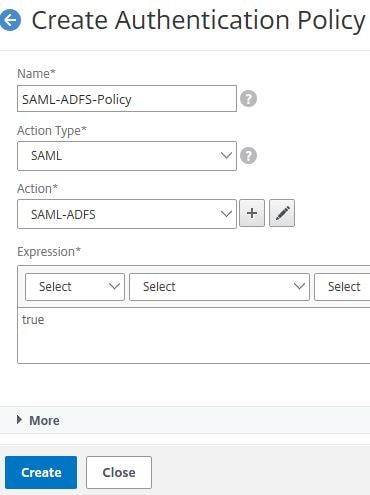
Now bind the SAML policy to your AAA vServer, as below.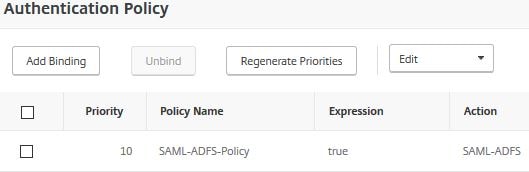
Back over on your ADFS server, right-click Authentication Methods and select Edit Primary Authentication Methods.
For Extranet choose Forms Authentication.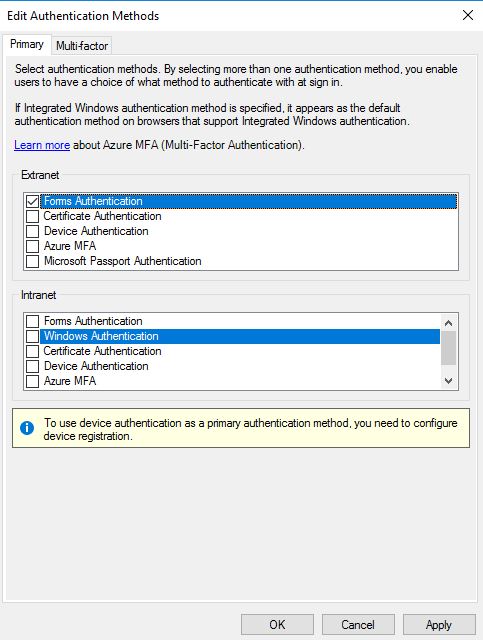
Click on the Multi-Factor tab and select Azure MFA. Click OK.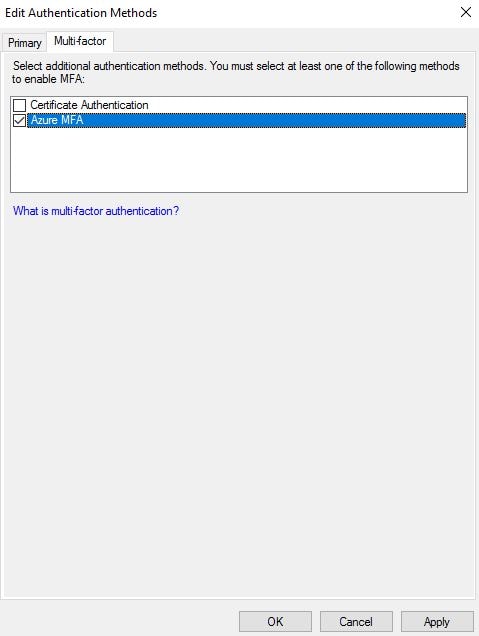
Browse to your ADFS initiated sign-on page such as https://youradfsurl/adfs/ls/idpinitiatedsignon.aspx?LoginToRP=https://yournetscalergatewayurl and attempt to log on using valid credentials of an account that has not yet registered for Azure MFA.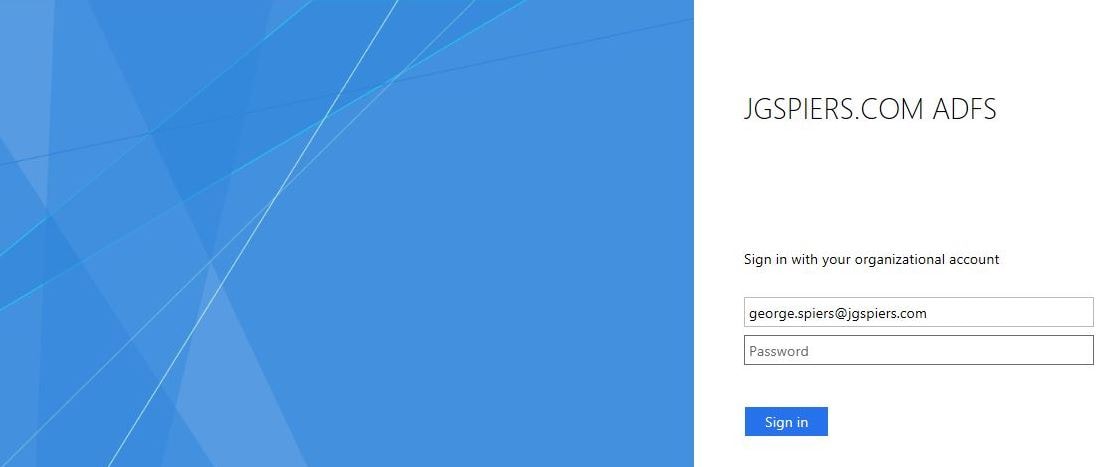
You will notice that you receive an error message indicating that the selected authentication method is not available.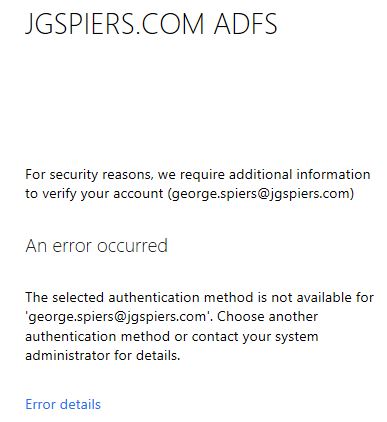
On your ADFS server, Event ID 364 will report the same thing. Instead, it would be better to present users with a more informative message and a URL they can visit to “proof up”.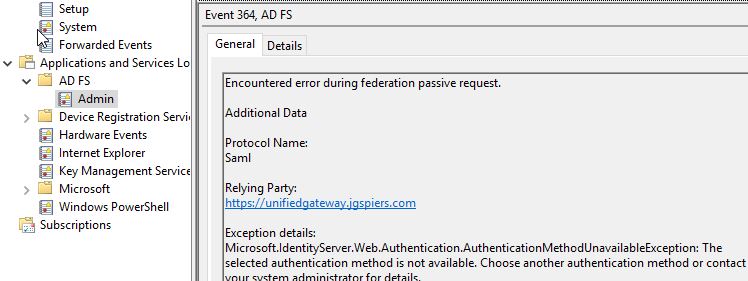
Post-configuration, using the solution:
Before you begin to create a custom error message for your users who have not yet registered, you should enable a testing user for multi-factor authentication. One way to do that would be to log on to your Azure tenant and under Azure Active Directory -> Users -> Multi-Factor Authentication select a test user who you would like to test the Azure MFA authentication with and click Enable underneath quick steps.
However, this method will force Azure MFA upon users for all Azure services.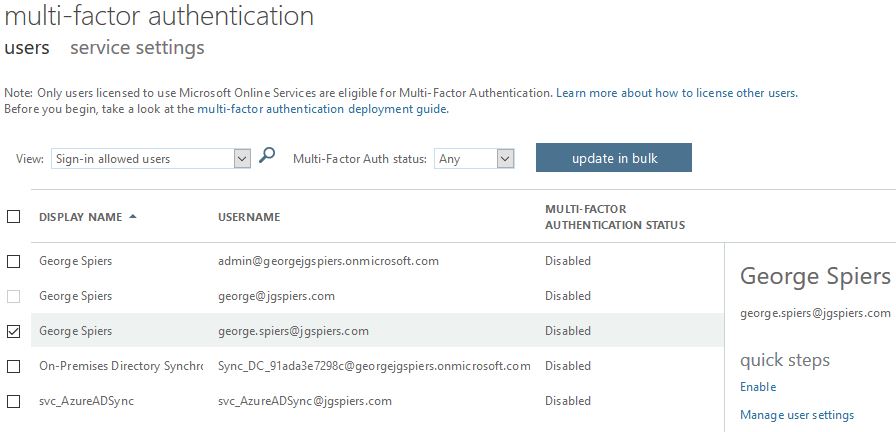
A neater way as pointed out by my Marriott friend, James Kindon, is to use Conditional Access Policies. Whilst logged on to the Azure portal, navigate to Azure Active Directory -> Conditional access.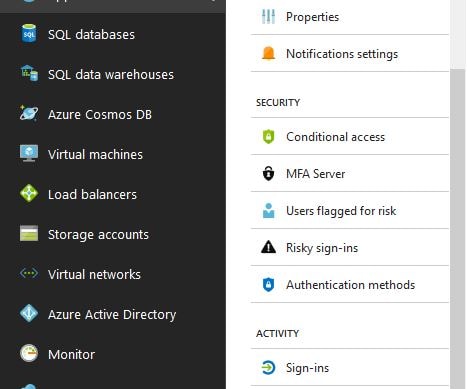
Click New policy.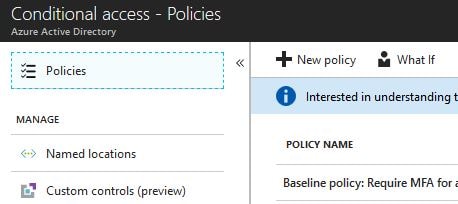
Specify a name and then click on Users and groups.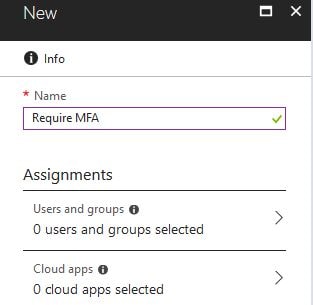
Here you can include and exclude certain users and groups. For now, check Select users and groups and Users and groups then click Select.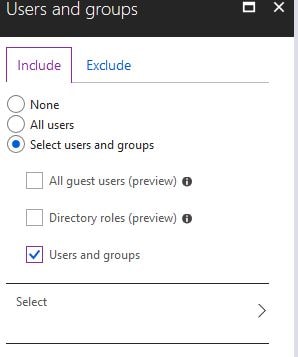
Select your testing user for now and click Select.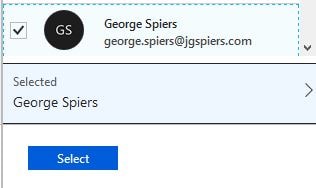
Click Done.
Click 0 controls selected.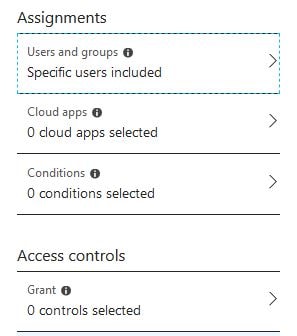
Check Require multi-factor authentication and then click Select.
Switch the Conditional Access Policy to On and finally click Create.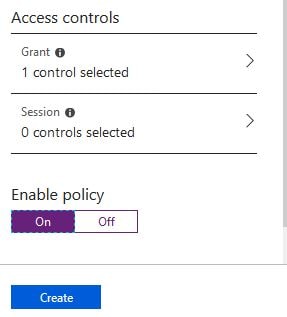
Now over on your ADFS server to create a new theme launch PowerShell and run command New-AdfsWebTheme -Name MFATheme -SourceName Default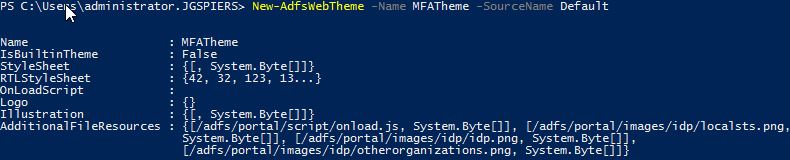
Run command Export-AdfsWebTheme -Name Default -DirectoryPath C:\MFATheme![]()
Under C:\MFATheme\script you will find an onload.js file. Edit this file.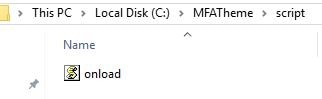
This file is where you will define the custom error message to be presented to users if the The selected authentication method is not available error is flagged.
// Check if user is registered for Azure MFA or not.
if (document.getElementById('errorMessage').innerHTML.search("The selected authentication method is not available") ) {
// Display message with registration link.
errorMessage.innerHTML = 'Before logging on, you must first enrol for Azure Multi-Factor Authentication. Please go to <a href="https://aka.ms/mfasetup">https://aka.ms/mfasetup</a> to register, and then try logging on again.';
}

Now run command Set-AdfsWebTheme -TargetName MFATheme -AdditionalFileResource @{Uri=’/adfs/portal/script/onload.js’;path=”C:\MFATheme\script\onload.js”} followed by Set-AdfsWebConfig -ActiveThemeName MFATheme to set your newly created theme as the active one.![]()
Browse back to your initiated sign-on page and enter the credentials to your testing account. Notice that I’ve behind the scenes customised the ADFS sign-on page some more.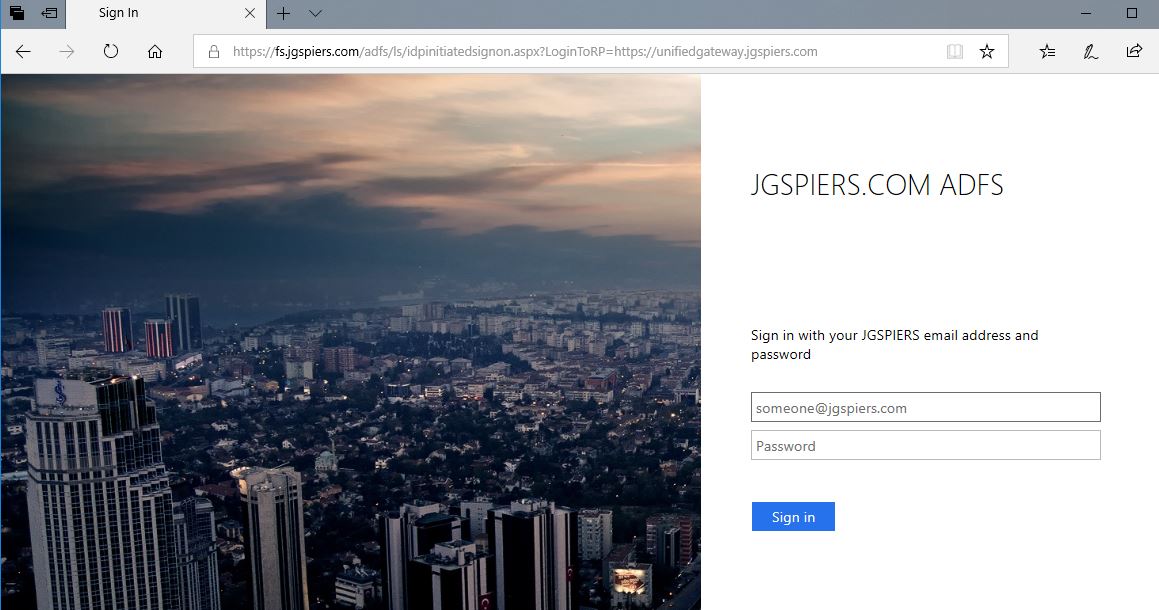
This time ADFS will actually display the custom error message, informing you that you must enrol for Azure Multi-Factor Authentication by visiting https://aka.ms/mfasetup. Click on this link to run through the registration process.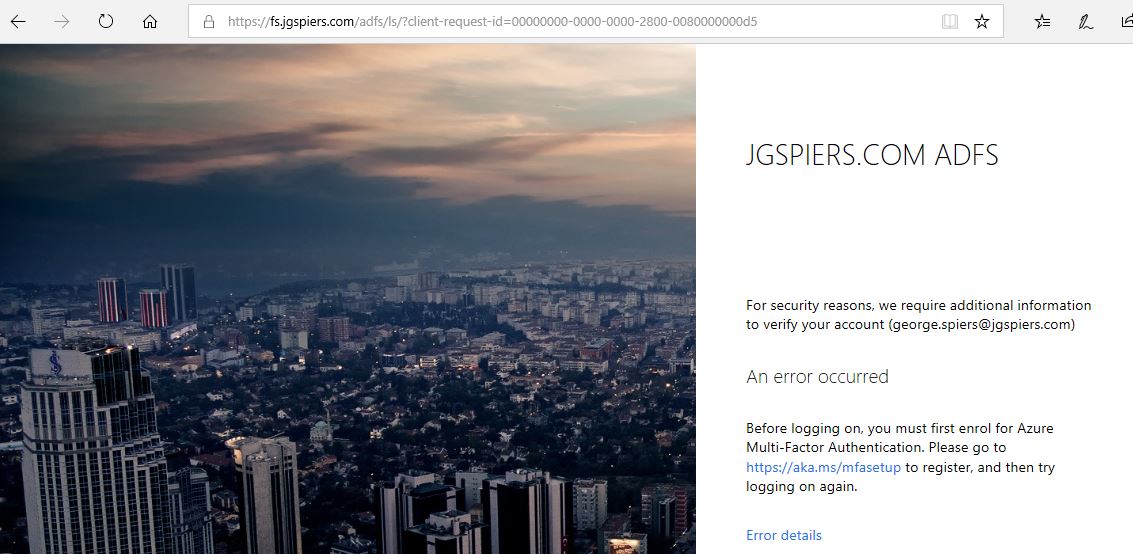
Enter your credentials to Azure.
Click Next on the More information required prompt.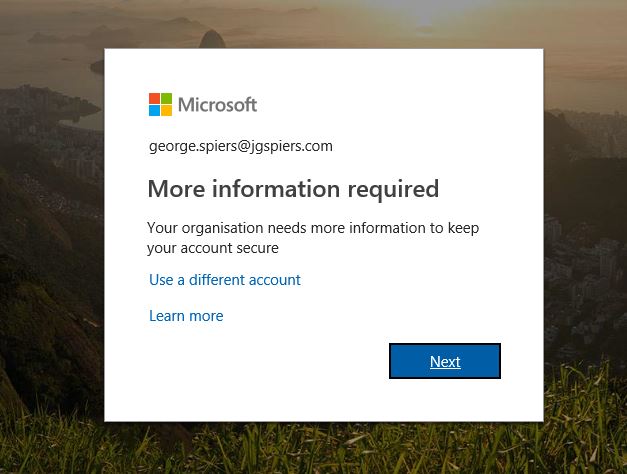
Choose your preferred authentication method. In my opinion, this will likely be Mobile app which is what I am selecting.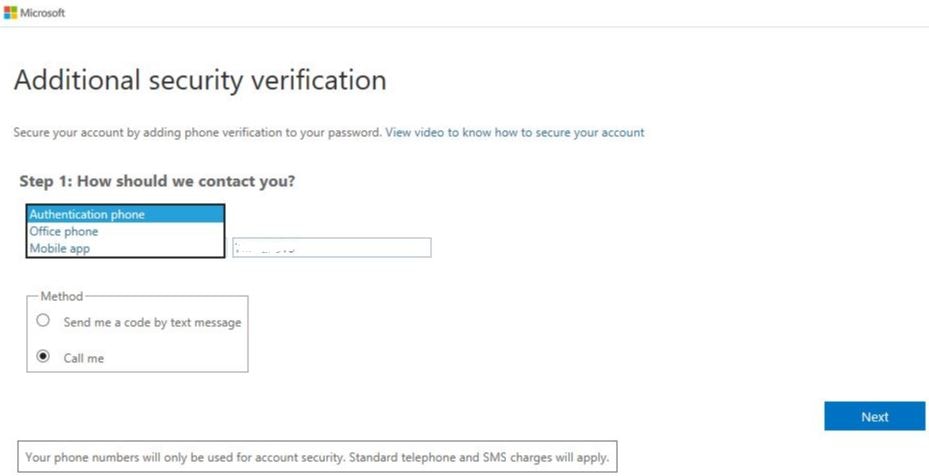
Check Receiver notifications for verification and click Set up.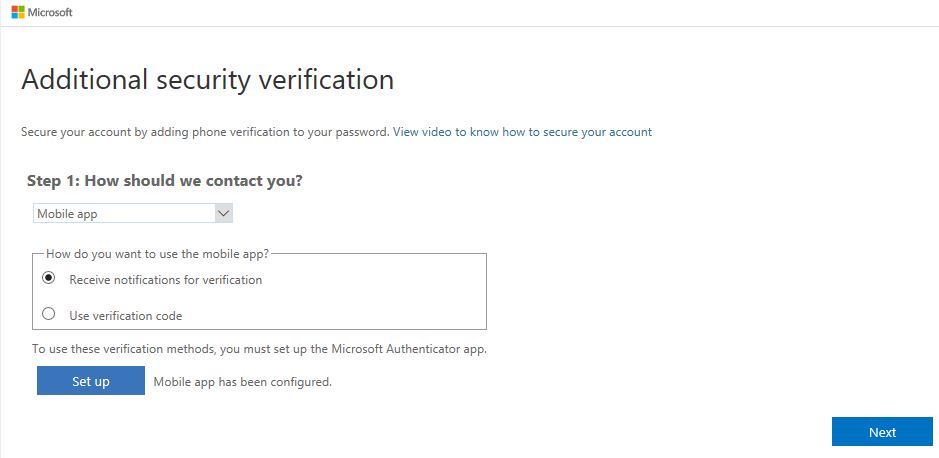
Using the Authenticator app on your mobile phone, add a new account and scan the QR code displayed on screen. Once the app displays a six-digit code, click Next.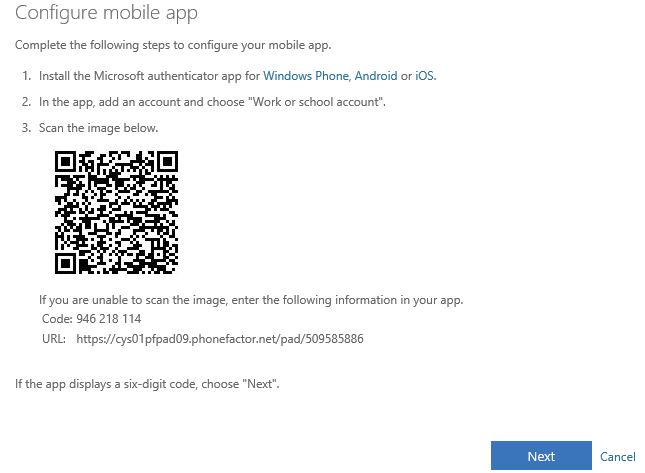
With Receive notifications for verification selected, click Next.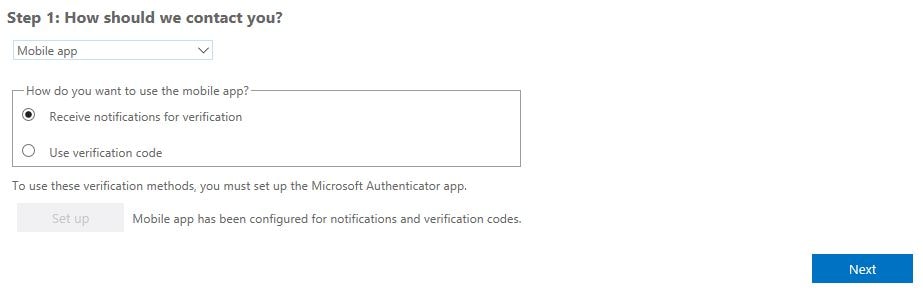
Accept the prompt from Authenticator.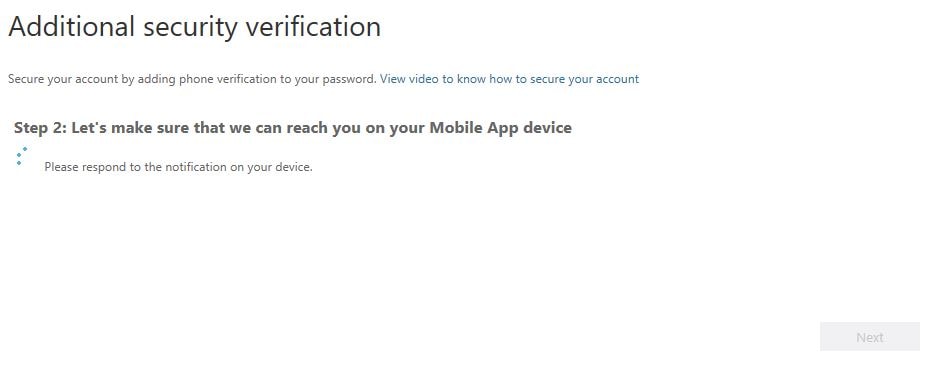
Provide a mobile number in the event you lose access to the mobile app. Click Next.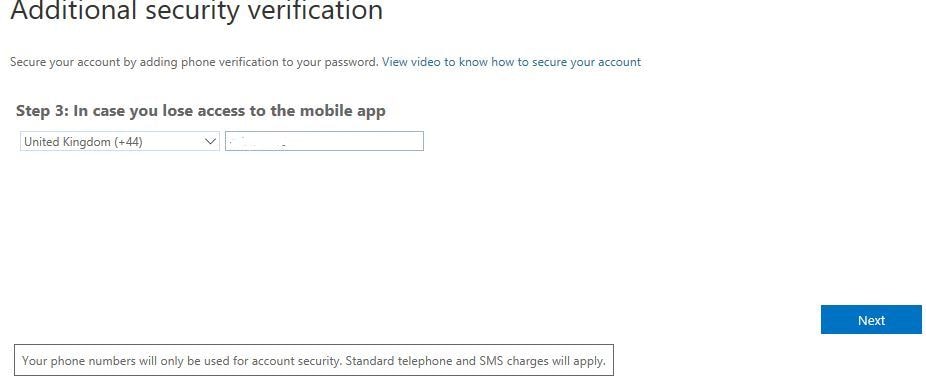
Click Finished.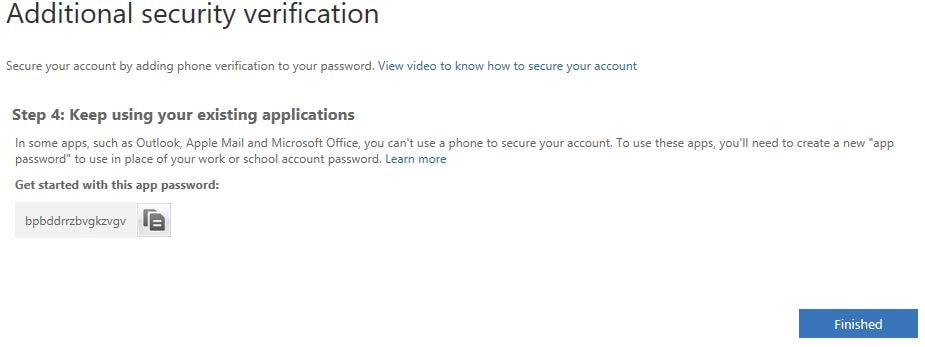
The Authenticator app will display your account as below.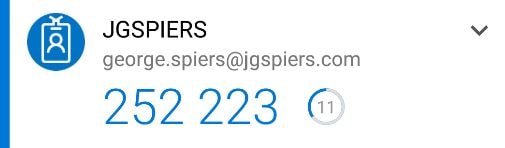
Return again to your ADFS initiated sign-on page and enter your credentials.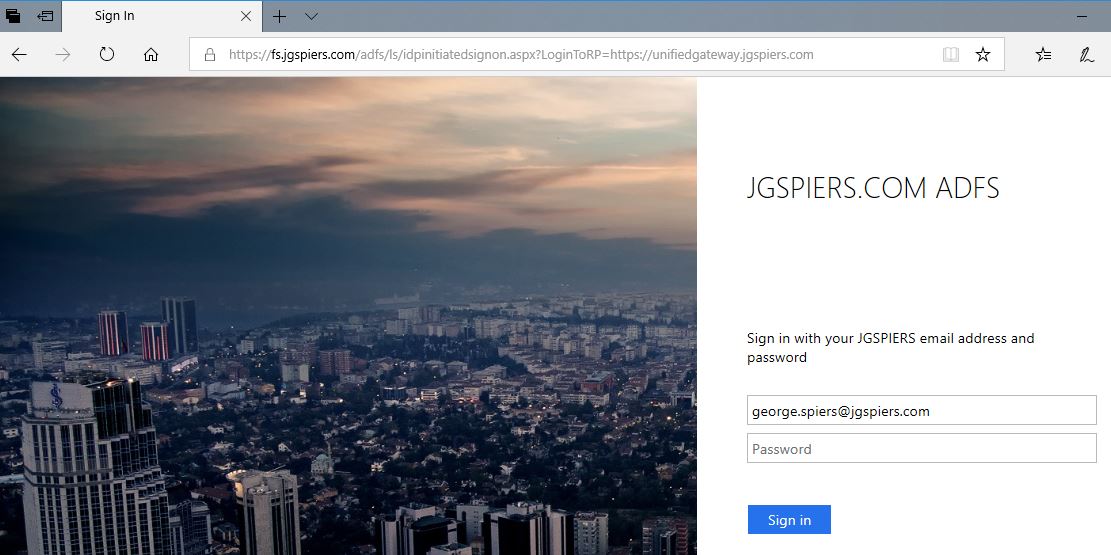
This time Azure MFA will detect that you are a registered user, and will send a push notification to your phone via the Authenticator app.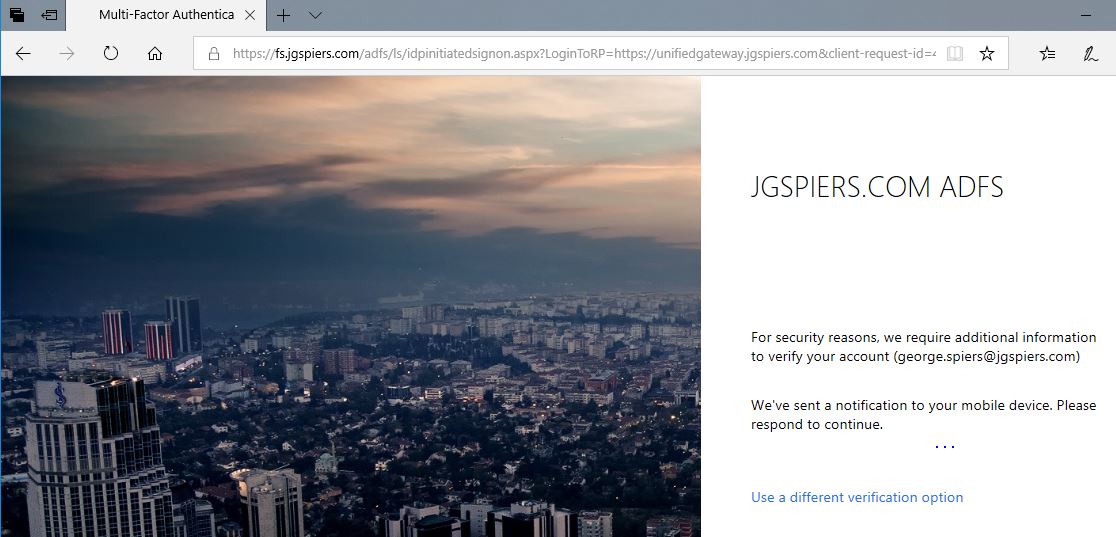
Accept the prompt by tapping APPROVE.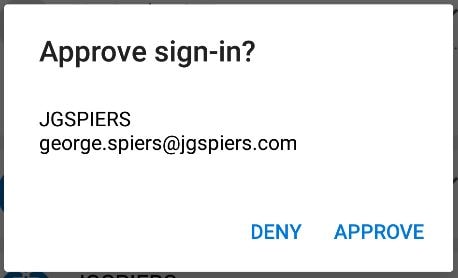
Authentication to NetScaler Unified Gateway via ADFS & Azure MFA is successful.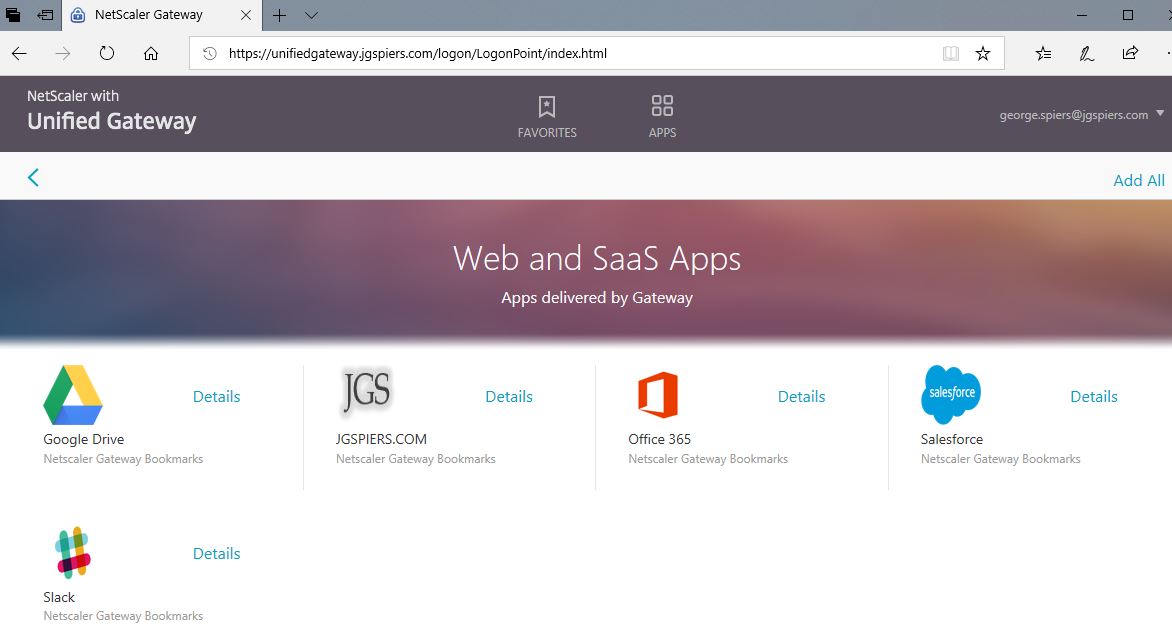
Make sure you can log off NetScaler properly, and you are taken to the correct sign-out URL as defined on your relying party trust configuration and SAML authentication policy. 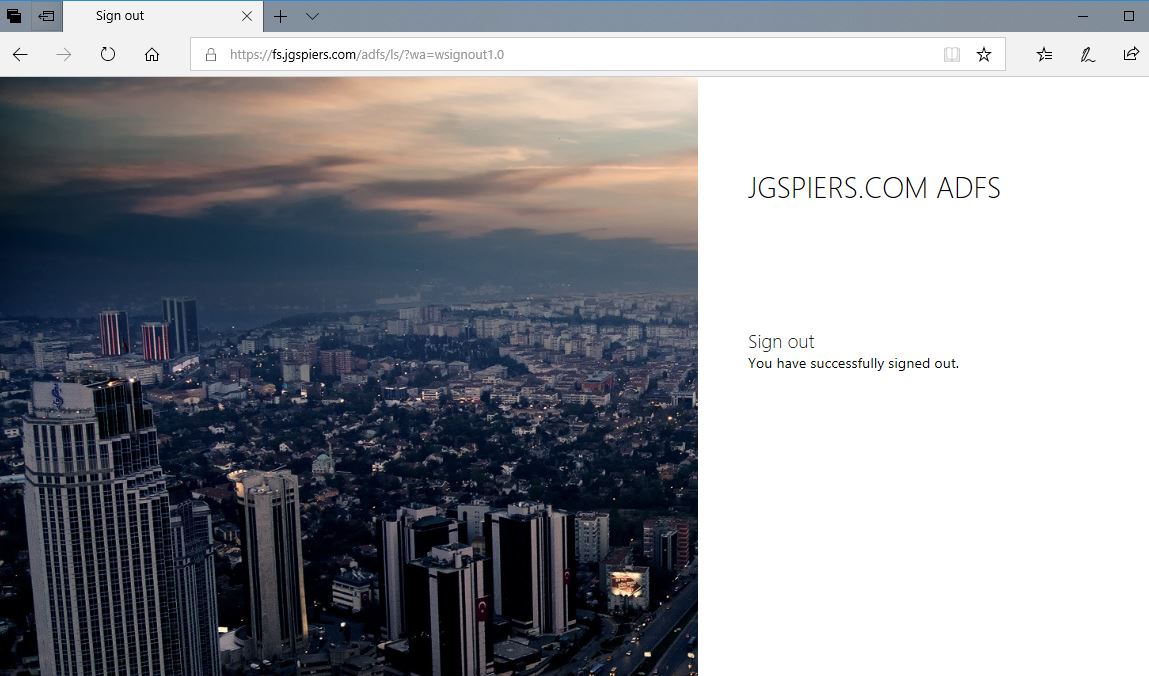
To enable sign-on to XenApp and XenDesktop resources, make sure to configure Citrix FAS: http://www.jgspiers.com/adfs-authentication-storefront-netscaler-saml-citrix-federated-authentication-service/
J Cauthen
August 1, 2018Are there any specific properties to configure, or a template to use, when creating the certificates for the Token-decrypting and Token-signing certs?
George Spiers
August 1, 2018I just used a duplicate of the AD CS “Web Server” template which has Server Authentication and Client Authentication EKU.
J Cauthen
August 1, 2018Thanks!
Dieter
August 6, 2018Thanks a lot man. Very informative post.
John Panicci
September 13, 2019Great Article George. I was wondering if its possible to authenticate to NetScaler using SAML/ADFS (RSA MFA) with FAS to say login with just using your username and RSA passcode and passthrough logon to VDA’s using FAS virtual smartcards? Meaning not have Azure MFA and not giving LDAP credentials during logon?
George Spiers
September 29, 2019Yes that should be possible.
scott
October 31, 2019In order to get the azure mfa proof-up to work for non-enrolled users, does it HAVE to be an IDP initiated login? I’m noticing if it’s just a normal saml login, non-enrolled-for-MFA-users just fail.
George Spiers
November 10, 2019Yes. Microsoft state that is the only supported method at this time.
Joseph Tullis
April 2, 2020George, this is impressive and advanced. I have a couple questions if you have time.
1. My Netscaler’s external address is apps.company.com. However, internally, apps resolves directly to our storefront address. Is that a problem? Should I use a new DNS name (internal and external) that matches when adding Netscaler to ADFS server?
2. Can users that are not yet enabled for MS MFA still login to Netscaler with just their username and password after it is configured for MS Azure MFA? I don’t want to enable MFA for hundreds of users all at once. Thanks, Joseph
Joshua C
April 6, 2020Joseph, I use the same hostname internally and externally. In Storefront I have a non-mfa store configured as the default website. For externally, Netscaler uses the specific URL for a second store that is configured with MFA.
As a result:
Internal users get store.domain.com/store1
External users get store.domain.com/store2
MFA is controlled by the user’s settings in Azure, so when they have MFA disabled in Azure, they just go through a normal federated login. If MFA is enabled, they gain the additional step.
George Spiers
May 22, 20201. No it does not matter
2. For MFA Azure side you could control that using your Conditional Access policy.
JI HAN
July 15, 2020Hi George,
Upon logging off from gateway, it came to the page “https://adfs/adfs/ls/?wa=wsignout1.0” as seen and mention i have successfully signed out.
However, clicking on the same bookmark link brings me straight back into the page where it shows all my resources on storefront without bringing me to adfs page to provide my credentials.
Sandro
February 2, 2021Hey George, thanks you for this informative Article! This works fine.
In our Company we got the following 3 types of customers, they all are in our on-prem AD.
1. Citrix without Microsoft Tenant (for the 2FA we would create in our Company Tenant the required Accounts or sync the local AD onetime to the our Tenant)
2. Citrix with own Microsoft Tenant (no adsync)
3. Citrix with own Microsoft Tenant (with adsync)
I would like to know, is it possible to use multiple Tenants with the same AD FS and when yes, how do i configure it to use multiple Tenants?
Thank you in advance 🙂
Feros Mfm
September 27, 2021I really appreciate your help. It’s really helpful Thank you.
Muhammad Hamza
September 8, 2022Hi George,
If users enter the gateway URL, will they be redirected to the ADFS page where they will log in and do their MFA? If not, is there any way to have users accessing the gateway URL and being able to log in through that page?
Thank you