To load balance TFTP via NetScaler you first need to create servers, services, monitors and a Load Balanced vServer.
DHCP is configured with options 66/67. Option 66 sends clients to the VIP of the Load Balanced vServer. The Load Balanced vServer contains services for each PVS (Provisioning Services) server in the environment and this way it can load balance boot connections out to each TFTP PVS server.
So within NetScaler we have server objects referencing our PVS servers. TFTP load balanced services with TFTP monitors attached and a load balanced vServer that VMs will contact to retrieve their boot information.
To begin: (I’m using NetScaler VPX 1000 v11 build 64.34)
Make sure you have enabled Load Balancing then navigate to Traffic Management -> Load Balancing -> Servers.
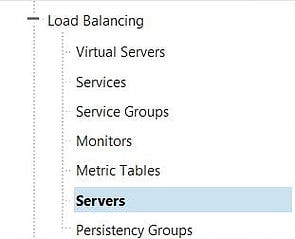
Click Add.![]()
Enter the name and IP address of your first PVS server and click OK.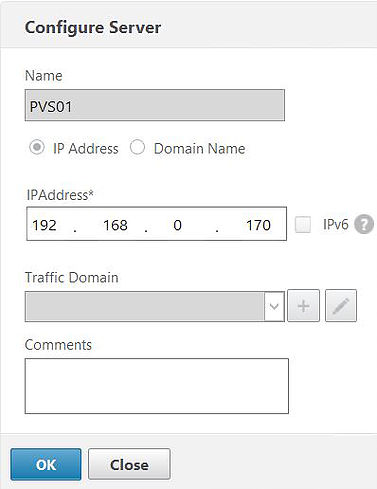
Repeat the process for any remaining PVS servers so that you have server objects for each PVS server in your environment.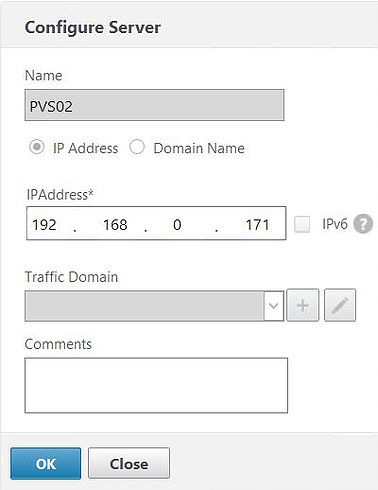
Navigate to Traffic Management -> Load Balancing -> Add.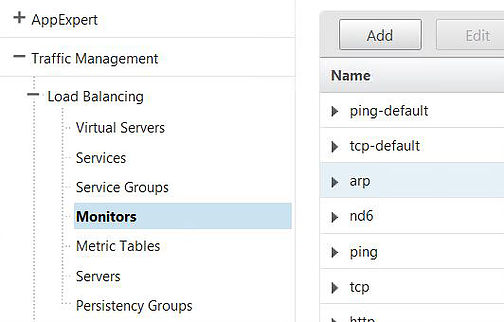
Specify a name for your monitor and under Type select USER.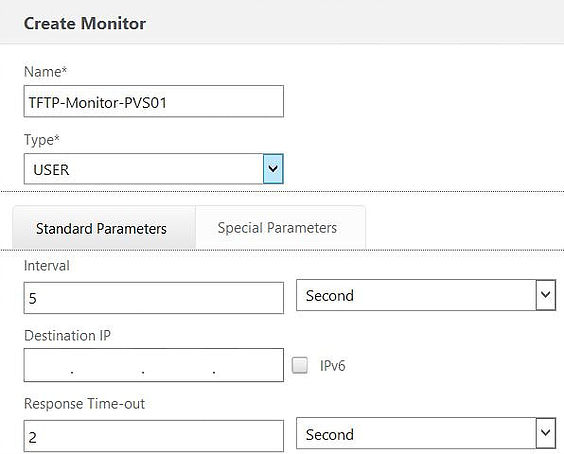
Over on the Special Parameters tab under Script Name select nstftp.pl. Click Create.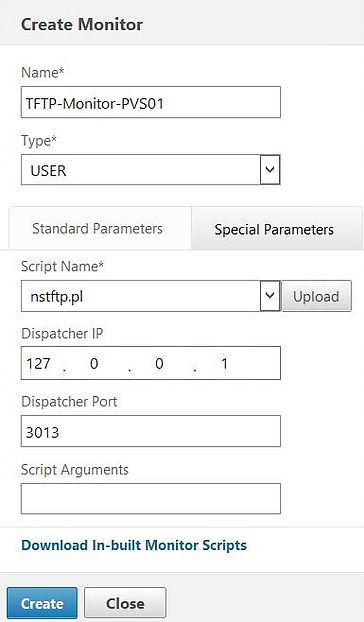
Create monitors for your remaining PVS servers.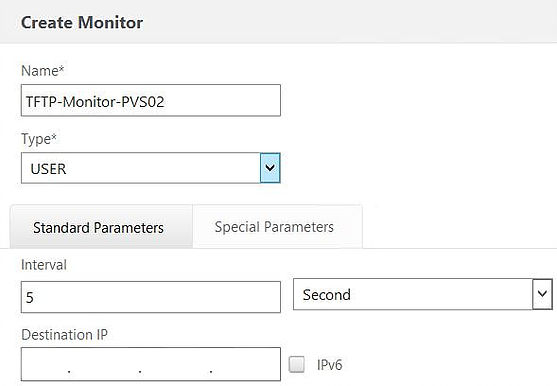
Once done the monitors you have created will appear in the Monitors view.
Navigate to Traffic Management -> Load Balancing -> Services -> Add.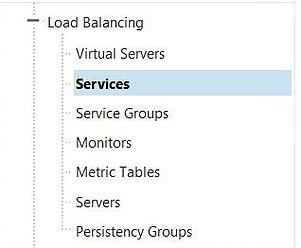
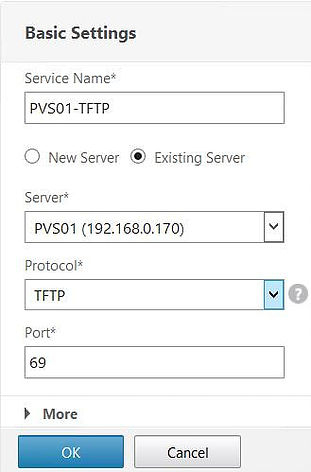
Give your service a name. Point to an existing PVS server, set the protocol to TFTP, port to 69 and click OK.
Click 1 Service to Load Balancing Monitor Binding.
Click Add Binding.
Click Click to select.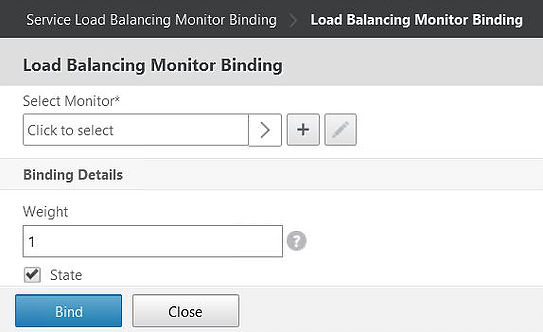
Attach the relevant monitor. I am creating a service for PVS01 so I will attach the PVS01 monitor I created earlier to this service.![]()
Click Select.![]()
Click Bind.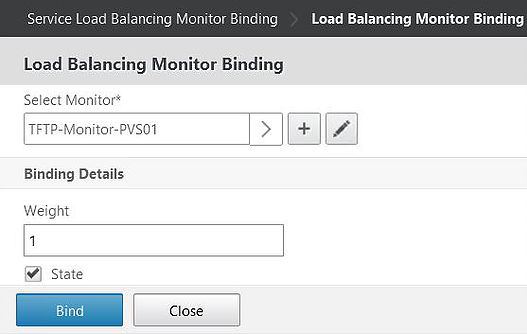
The TFTP monitor probed PVS01 over UDP port 69 and the probe succeeded as shown below. Click Close.
Click Done.![]()
Repeat the process of creating a service for your remaining PVS servers. Specifying a name, linking to the appropriate PVS server and specifying the protocol and port.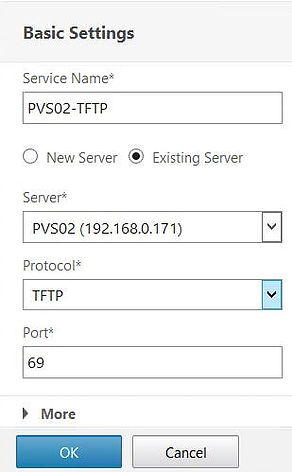
Click 1 Service to Load Balancing Monitor Binding.

Click Add Binding.
Click Click to select.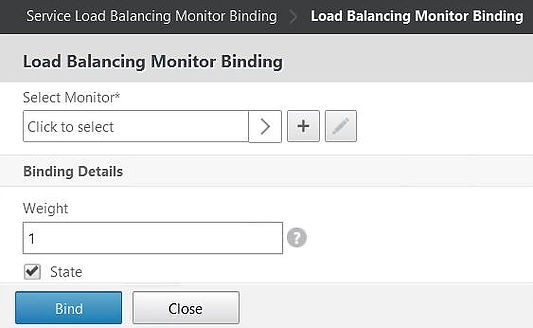
Choose the appropriate monitor. This service creation is for PVS02 so the monitor being attached will be for PVS02.![]()
Clic Select.![]()
Click Bind.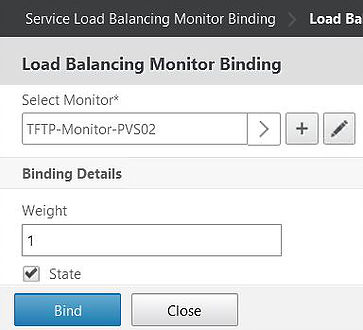
The probe also succeeded for PVS02. Click Close.
Click Done.![]()
Both my services now appear in view and are online. ![]()
Navigate to Traffic Management -> Load Balancing -> Virtual Servers -> Add.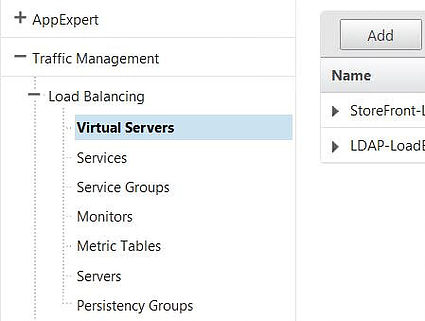
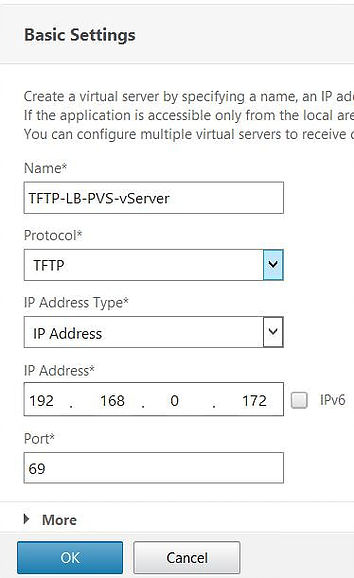
Enter a name for your vServer. Select TFTP as the protocol, enter an IP address (VIP) and set the port as 69. Click OK.
The next step requires us to bind load balanced services to our vServer. Click on No Load Balancing Virtual Server Service Binding.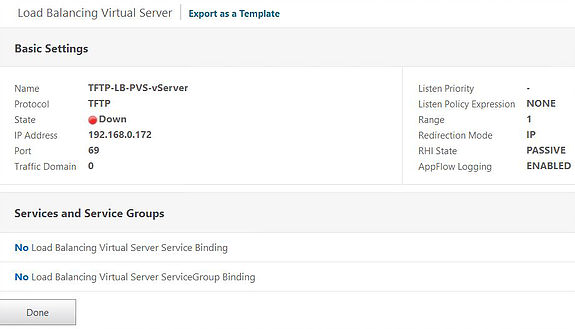
Click Click to select.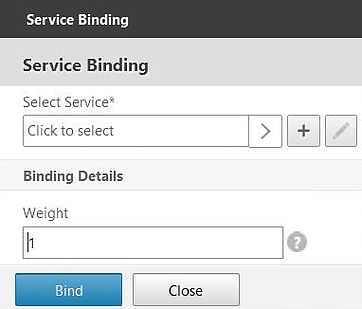
Check boxes beside all the PVS services that we created earlier.
Click Select.![]()
Click Bind.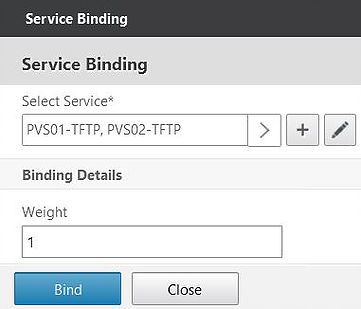
Click Continue.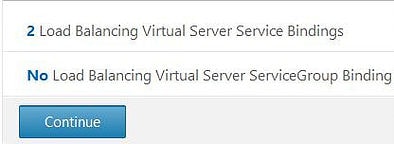
Click on the Method box to expand it out to the middle viewing pane.![]()
Under Load Balancing Method I have selected ROUNDROBIN. This is because I want to run a few tests later to prove Load Balancing is working and it is just as easy to use Round Robin for this. By default the persistence method is Least Connection which you in a production environment would use. Click OK.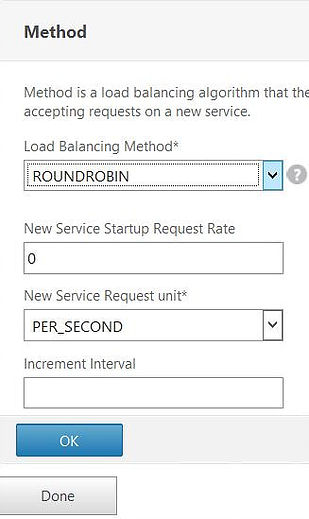
Click Done.
The vServer appears in the up state.
![]()
Save your running configuration.![]()
Now over on your DHCP server specify the newly created vServer VIP address under DHCP option 66 and ARDBP32.BIN under DHCP option 67.![]()
With both PVS servers online (PVS01 / PVS02) lets boot PVSVM01 (Target Device) and see what happens.
In this first boot instance PVSVM01 boots from PVS01 (192.168.0.170).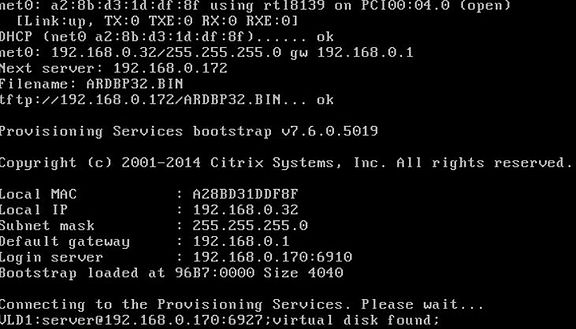
The second boot attempt boots from PVS02 (192.168.0.171).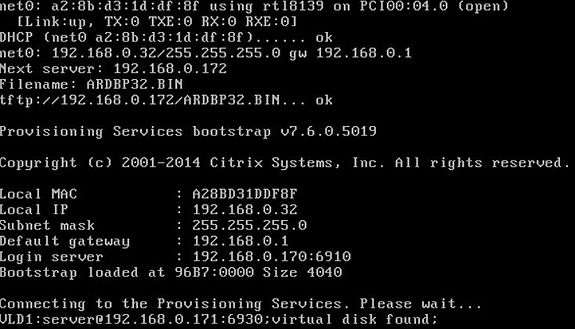
On PVS01 I’ve stopped the Citrix PVS TFTP service.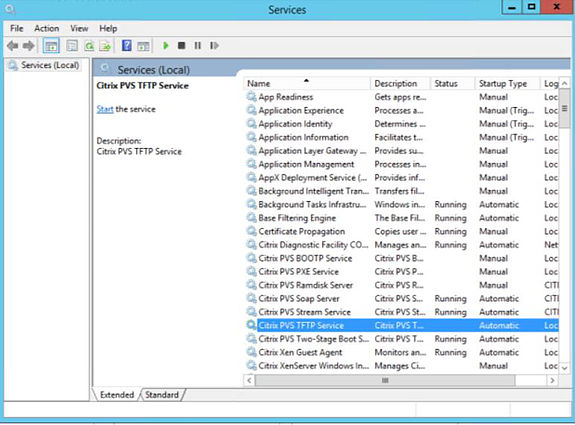
The PVS TFTP monitor over on NetScaler detects the service is down and marks PVS01 as down. This confirms the monitor is working.
Now PVS01 has been completely shut down.
PVSVM01 has been booted up again, it contacts PVS02.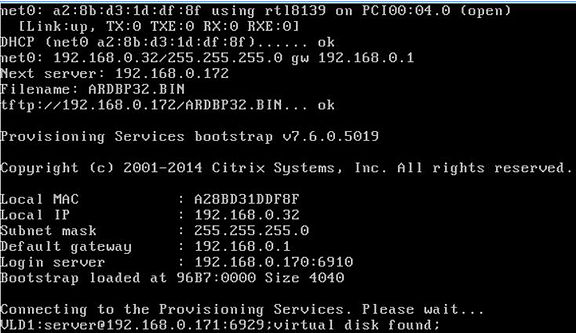
On the second boot it also contacts PVS02 proving that NetScaler isn’t going to send us to an offline PVS server.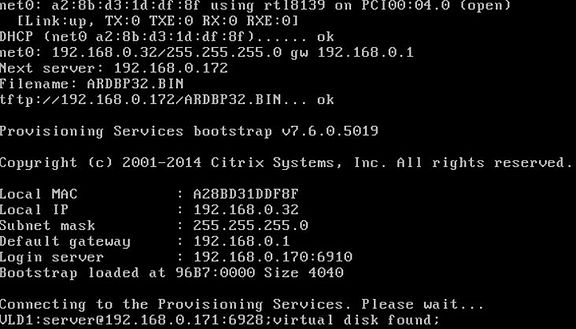
Marcel Strohmeyer
June 13, 2016hello nice instruction, but i have to loadbalance the UDP 6910 Port to get this work
PVS 7.9
Brian Masias
August 22, 2016At the top of the article can you explain what version you are using of NetScaler
We have 11515 SDX’s running 11.1.47.14.
We are using PVS 7.9.
Thanks,
B
George Spiers
August 22, 2016I was using NetScaler VPX 1000 v11 build 64.34. Are you experiencing difficulties?
Brian
August 22, 2016No not as of yet but I will know soon.
Thanks,
B
Michael Rebmann
February 8, 2017Did you use Source IP in the service group? If no I assume that the streaming traffic would go over the Netscaler.
If I use Source IP then it cannot download the bootstrap file. If I don’t use it then the server can download the bootstrap, but runs in a “Login request timed out”.
Any ideas? I just load balance port 69 for tftp, nothing else.
George Spiers
February 8, 2017Are you referring to a Service Group on NetScaler? The Service Group contains the services for each PVS server. You then attach the Service Group to an LB vServer, and DHCP options 66 points at the LB vServer VIP. The Service Group uses protocol TFTP and the bound services listen on port 69.
Raji
April 7, 2019Hi Mich,
I am also facing same issue ” Login request timed out” . If this works for you . Could you please provide the solution.
Thanks
Steven K.
April 27, 2017Netscaler is behind “internal” firewall. Would you know if TFTP communication between “TFTP-LB-PVS-vServer” and endpoints occurs on NSIP or SNIP?
George Spiers
April 27, 2017It occurs over the SNIP.