Both SmartAccess and SmartControl are similar in practice. One is implemented at the Delivery Controller level with the use of Citrix policies (SmartAccess) and the other is implemented at the NetScaler Gateway level (SmartControl). SmartControl was introduced in NetScaler v11, and is a Platinum feature.
SmartAccess and SmartControl can be used to block or allow certain components such as printer access, audio redirection, client device drive redirection and so on. SmartAccess policies can be applied based on the connecting user’s IP address, Delivery Group, Client Name, Delivery Group Type and many more conditions that can be found within Citrix Studio policies.
SmartAccess policies can be applied to internal connections through the use of Citrix policies that are enforced by DDCs when connecting to a resource. You can also use the “Access Control” object when assigning SmartAccess policies. Using this object allows you to enforce the policy to all connections coming through the NetScaler Gateway or certain vServers/Session Policies.
On the other hand, SmartControl is implemented directly on the NetScaler so that restrictions can be enforced at the network layer, before the user even gets to connect to a backend resource. SmartControl is implemented by using ICA policies and attaching them a NetScaler Gateway vServer, or globally.
Take for example a user has access to redirected printers when connecting to XenApp/XenDesktop resources within the corporate LAN however once they connect remotely through NetScaler Gateway printer redirection is blocked. This can be performed both by SmartAccess and SmartControl. A Citrix SmartAccess policy may be locally defined on DDCs that allows printer redirection from local client device to VDA. NetScaler may have SmartControl implemented via ICA Policy which restricts client printer redirection for anyone coming through the NetScaler.
Another example is client drive redirection is allowed when users route through NetScaler Gateway only if the machine has an approved anti-virus installed. EPA scans run before authentication takes place using pre-authentication policies which confirm if the machine has an appropriate anti-virus. If the machine does not, an ICA policy will be applied to the session which blocks client drive redirection.
What can be blocked with SmartControl on the NetScaler?
Connect Client LPT Ports – Not normally used these days however blocks LPT port redirection used for printers.
Client Audio Redirection – Redirect audio from VDA to client device.
Local Remote Data Sharing – Allows or disallows data sharing using Receiver HTML5.
Client Clipboard Redirection – Redirects client clipboard contents to VDA.
Client COM Port Redirection – Redirect COM (serial) ports from client to VDA.
Client Drive Redirection – Redirect client drives from client to VDA.
Client Printer Redirection – Redirects client printers from client to VDA.
Multistream – Allow or disable multistream.
Client USB Drive Redirection – Redirect USB drives from client to desktop VDA only.
Picture 1 (need picture from newer version which included client drives)
Configure ICA policy for SmartControl
Firstly take a look at my local client machine. I have a printer installed named HP OfficeJet Pro which by default does redirect to my Citrix session as shown by the from DESKTOP001.

Here’s the Citrix default policy allowing client printer redirection.
To use SmartControl we have to disable ICA Only on the vServer (NetScaler Gateway) we are using. In other words, the NetScaler Gateway vServer needs to be in SmartAccess mode. This allows us to make use of ICA policies. Universal licenses are used here. You cannot bind an ICA Policy to a NetScaler Gateway vServer until it is operating in SmartAccess mode.![]()
Whilst the NetScaler Gateway vServer is in SmartAccess mode, the Session Policy I am using is configured for ICA proxy only, no client choices.
The Session Profile also has a simple ns_true expression to match all incoming connections.
To create an ICA Policy, Action and Profile, navigate to NetScaler Gateway -> Policies -> ICA -> Add.
Specify a name for your policy then click on the + sign beneath Action.
Specify a name for the action and then click the + sign beneath ICA Access Profile.
Configure the ICA Access Profile to block printer direction by specifying Disabled. Click Create.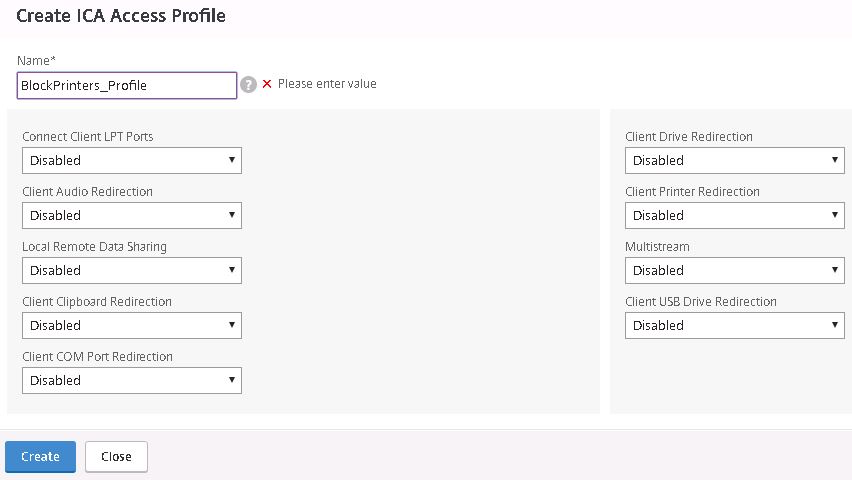
Click Create.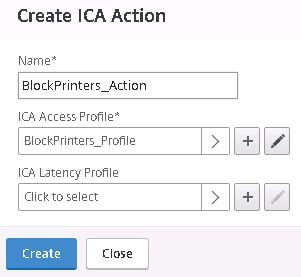
Click on Expression Editor.
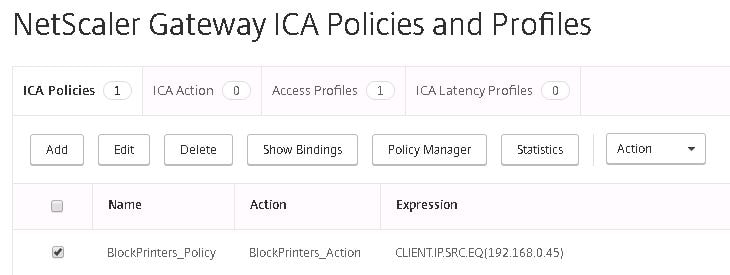
Here I am using the expression that this ICA Policy will apply if the connecting client IP matches 192.168.0.45. Click Done.
Click Create. The policy is ready to be applied to a resource.
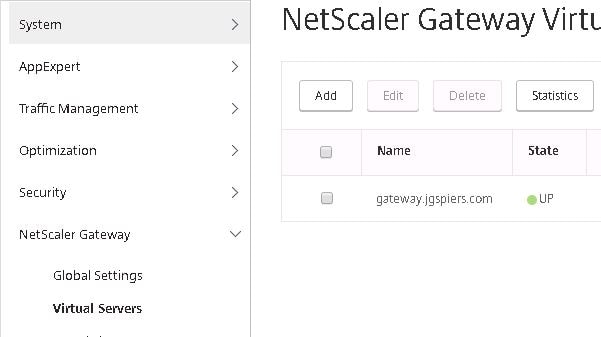
  Next navigate to NetScaler Gateway -> Vitual Servers and edit the NS Gateway vServer.
Click on the + symbol beside Policies.
Choose ICA under Choose Policy.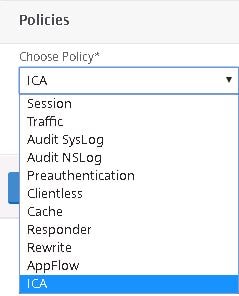
Click Continue.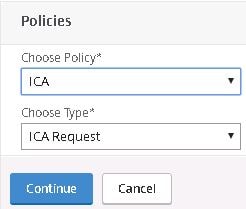
Click +.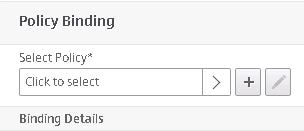
Select the BlockPrinters_Policy and click Select.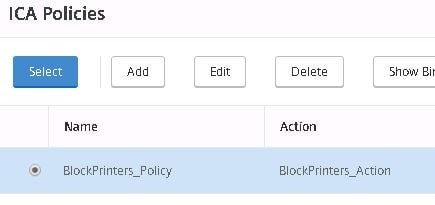
Click Bind.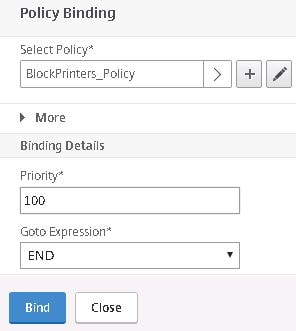
Click Done.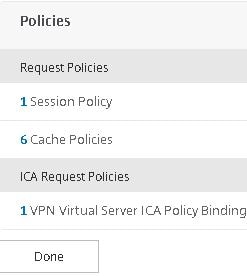
Now when a user logs in from that IP address, printer redirection is blocked even though by default Citrix policy allows redirection SmartControl is enforcing the restriction.
And back on the NetScaler you can see the ICA Policy has taken a hit.
Next unbind the ICA Policy.
Click Unbind.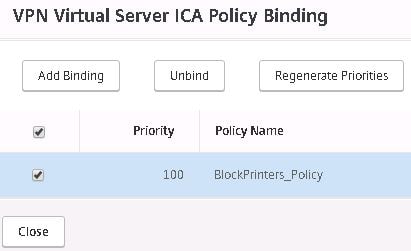
Click Yes.
Click Done.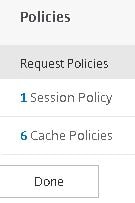
To use the Access control object for policy assignment within Citrix Studio you need to run the below command: Set-BrokerSite -TrustRequestsSentToTheXmlServicePort $true.
Once done, within Citrix Studio, navigate to Policies and click Create Policy.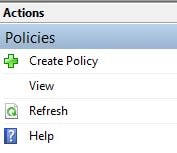
Specify printer redirection as Prohibited and click OK.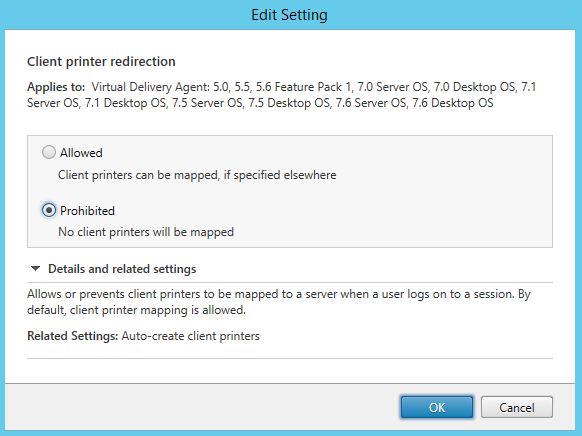
Click Assign next to Access Control.
Here we can specify the NetScaler Gateway vServer and Session Policy that we want these policy settings to apply to. If you have multiple NS Gateways and Session Policies this is a way to achieve granularity. If you want this policy to apply to all NetScaler Gateway connections specify * both under NetScaler Gateway farm name and Access Condition. If not, use the names that are given within NetScaler for your NetScaler Gateway and Session Policy.
Click Next.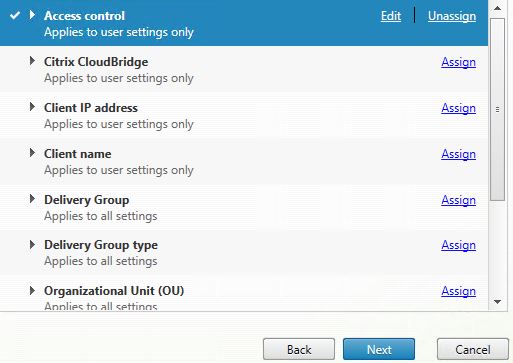
Click Finish.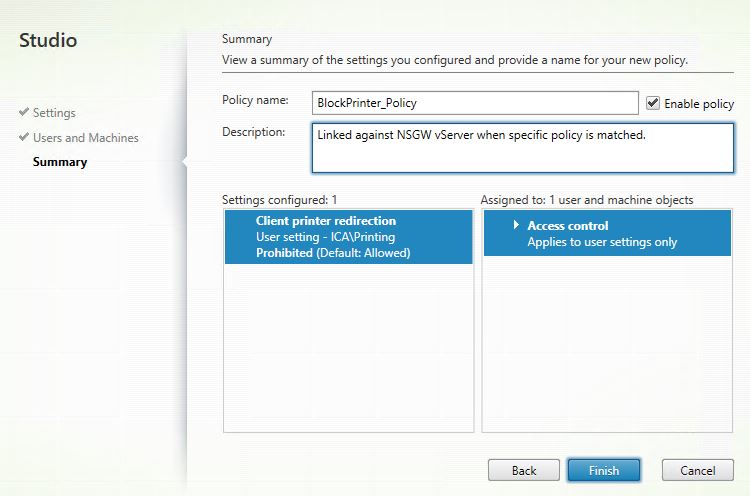
At this stage when a user logs on from the NetScaler Gateway printer redirection will be prohibited as a result of SmartAccess and the Access control object.
The next example uses preauthentication policies to determine if a client has an appropriate anti-virus installed. If so, printer redirection is allowed. If not, printer redirection is disabled.
Navigate to NetScaler Gateway -> Policies -> Preauthentication -> Preauthentication Profiles -> Add.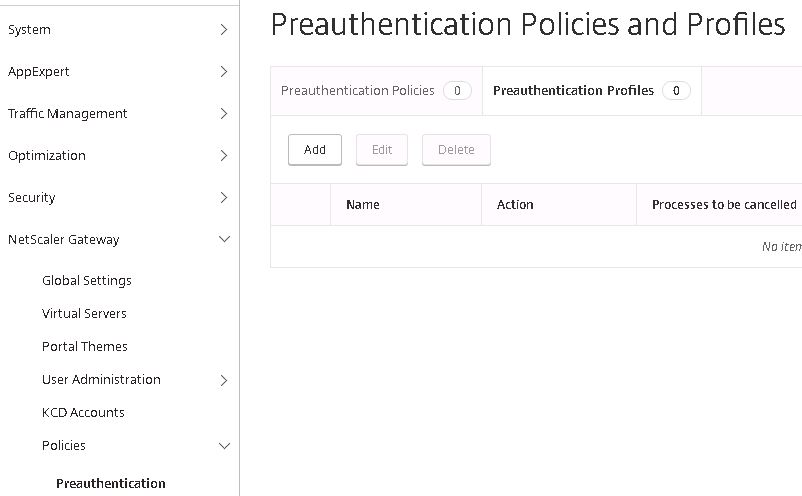
Specify a name such as Antivirus_No, with action ALLOW and the Default EPA Group as NotTrusted. This profile will be used for non trusted computers. Click Create.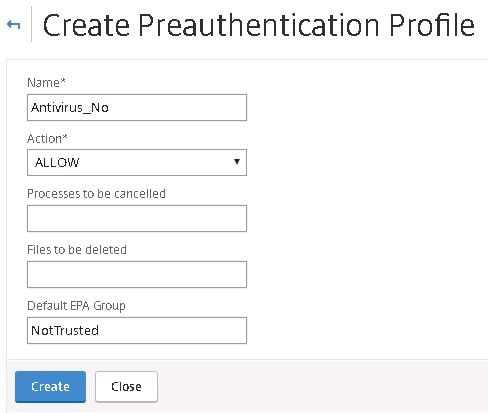
Create another profile however this time for trusted devices with a group name such as Trusted. Click Create.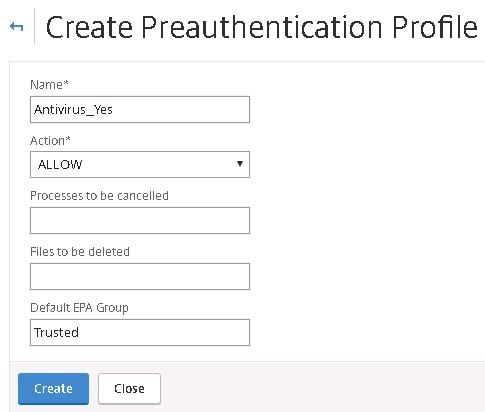
Below are the two created profiles.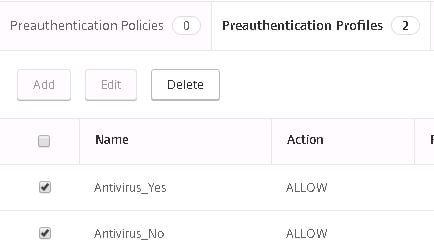
Click on the Preauthentication Policies tab -> Add.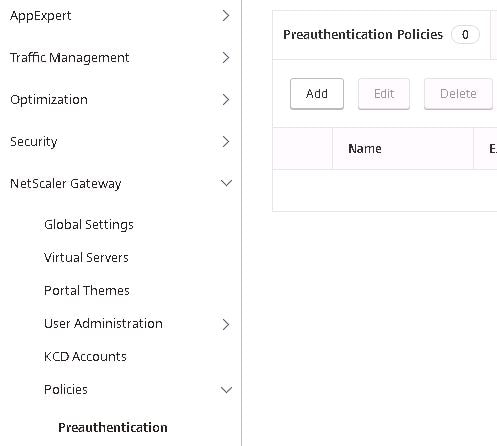
Specify a name for computers holding anti-virus, select the Antivirus_Yes action and create an expression that matches the anti-virus you want to be present on the machine. Click Create.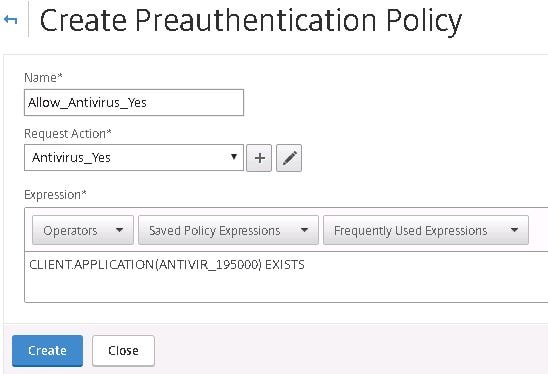
Create another policy only this time for uncompliant computers. I am using an ns_true expression so all computers that do not have the desired anti-virus installed will match this policy. Click Create.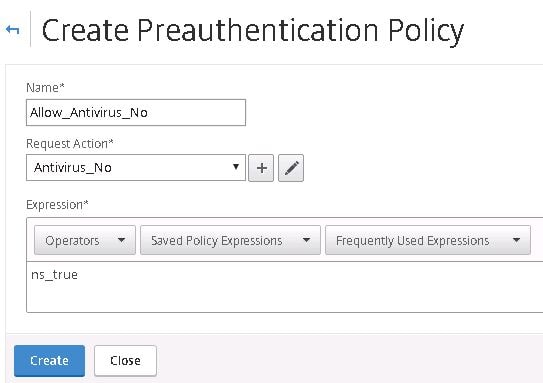
And now we have two policies ready to go. One for compliant computers and another for non-compliant Windows computers.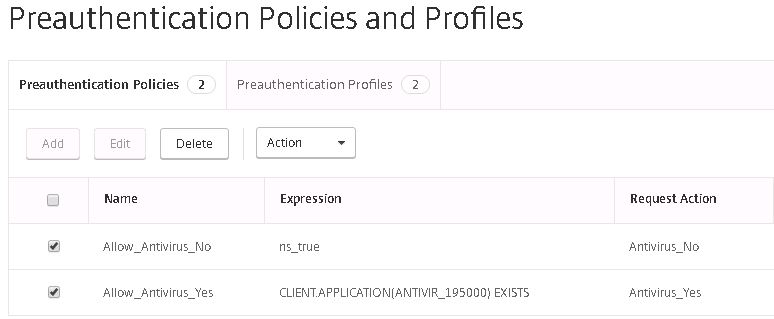
Navigate back to NetScaler Gateway -> Policies -> ICA -> Access Profiles -> Add.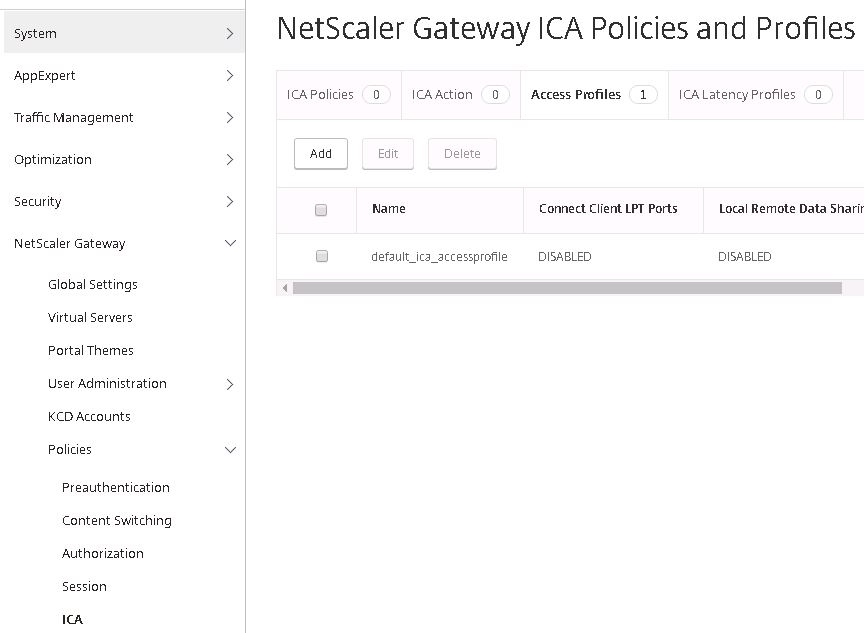
The first profile we are creating is for compliant PCs. I am allowing client printer, drive and USB drive redirection by specifying a value of Default. Click Create.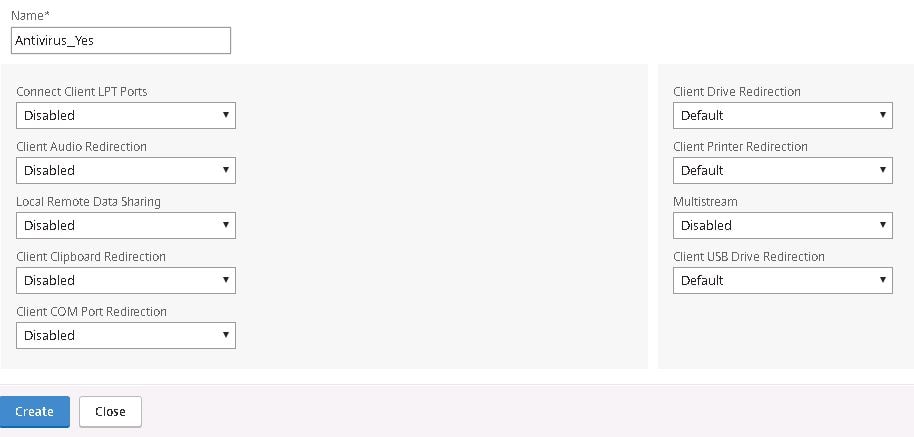 The second profile is for non-compliant computers that will receive no redirection. Click Create.
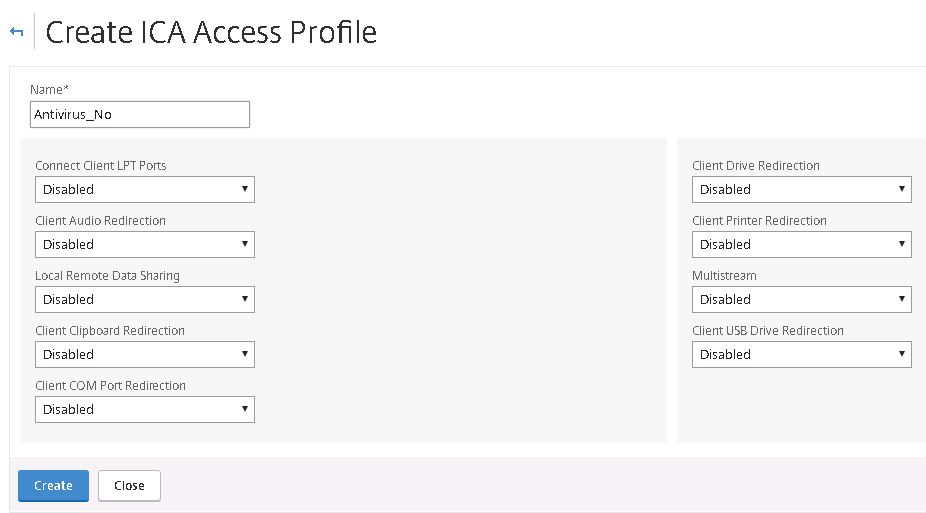
Two new profiles ready to go.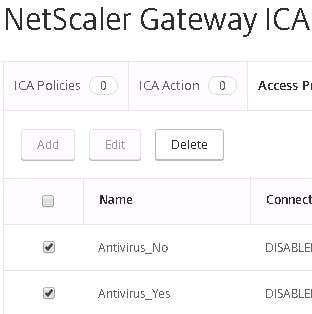
Click on ICA Action -> Add.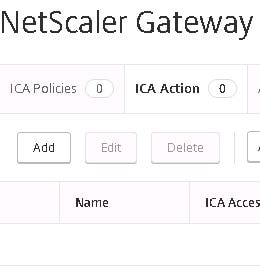
Specify a name for compliant computers and choose the compliant ICA Access Profile. Click Create.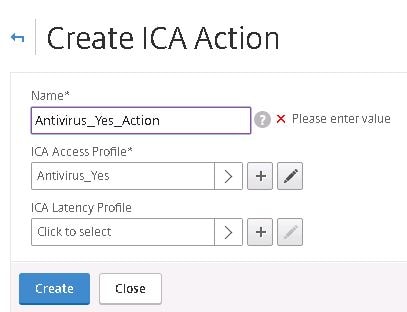
Do the same for the non-compliant machines and choose the non-compliant ICA Access Profile. Click Create.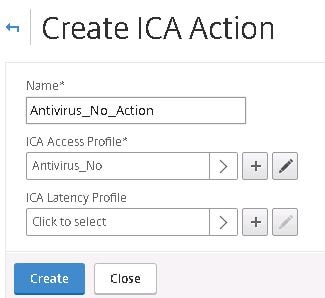
Now two ICA Actions are ready.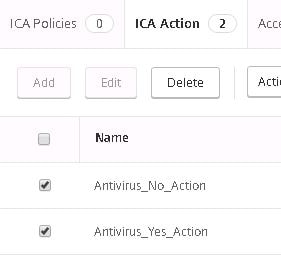
Click on the ICA Policies tab and click Add.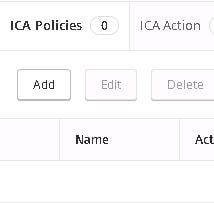
Speficy a name for the compliant policy. Choose the compliant Action and within the expression type HTTP.REQ.USER.IS_MEMBER_OF(“Trusted”). If you remember, the Trusted group name was specified within the Preauthentication profile we created earlier for compliant users. This means when a machine connects with anti-virus installed, it is processed by the compliant pre-authentication policy, the user is assigned to the Trusted EPA Group which in turn uses the compliant ICA Policy which looks for members of the Trusted group. Understand? Click Create.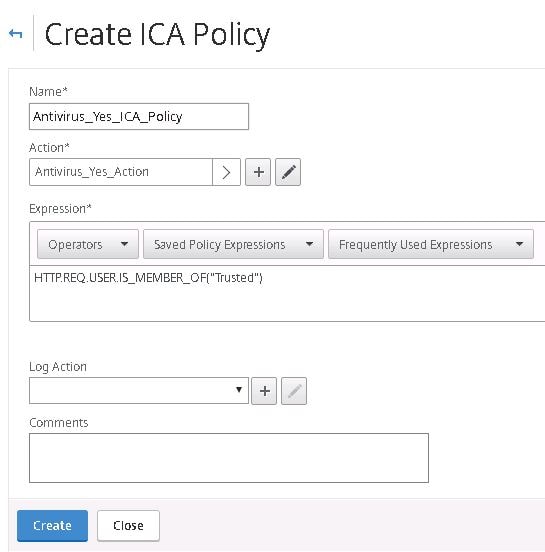
Create a policy for non-compliant machines, choosing the non-compliant Action and an expression which triggers the ICA Policy when members are a member of group NotTrusted. Click Create.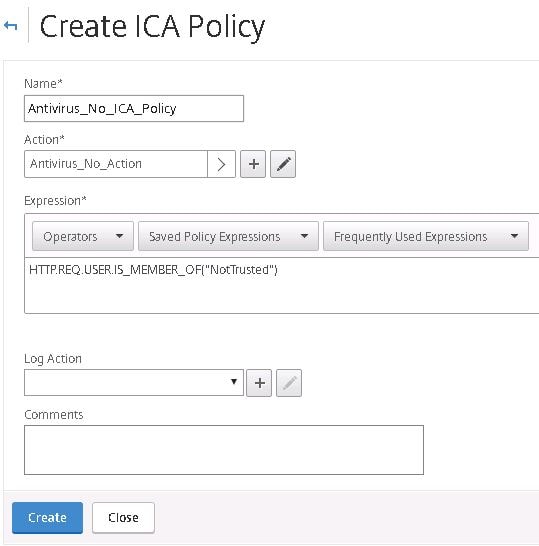
The two ICA Policies are ready to be assigned to our NS Gateway vServer.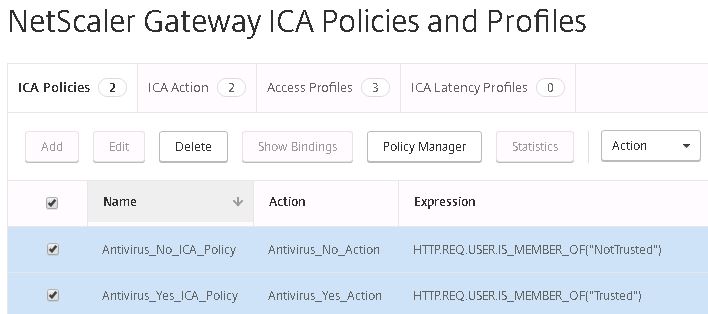
Edit the NetScaler Gateway vServer, click to add a policy, choose ICA as the policy type and click Continue.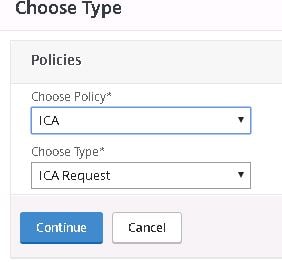
Click the + symbol beneath Select Policy.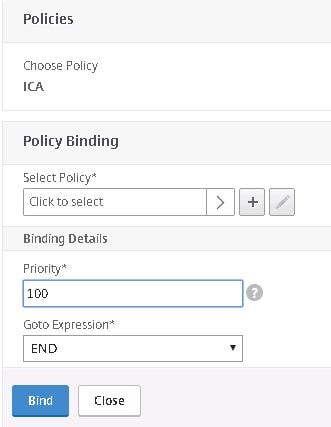 Select the compliant ICA Policy and click Select.
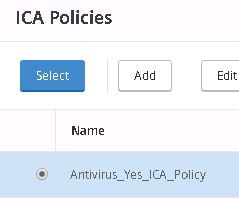
Click Bind.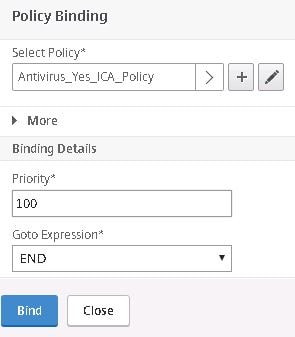
Do the same for the non-compliant ICA Policy and then click Close.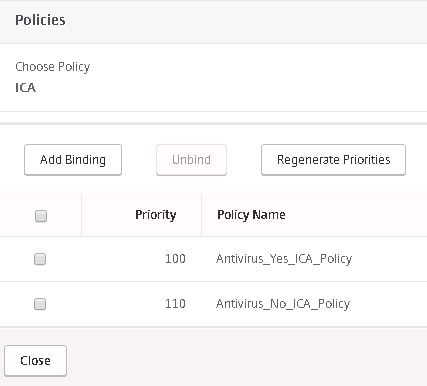
Click to add another policy and specify Preauthentication as the policy type. Click Continue.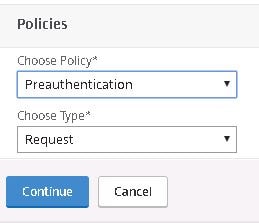
Click the + symbol beneath Select Policy.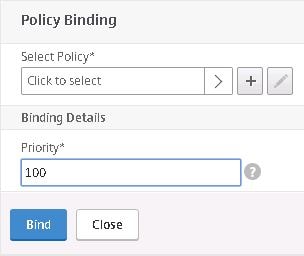
Choose the compliant pre-authentication policy first. We want this policy to have a lower priority so that it is always processed first on compliant and non-compliant machines. Click Select.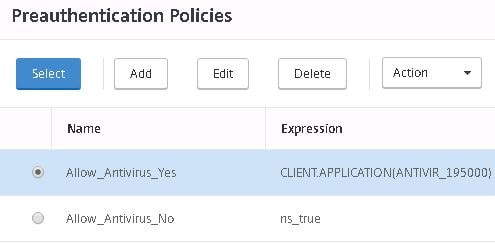
Click Bind.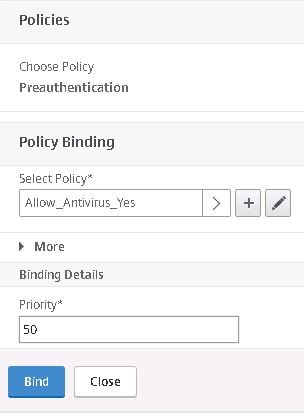
Do the same for the non-compliant preauthentication policy. Notice I have altered the priorities slightly however the compliant policy has a lower priority meaning it will be processed first. Non-compliant machines will fail this policy then move on to the non-compliant policy where it will succeed. Click Close.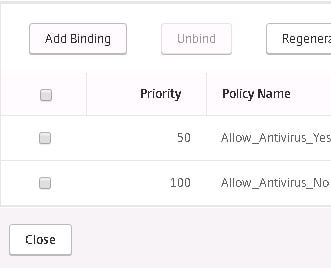
Click Save.![]()
Using a non-compliant machines, I logged on, and the non-compliant ICA Policy was processed as you can see by looking at the hit counter.
No printer redirection has taken place.
Logging on with a compliant machine that has corporate approved anti-virus installed results in the compliant ICA Policy being applied.
And sure enough the printer has been redirected.
Ray
August 11, 2018Can you use smartaccess (access control) without smart control?
George Spiers
August 12, 2018You sure can.
Ray
August 12, 2018Oh snap, Never new that. So Just have to still do the netscaler universal lic, and uncheck ICA only. Then I can hide apps and deny polices from the outside?
Sorry for the additional question.
Man your site is a life saver for my citrix career as well. Thank you a lot for all this amazing information. Oh and awesome job on all the Optimization scripts.
George Spiers
August 13, 2018Thanks Ray. If you want to block printers etc. at NetScaler level then yes uncheck “ICA Only”. If you want to use Citrix Studio policies instead, you can use the “Access control” assignment to target the policy against NetScaler Gateway connections.
Manuel
September 20, 2018Hi George, you might want to add an info that this is a platinum feature – that small but important detail is very well hidden in the docs – and will probably prevent SmartControl policies in most environments
George Spiers
September 20, 2018Thanks, missed adding it before!
Phil
March 16, 2019Hey George. Great article. Problem: For Smart Control, I followed instructions to the letter and my ICA policy, bound directly to the Gateway is taking no hits. ICA only is unchecked, of course. The policy bound. I even set the policy expression to “True” and no joy. Opened a case with Citrix an did a GTM. He looked at my config, found nothing wrong, off to talk with peers then back to tell me I need to “Set-BrokerSite -TrustRequestsSentToTheXmlServicePort $true.”…
What? I’m doing Smart Control, not Smart Access and it doesn’t make sense to me that the policy hits would be impacted by the back end.
Platinum license, Firmware 11.0, upgraded to 11.1 as part of testing…
Ideas?
Phil
March 18, 2019It turns out the policy was not taking hits because I had a live ICA session going. The policy takes hits only on new connections. For the record, neither callback nor XML trust setting is needed for Smart Control functionality.
George Spiers
March 18, 2019Thanks for the update, Phil! Sorry I could not reply sooner. It makes sense that the policy would only apply to new connections.
Kevin Ho
May 29, 2019Citrix needs to hire you to or have you write their KBs and Tech docs. Their documentation is poor in terms of explaining things for folks who don’t have Pre-req Citrix Knowledge.
Pingback: Making limited use of Citrix SmartAccess without Universal licenses - Dennis Span
Nirmal
April 28, 2020Hi George, I am trying to disable AG connections to a delivery group. I went to DG access filter and set DGNAME_AG AllowedConnections to NotVIA AG. But users are still able to see apps published from DG. DO I need to set anything at Gateway level?
George Spiers
September 9, 2020On your Delivery Controller, run Set-BrokerSite -TrustRequestsSentToTheXmlServicePort $true
Michael B
December 3, 2021Hi George.
Very good tutorial!
I’m disperate right now while I’m implementing Smart Control with epa scan at the end of my nFlow auth (as post authentication).
I’ve a on firmware 13.0_79.64 with platinum license.
I bound two ica policies to our gateway vserver. One for member of the aaa group “secure” (default group when you sucsess the epa scan; should allow clipboard redirection) and one for member of secure.NOT (for unsecure devices; disallow clipboard redirection).
My problem is, that both of the policies (the allow and the disallow) get a hit, when the epa scan sucsess and the user become member of the “secure” group.
What we’ve observed:
While the ica connection is being established, the allowing ica policy gets a hit (thats the expected behavior).
About five seconds later while the connection is beeing established furthermore, also the disallowing ica policy gets a hit (thats the unexpected behavior).
It appears as if the default groups of the sucsessed epa-scan gets lost while the ica connection is being established and the ica policies are evaluated a second time.
I’ve already tried to change the expression of the disallow-ica-policy to true, change the priorities and the goto expression. But no improvement.
Unfortunately, we do not get the problem solved at this point and assume that there is an bug in our installed firmware.
The citrix support can’t help us and only suggested to change the goto expression and priorities of the ica policy bindings. Actually they analyse the logs.
Do you know this behavior known? Do you have any idea for debugging this case?
Gaj
May 25, 2022Hello George,
I implemented your instructions 1 to 1, the ICA policy is applied correctly. The HIT show the correct hits when the scan is positive or negative.
Songs the result is always the same, the local client drives are always mapped after login. even though the scan was negative. Do you have an idea why that doesn’t work, I’ve overlooked something.
Thanks.
Darga_de
CitrixAdmin
March 29, 2023Can I use smart control and smart access collectively?
I want to block users coming though with older version of CWA but only when launching specific VDA (delivery group).