When you want to layer applications on top of a Unidesk desktop, patch those applications or patch the OS Layer you need to make use of Application Layers, Application Layer versions and OS Layer versions.
Note: Unidesk was bought over by Citrix in January 2017.
Application Layer disks can contain one application or many if you want to reduce the number of Application Layers you have for management and feel that these applications can be bundled together. The less layers you assign to a desktop the less processing the Unidesk Filter Driver will have to do merging layers. Take for example small applications that work well together and will be delivered to all or most desktops. You can also use Application Layers even if you want to inject files/folders or other items in to Unidesk desktops. The Application Layer is a read-only virtual disk file running on Hyper-V (v3.x) that is layered on top of a Desktop using Unidesks Composite File System.
To create Unidesk desktops see https://jgspiers.com/creating-unidesk-desktops/
To create a Unidesk OS Layer see https://jgspiers.com/unidesk-os-layer-creation-process/
An Installation Machine is a requirement when you want to build new Application Layers, update them or patch the OS layer using versioning. The Installation Machine is dedicated to an OS Layer so you must have multiple Installation Machines if you have multiple OS Layers. Installation Machines are diskless however you assign an OS Layer during creation and this OS Layer cannot be chaged at a later stage. The Installation Machine won’t be on the domain but if you have an application or reason for the machine to be on the domain it is fine to do so, just remove the machine from the domain after you are done creating an Application Layer or version.
To create an Installation Machine navigate to System -> Installation Machines -> Create Installation Machine. Assign 2-4GB to the Installation Machine. Associate an OS Layer with the Installation Machine, this is final and cannot be changed without a recreation of the Installation Machine.
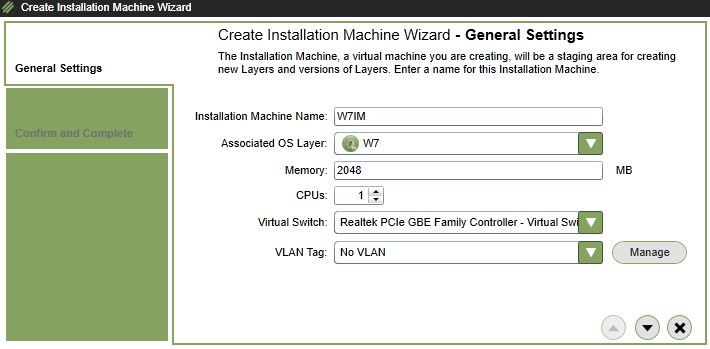 Click Create Installation Machine.
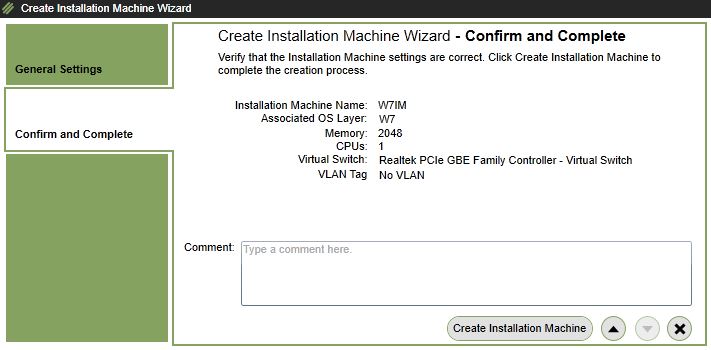 Using the tasks view you can see the Installation Machine creation progress.
 Now that the Installation Machine is created, we can get to creating an Application Layer.
 Navigat to Layers -> Application Layers -> Create Layer.
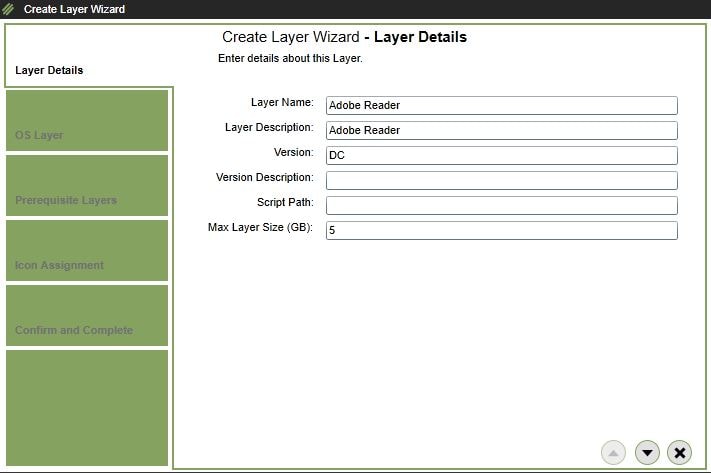
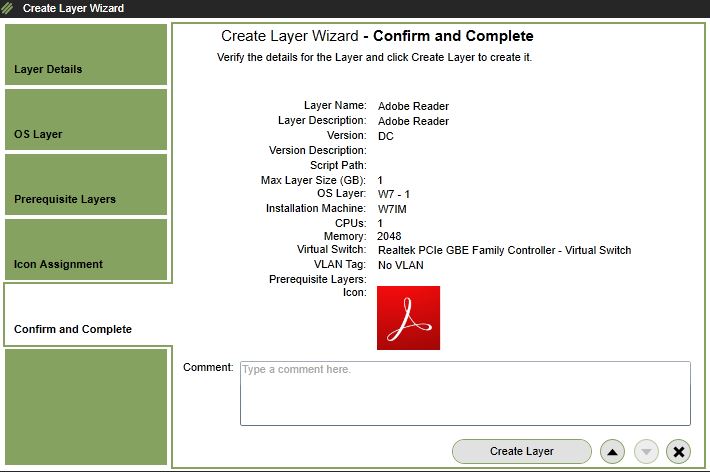
 Specify a name, description, version and version description if necessary. Application Layers are thin provisioned so the Max Layer Size (GB) value here is the maximum amount of disk space that can potentially be used. The default size of an Application Layer is 10GB and should not be reduced as a best practice.
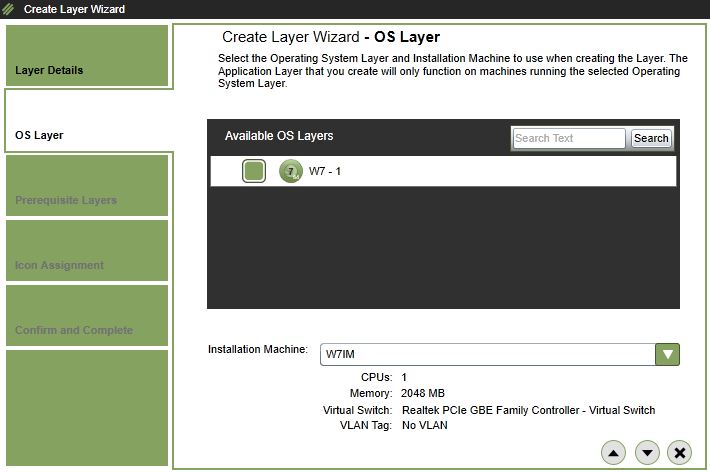
 The OS Layer you choose here is the OS Layer this new Application Layer will work with. You cannot share Application Layers between OS Layers or move an Application Layer to a new OS Layer at a later stage without a rebuild of the Application Layer. Installation Machines that are associated with this OS Layer will be available for selection beside Installation Machine. The Installation Machine you choose here will be prepared so that you can create the Application Layer.
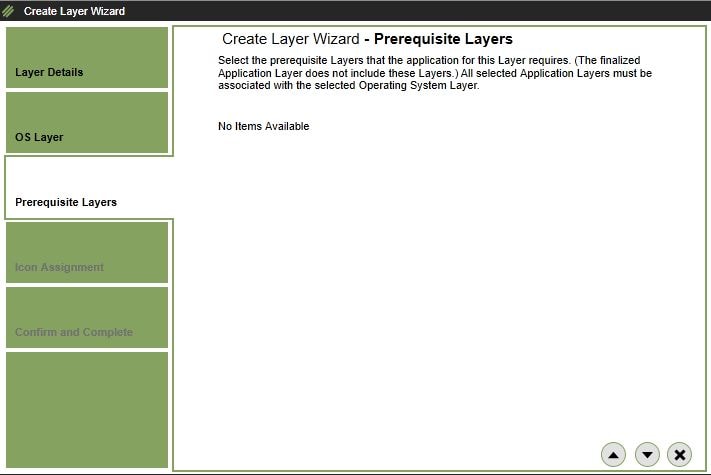
 Since I have no other layers created nothing shows here. If there was a layer that needed to be present to allow the creation of this layer, you would choose that layer here. For example, an application may require that a component is already available before it can install successfully.
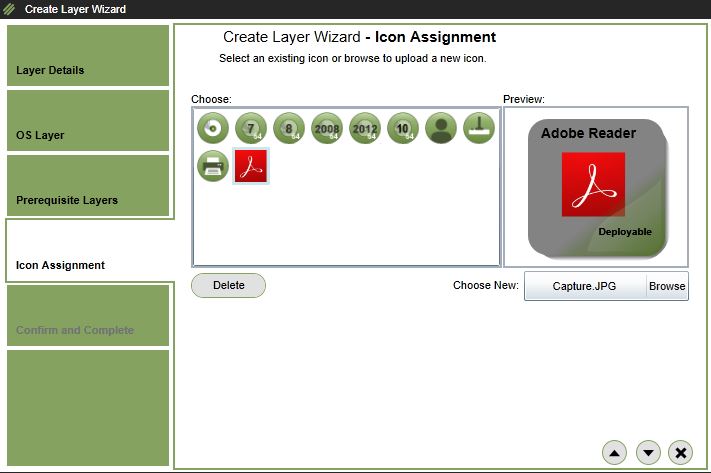
  Choose an icon, clicking the Browse button allows you to upload an application icon.
  Click Create Layer.
  At this stage the Installation Machine is being prepared with the boot file being created.
  Keep an eye on the task. Eventually you will get the message giving you the go ahead to install the software. Connect to the Installation Machine and install the application and any prerequisites.
  For this example I am installing Adobe Reader DC.
 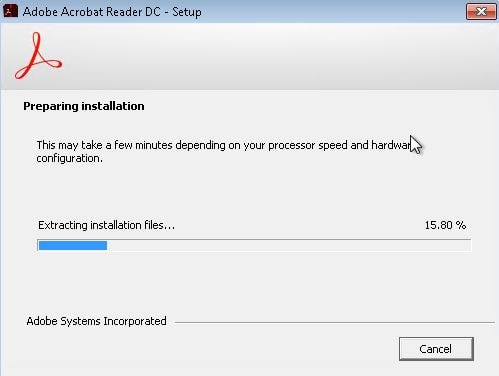 Once you are done installing the application, reboot the Installation Machine for good measure. Now within the Unidesk Management Console, click Finalize on the Application Layer. Unidesk now checks the layer to make sure reboots are completed and that NGEN compiles have been completed if the application uses .NET etc. This ensures the application will work OK when layered.
 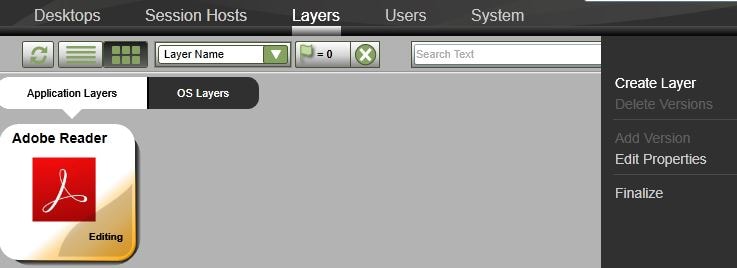 Click Finalize.
 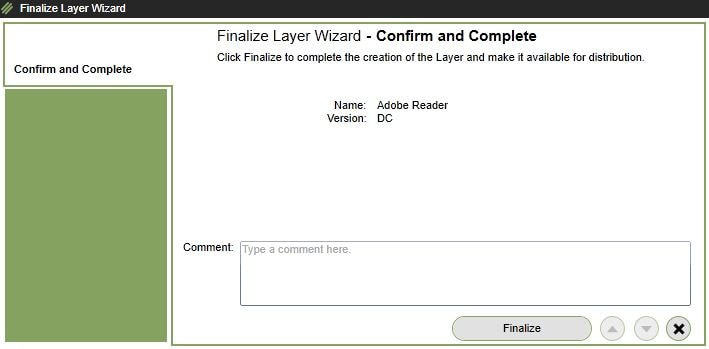 The Installation Machine shuts down.
  As you can see the status shows the Installation Machine powering off.
  The disk contents are then converted in to a layer.
  The status of the task will return completed.
 The Application Layer status will also change to deployable.
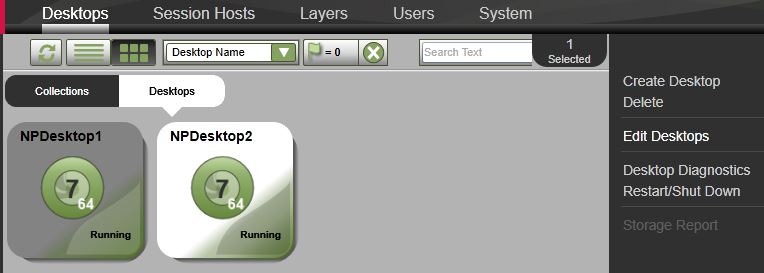
  At this stage you should assign the layer to a bunch of test desktops to make sure the application and desktops work correctly together. To assign the Application Layer to desktops simply click one or more desktops and select Edit Desktops.
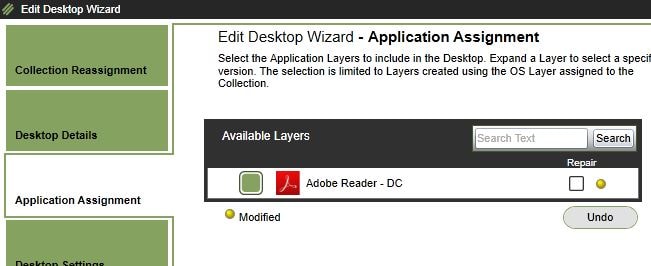
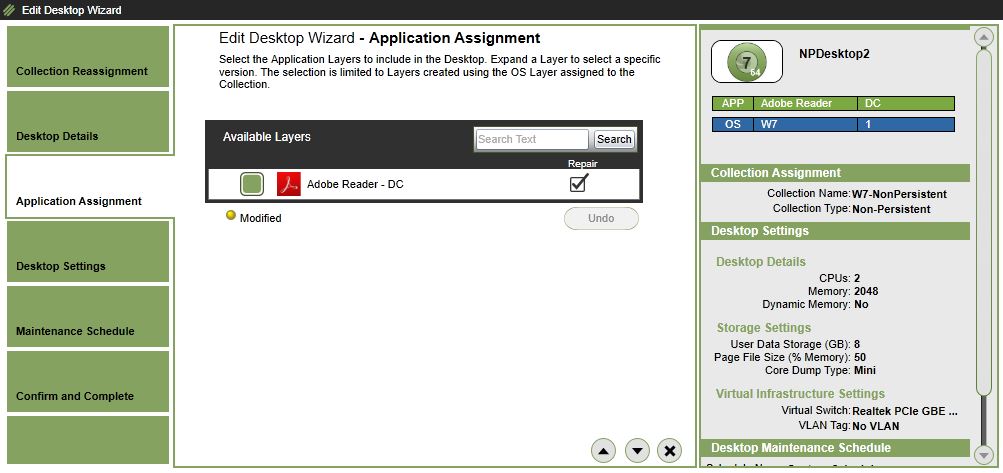
  Click the Application Assignment tab and choose which Application Layer(s) you want to assign. The Repair button for interest basically reinstalls the application on a Desktop. This can be useful on Persistent Desktops if a setting has been changed within the application that has unstabilised the product or the user has deleted or modified a file that the application needs to run correctly. Running a Repair ensures all application edits stored in the Personlization Layer are deleted.
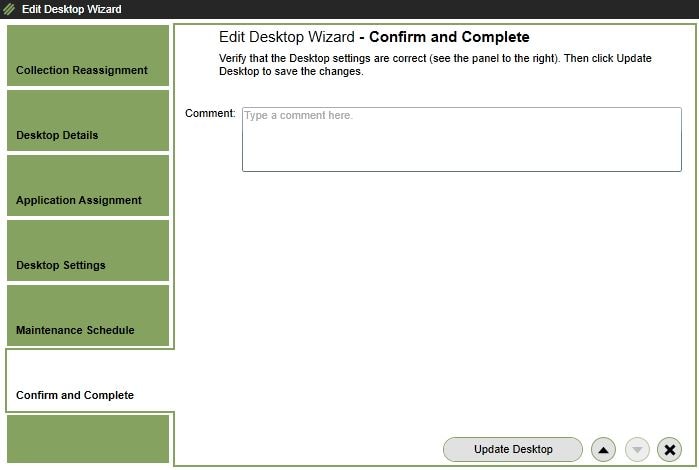
  Click Update Desktop.
  Desktops update depending on their Maintenance Schedule. Since these machines have been logged out they will be edited. As shown below the Application Layer is copying to required Secondary CachePoints.
  The layer copy process to UnideskSCP2 is underway.
  Once layer copying is complete the machine boot image is rebuilt.
  The virtual machine is set to persistent during the rebuild and then set back to non-persistent (when non-persistent machines are updated).
  The machine edits are successfull and the desktops are powered back on.
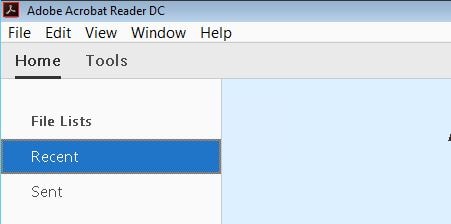
  Upon logging on to a desktop that as the new Application Layer, Adobe Reader shows as if it had been manually installed but infact it is layered in using the Unidesk Filter Driver.
  Adobe Reader even shows up in Program Files.
  Now we can launch the application and get to work!
To repair an Application Layer select one or more desktops and click Edit Desktops. Click on Application Assignment. Tick Repair against the application you want to repair.
Additional Notes:
Layers come with a status when viewed within the Management Console:
- Not deployable: Not ready to be assigned to Desktops. Check for statuses in the Task Bar and the layer’s information view for further information.
- Editing: Unidesk is currently either creating or changing the layer. You can view statuses in the Task Bar for further information.
- Deployable: Layer is ready to be assigned to desktops.