There are multiple ways available to hide or show applications and desktops from users based on their username, group membership, connection method, etc.
Below are a list of some of the common methods you can use to control resource access.
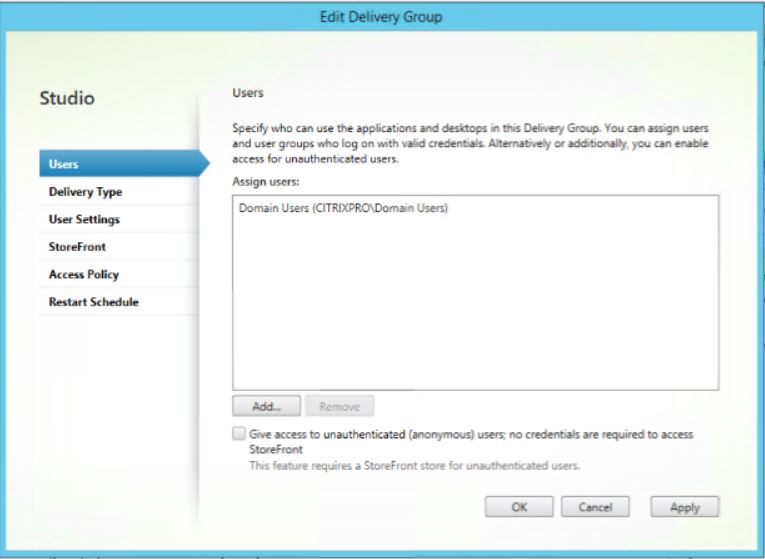
Users and Groups
To assign a resource based on the user or group membership, edit your Delivery Group and under the Users section add a user group or username(s).
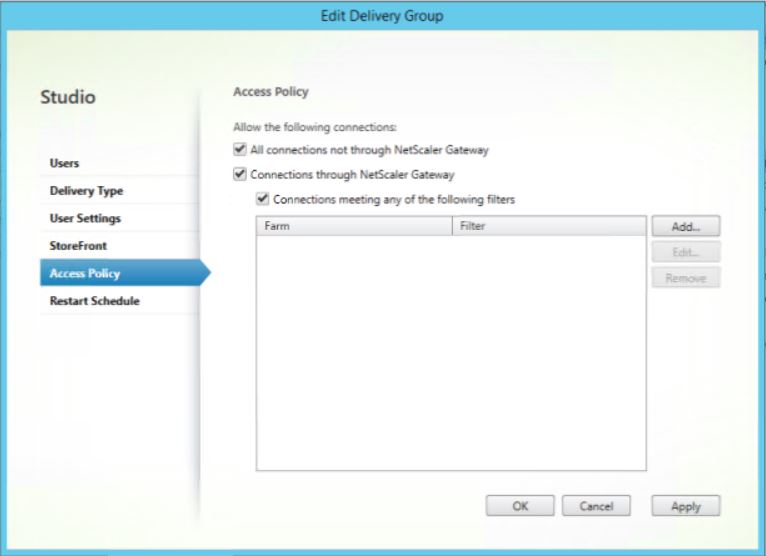
Connection Type
Again when editing a Delivery Group under the Access Policy section you can allow connections that do not come through NetScaler Gateway, do come through NetScaler Gateway or both.
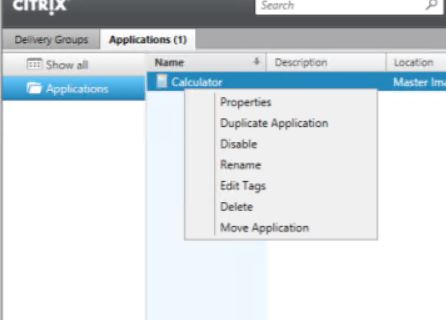
Limit Visibility
To limit the visibility of an application to some users, locate the desired application and right-click, Properties.
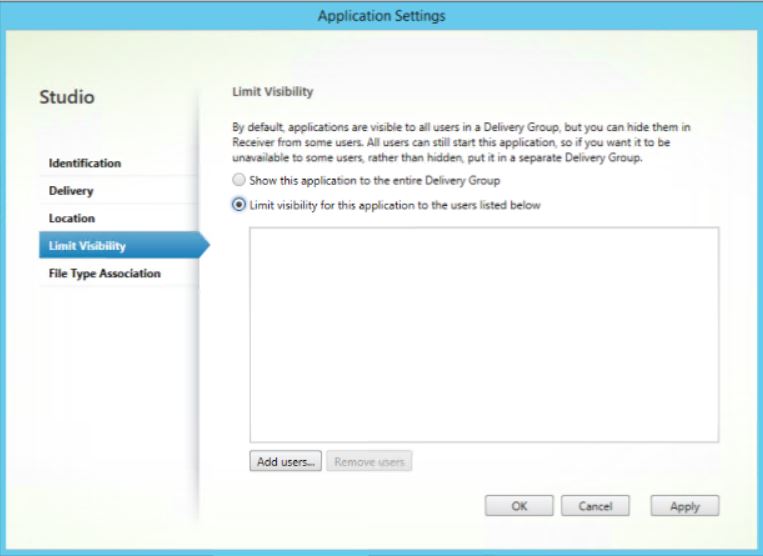
Click Limit Visibility -> Limit Visibility for this application to the users listed below.
Per store via description
You can hide or show applications and desktops completely from stores based on the description of the resource. This cannot be done from the GUI so instead use PowerShell.
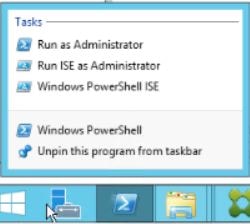
Log on to your primary StoreFront server and launch PowerShell as an administrator.
Run command Import-Module ImportModules.ps1 from C:\Program Files\Citrix\Receiver StoreFront\Scripts\
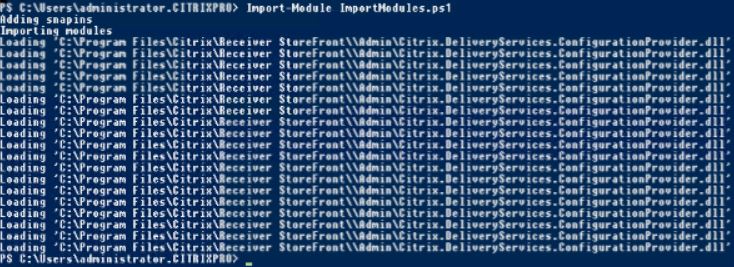
Now in my scenario I have two stores, XenApp and CitrixPro.

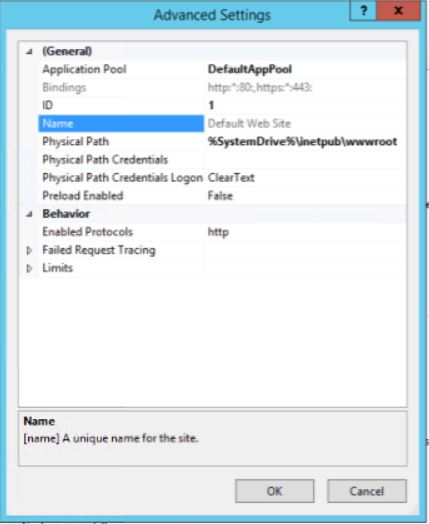
Before continuing we need to find out the IIS Site ID for the web site hosting our Citrix store virtual directories. The Site ID in most cases will be 1. Launch IIS and then highlight the site which stores the Citrix virtual directories (in most cases Default Web Site).
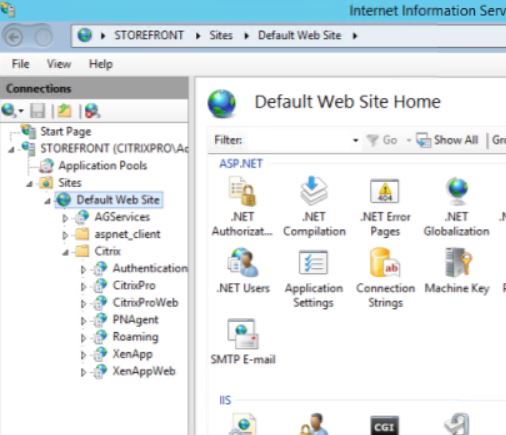
Right-click the site, Manage Website -> Advanced Settings…
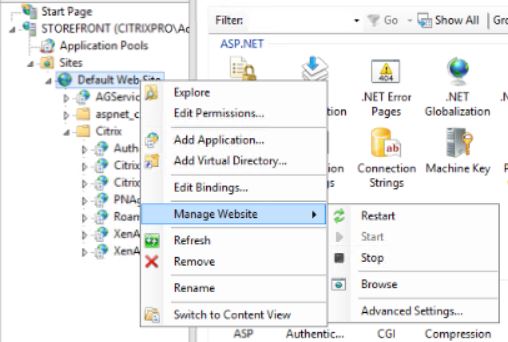
Next take note of the ID number and then close IIS.
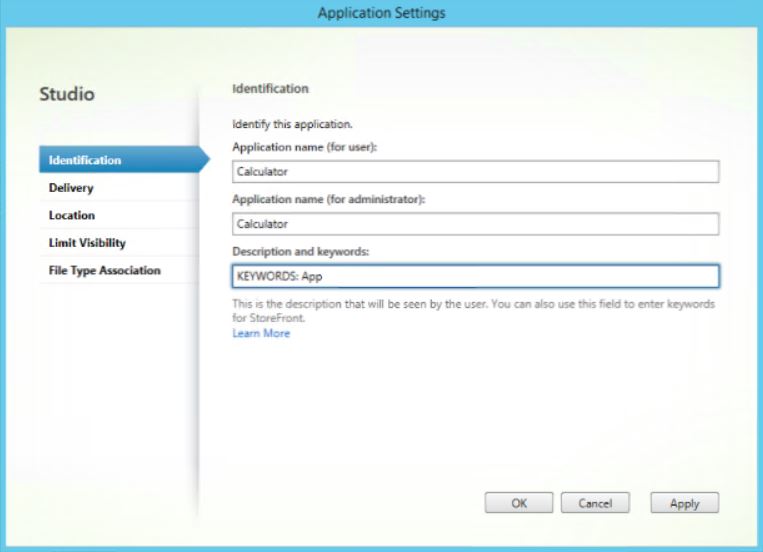
I want to show only desktop resources in store CitrixPro and applications in store XenApp. The filtering of resource is done based on the description an application or desktop has been given. To make things easy, I am assigning a description of App to my applications only, and not giving any description to the desktops, however I could do if I wanted to get more granular with extra stores.
Using Citrix Studio, open the properties of an application and under Identification enter KEYWORDS: App then click OK.
Return to PowerShell and run command Set-DSResourceFilterKeyword -SiteID 1 -VirtualPath “/Citrix/CitrixPro” -ExcludeKeywords @(“App”)
![]()
Now run command Set-DSResourceFilterKeyword -SiteID 1 -VirtualPath “/Citrix/XenApp” -ExcludeKeywords @(“App”)
Using the StoreFront console, propagate changes to remaining StoreFront servers.
![]()
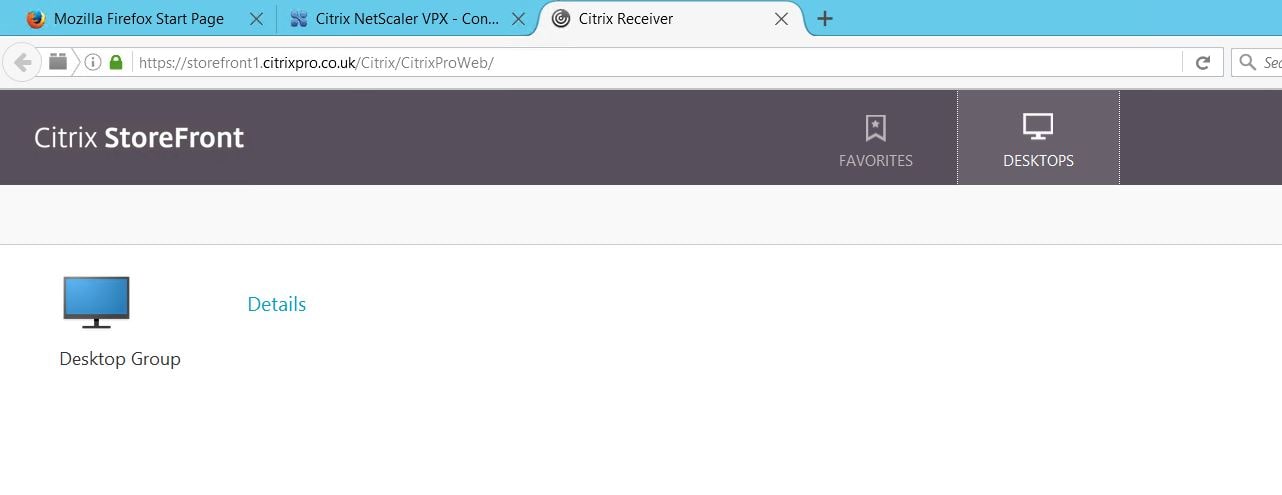
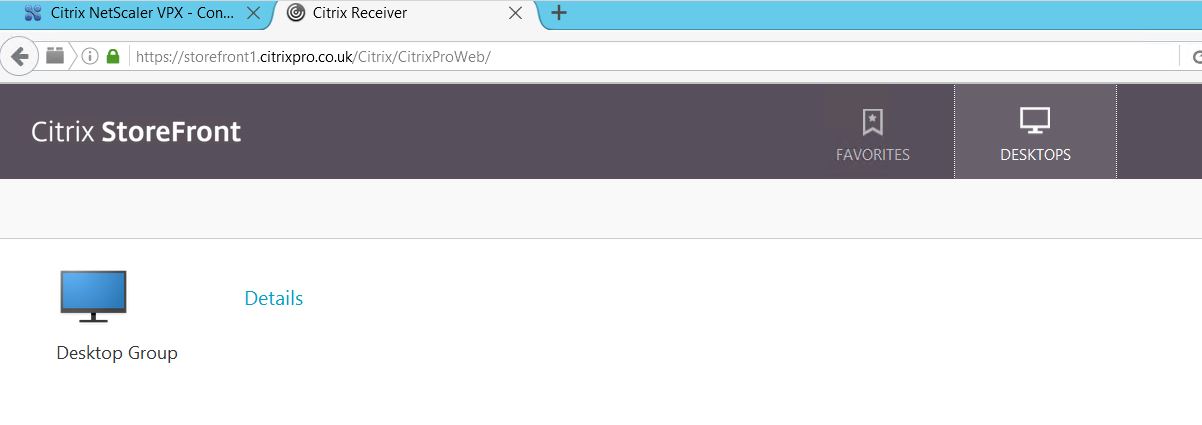
Browse to the CitrixPro Receiver for Web site and only the desktop resource appears.
Over on the XenApp Receiver for Web site the applications only appear.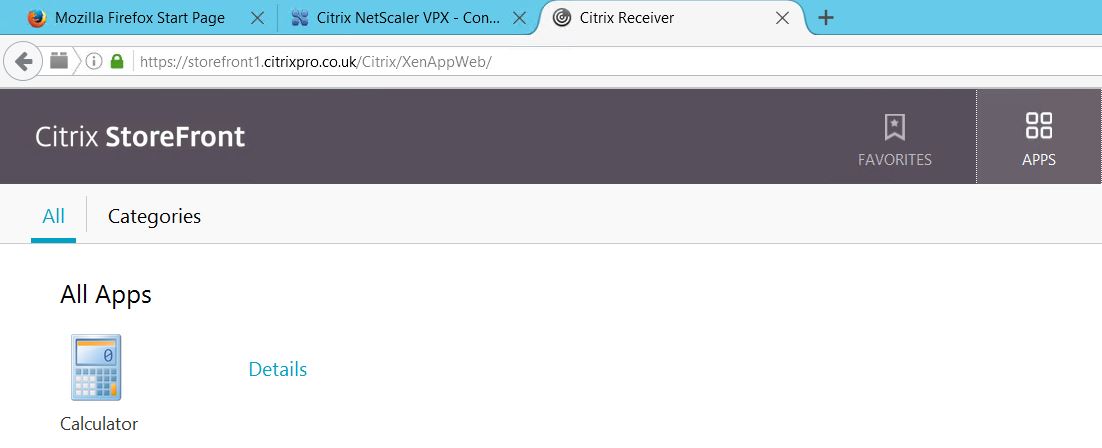
If you want to exclude on multiple keywords, run a command such as Set-DSResourceFilterKeyword -SiteID 1 -VirtualPath “/Citrix/XenApp” -ExcludeKeywords @(“App”,”App2″)
Per application or desktop
You can set Citrix stores to only show applications or desktops.
Launch PowerShell on your StoreFront server and import the required modules using the same method found above.
Run command Set-DSResourceFilterType -SiteID 1 -VirtualPath “/Citrix/XenApp” -IncludeTypes @(“Applications”)
Next run command Set-DSResourceFilterType -SiteID 1 -VirtualPath “/Citrix/CitrixPro” -IncludeTypes @(“Desktops”)

Now depending on which store you visit, you will either see Desktops or Applications.
Based on NetScaler Gateway connection
You can limit Delivery Groups to certain NetScaler Gateway addresses. To do this firstly edit the Delivery Group and browse to the Access Policy section.
Click Add.
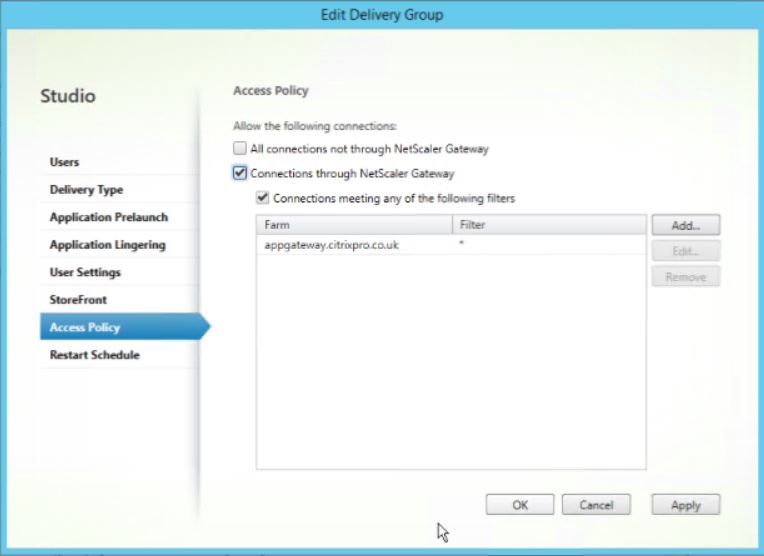
Specify the URL for your NetScaler Gateway and click OK.
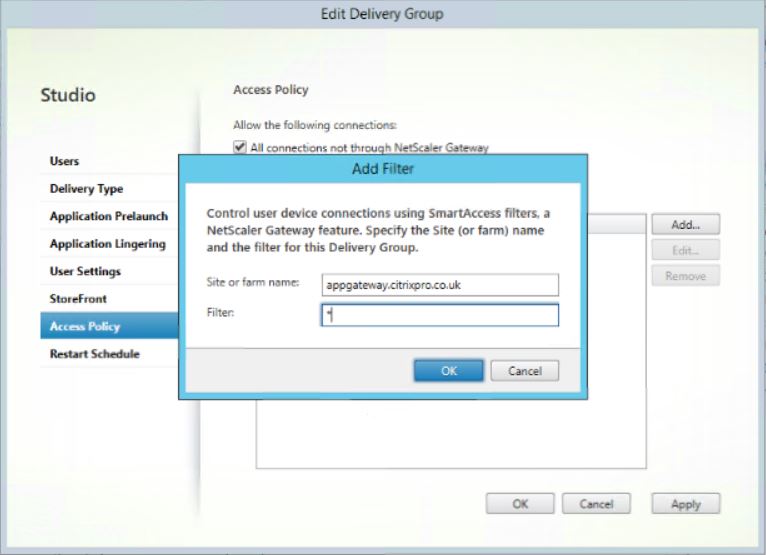
Uncheck All connections not through NetScaler Gateway if you wish. Click OK.
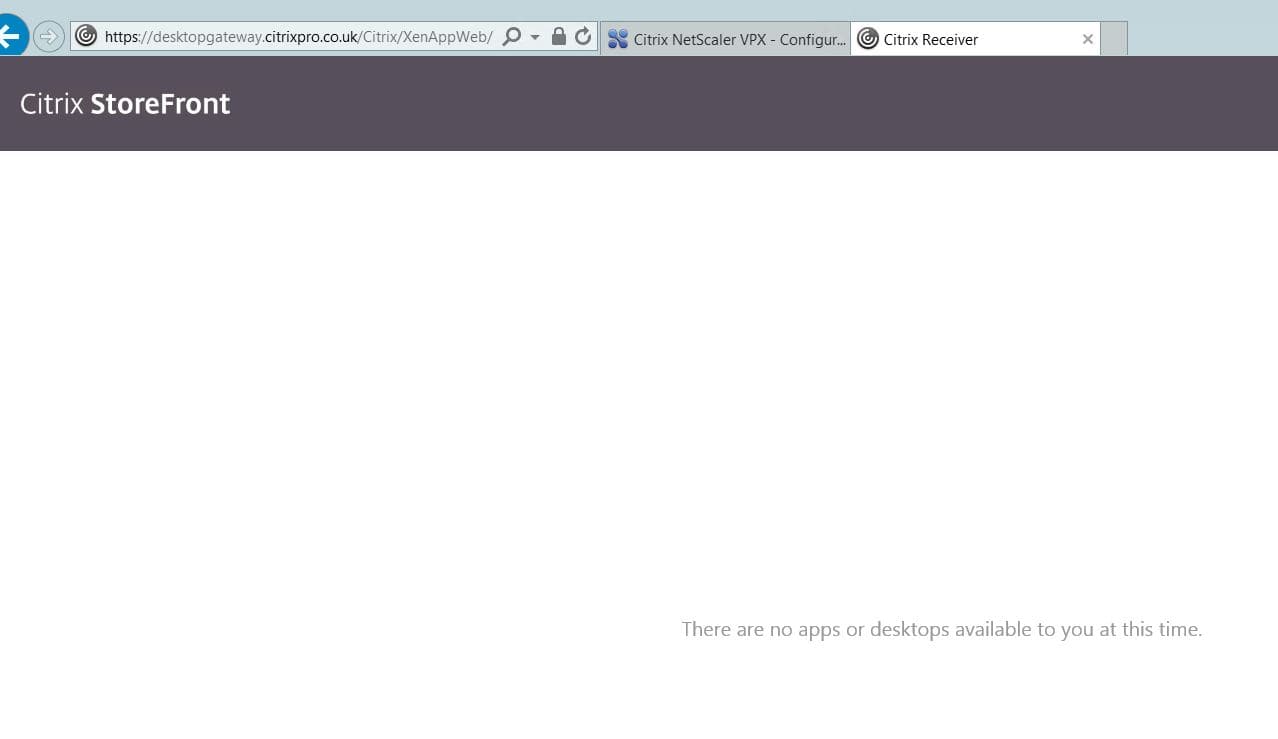
Now when using a different NetScaler Gateway URL the resources will not appear.
jake
August 13, 2018Thank you so much for the write-up. It was very helpful, these settings are not at all obvious.